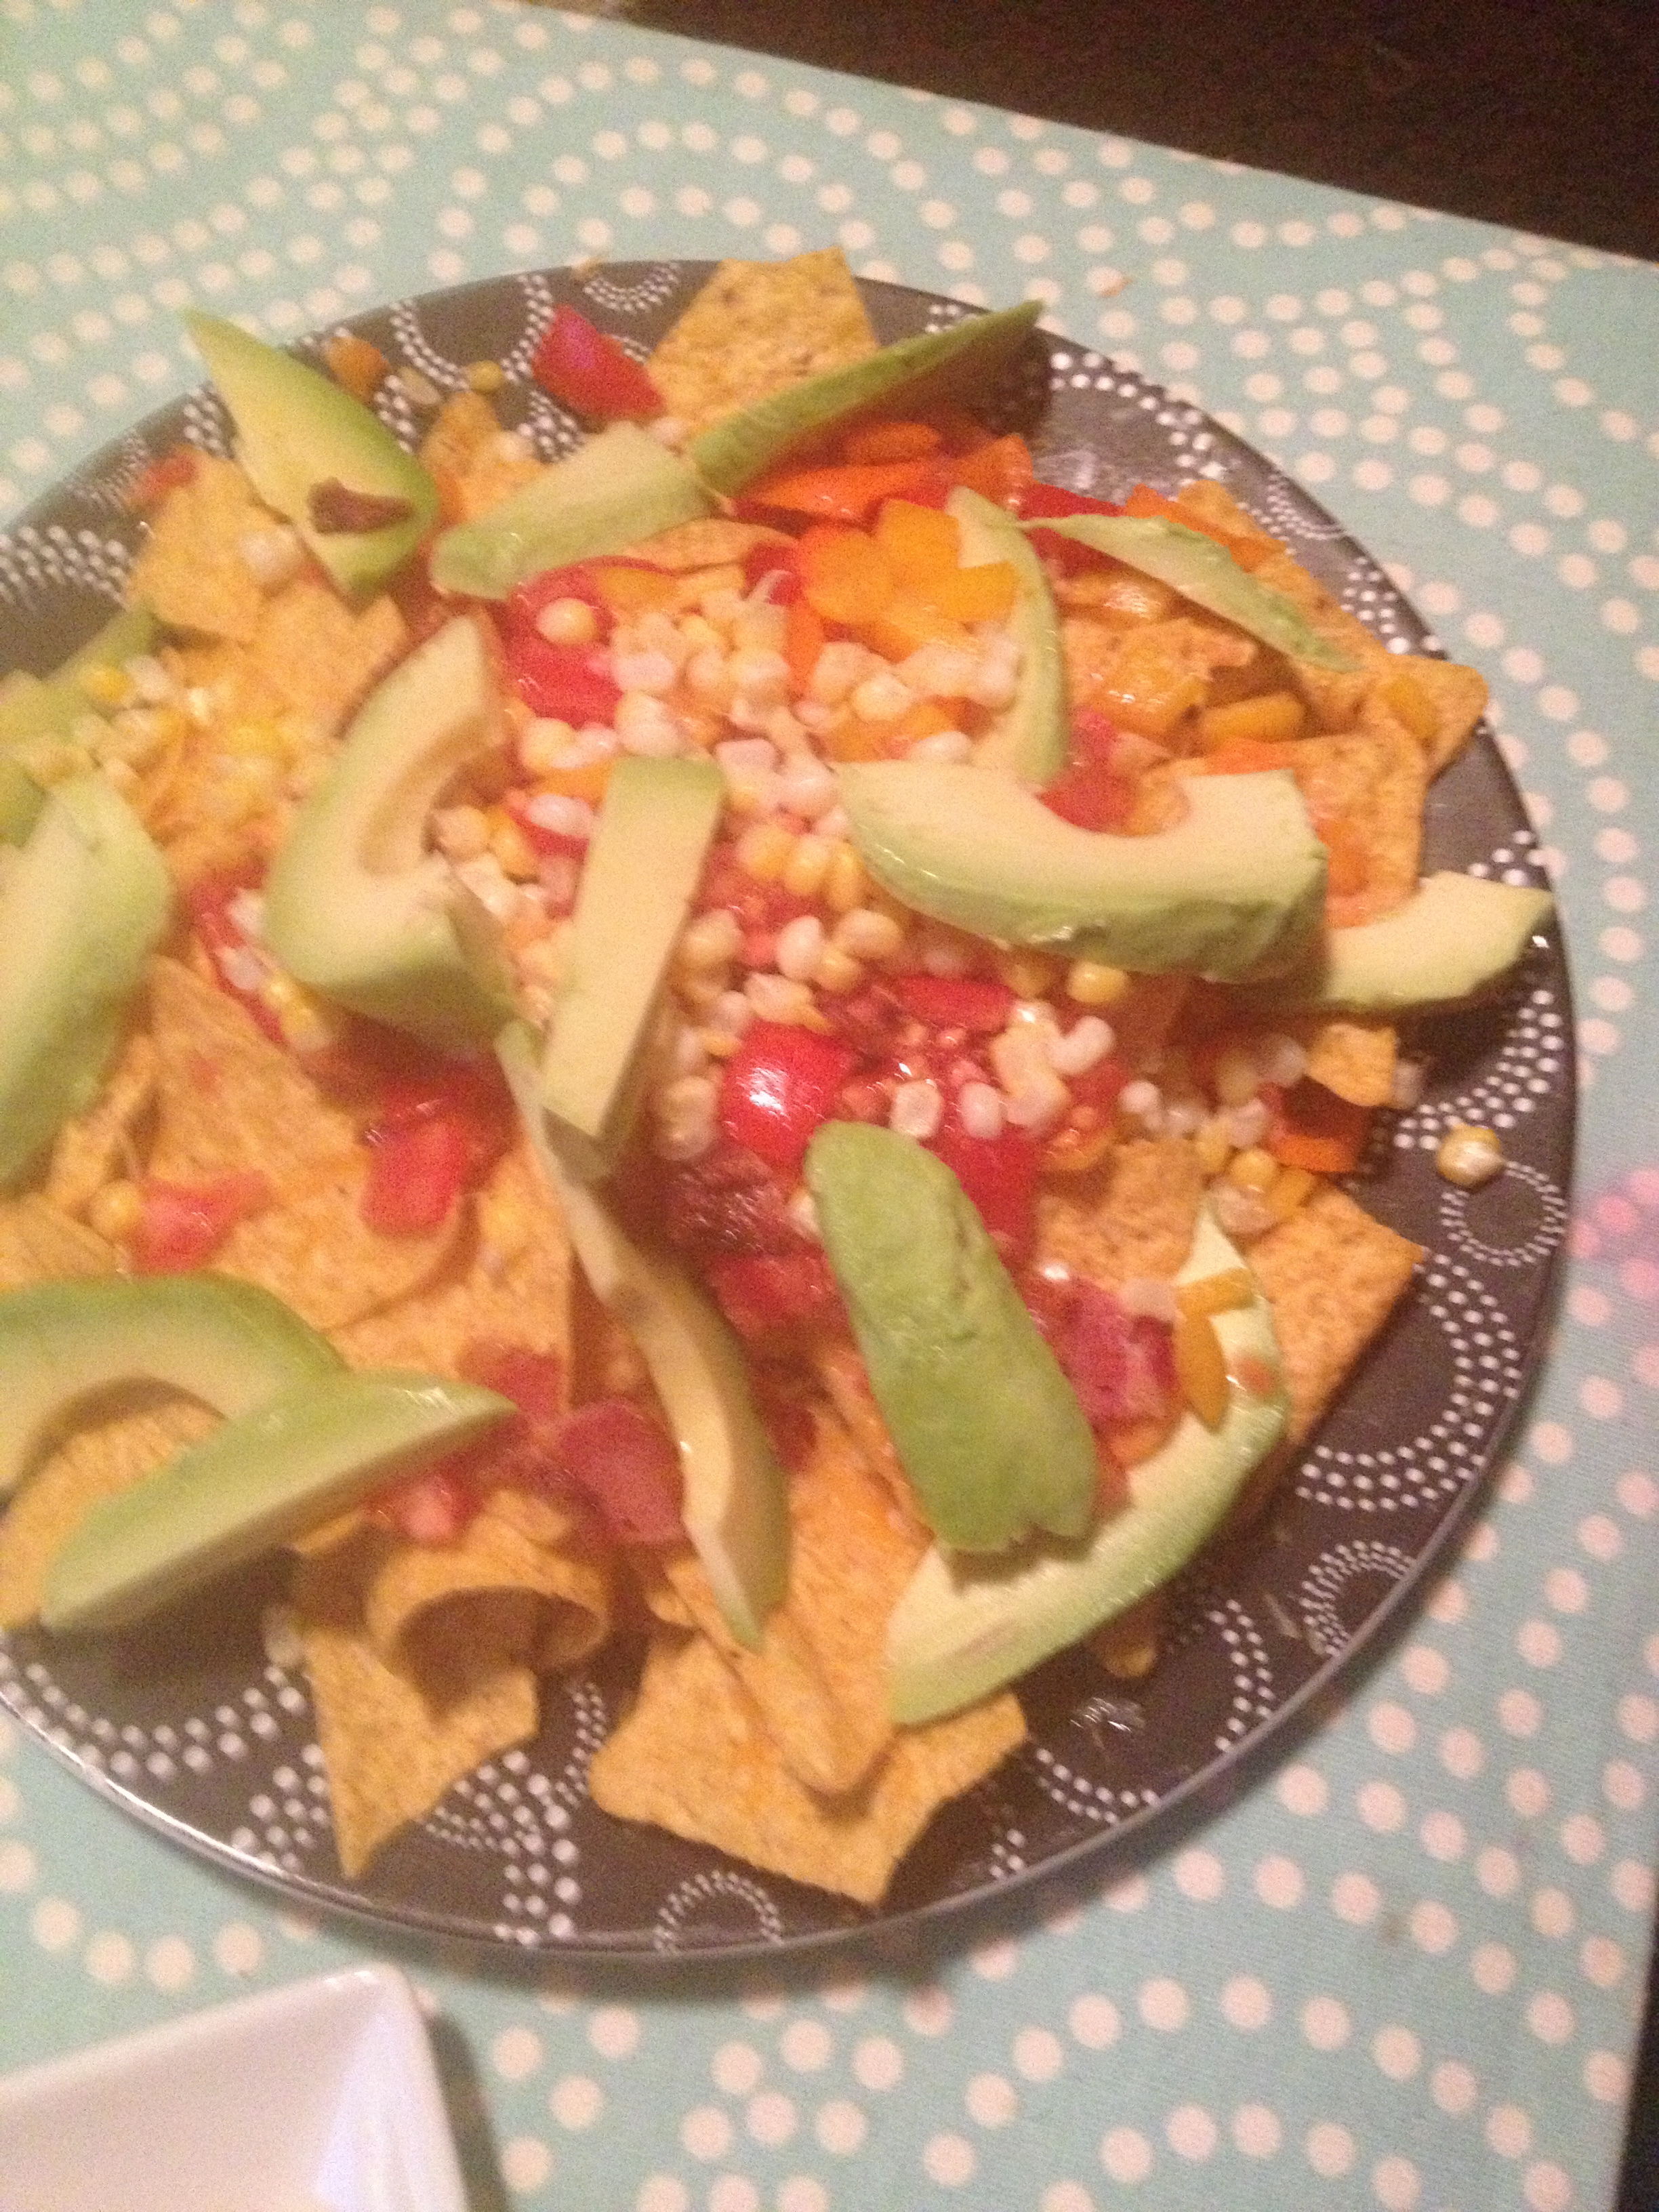
Veggie Nachos with sliced Avocado…
-Lay down corn chips on the plate, then top with chopped tomatoes, corn off the cob, Chopped peppers and slice avocado… sprinkle with cheese if you would like… Enjoy

Veggie Nachos with sliced Avocado…
-Lay down corn chips on the plate, then top with chopped tomatoes, corn off the cob, Chopped peppers and slice avocado… sprinkle with cheese if you would like… Enjoy
You will need:
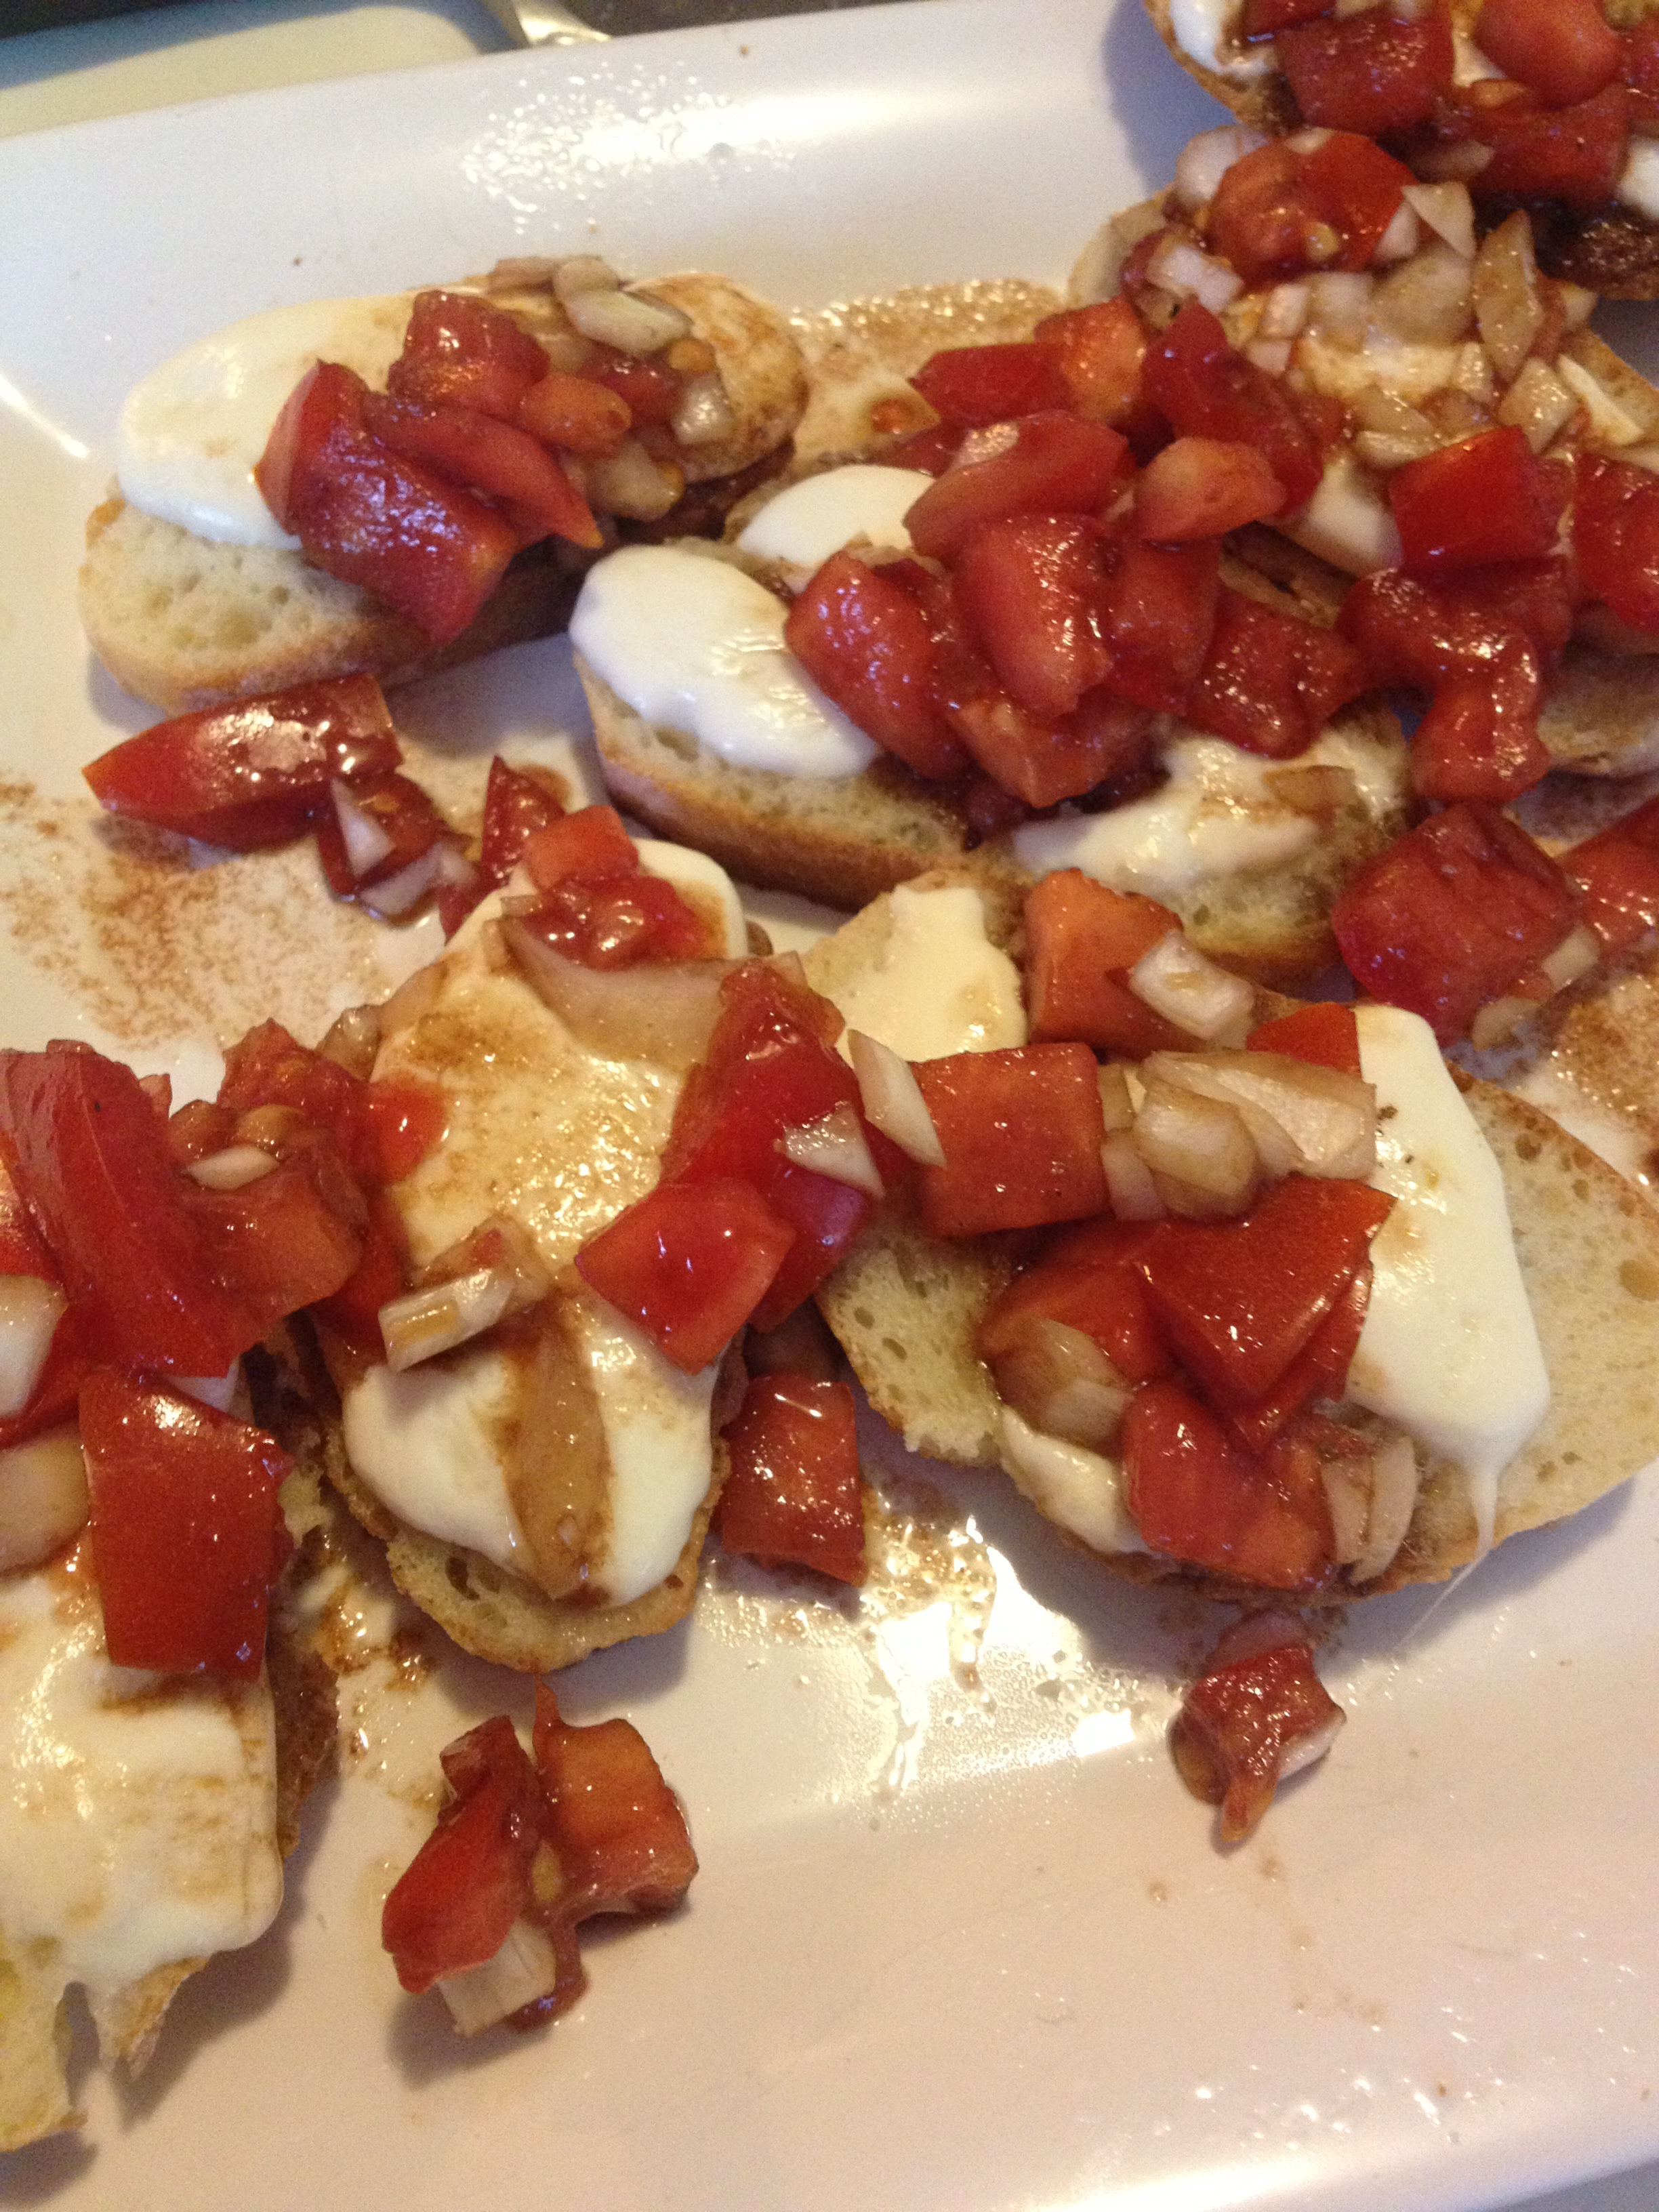
First slice the tomato and onion, place in bowl and add balsamic vinegar and sprinkle with salt and pepper
Let this sit together to soak up the flavor
Then slice the cheese and lay it onto of the breads on a making sheet, place in the oven for about 7 minutes until the cheese is melted and a wee with brown on the top
Remove from the oven and then top with the tomato mixture… Yumm delicious!
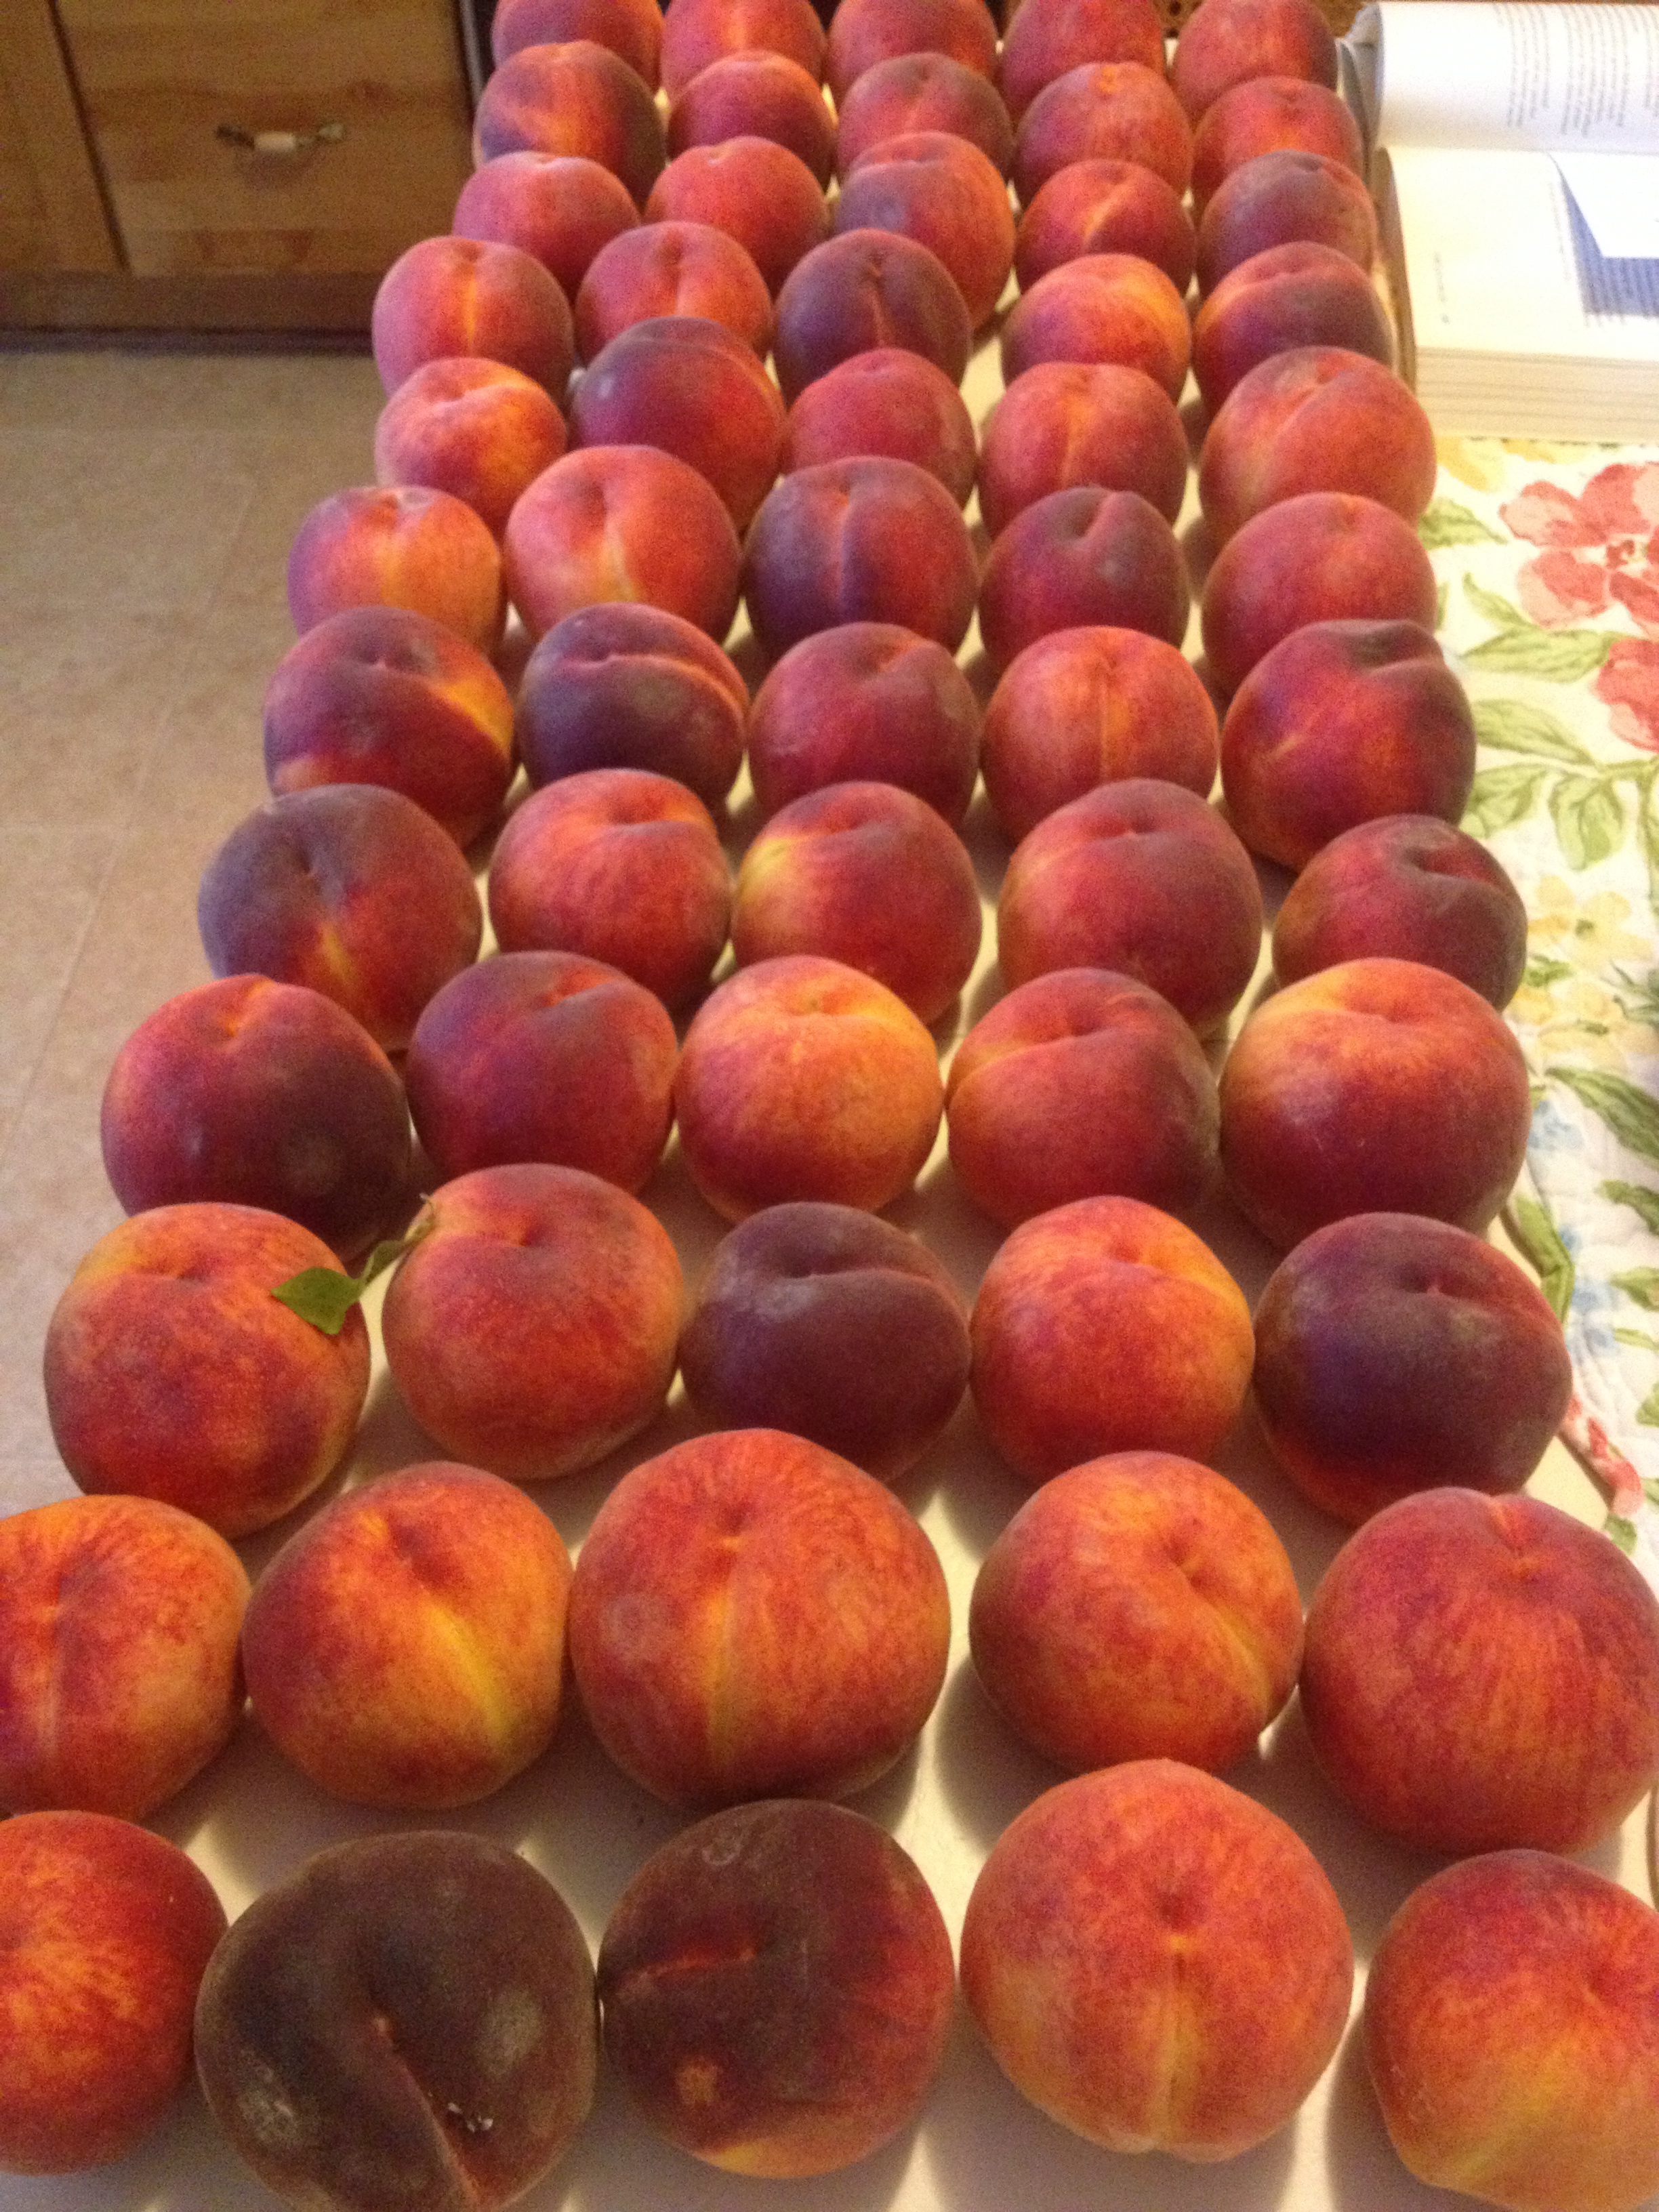 First I started this batch with 1/2 a bushel of StoneFree Peaches… there were 67 peaches in the half bushel… I laid them all out on my kitchen table to examine them… and I knew it would be a day before I got to canning them and I like to take them out of their basket to breath…
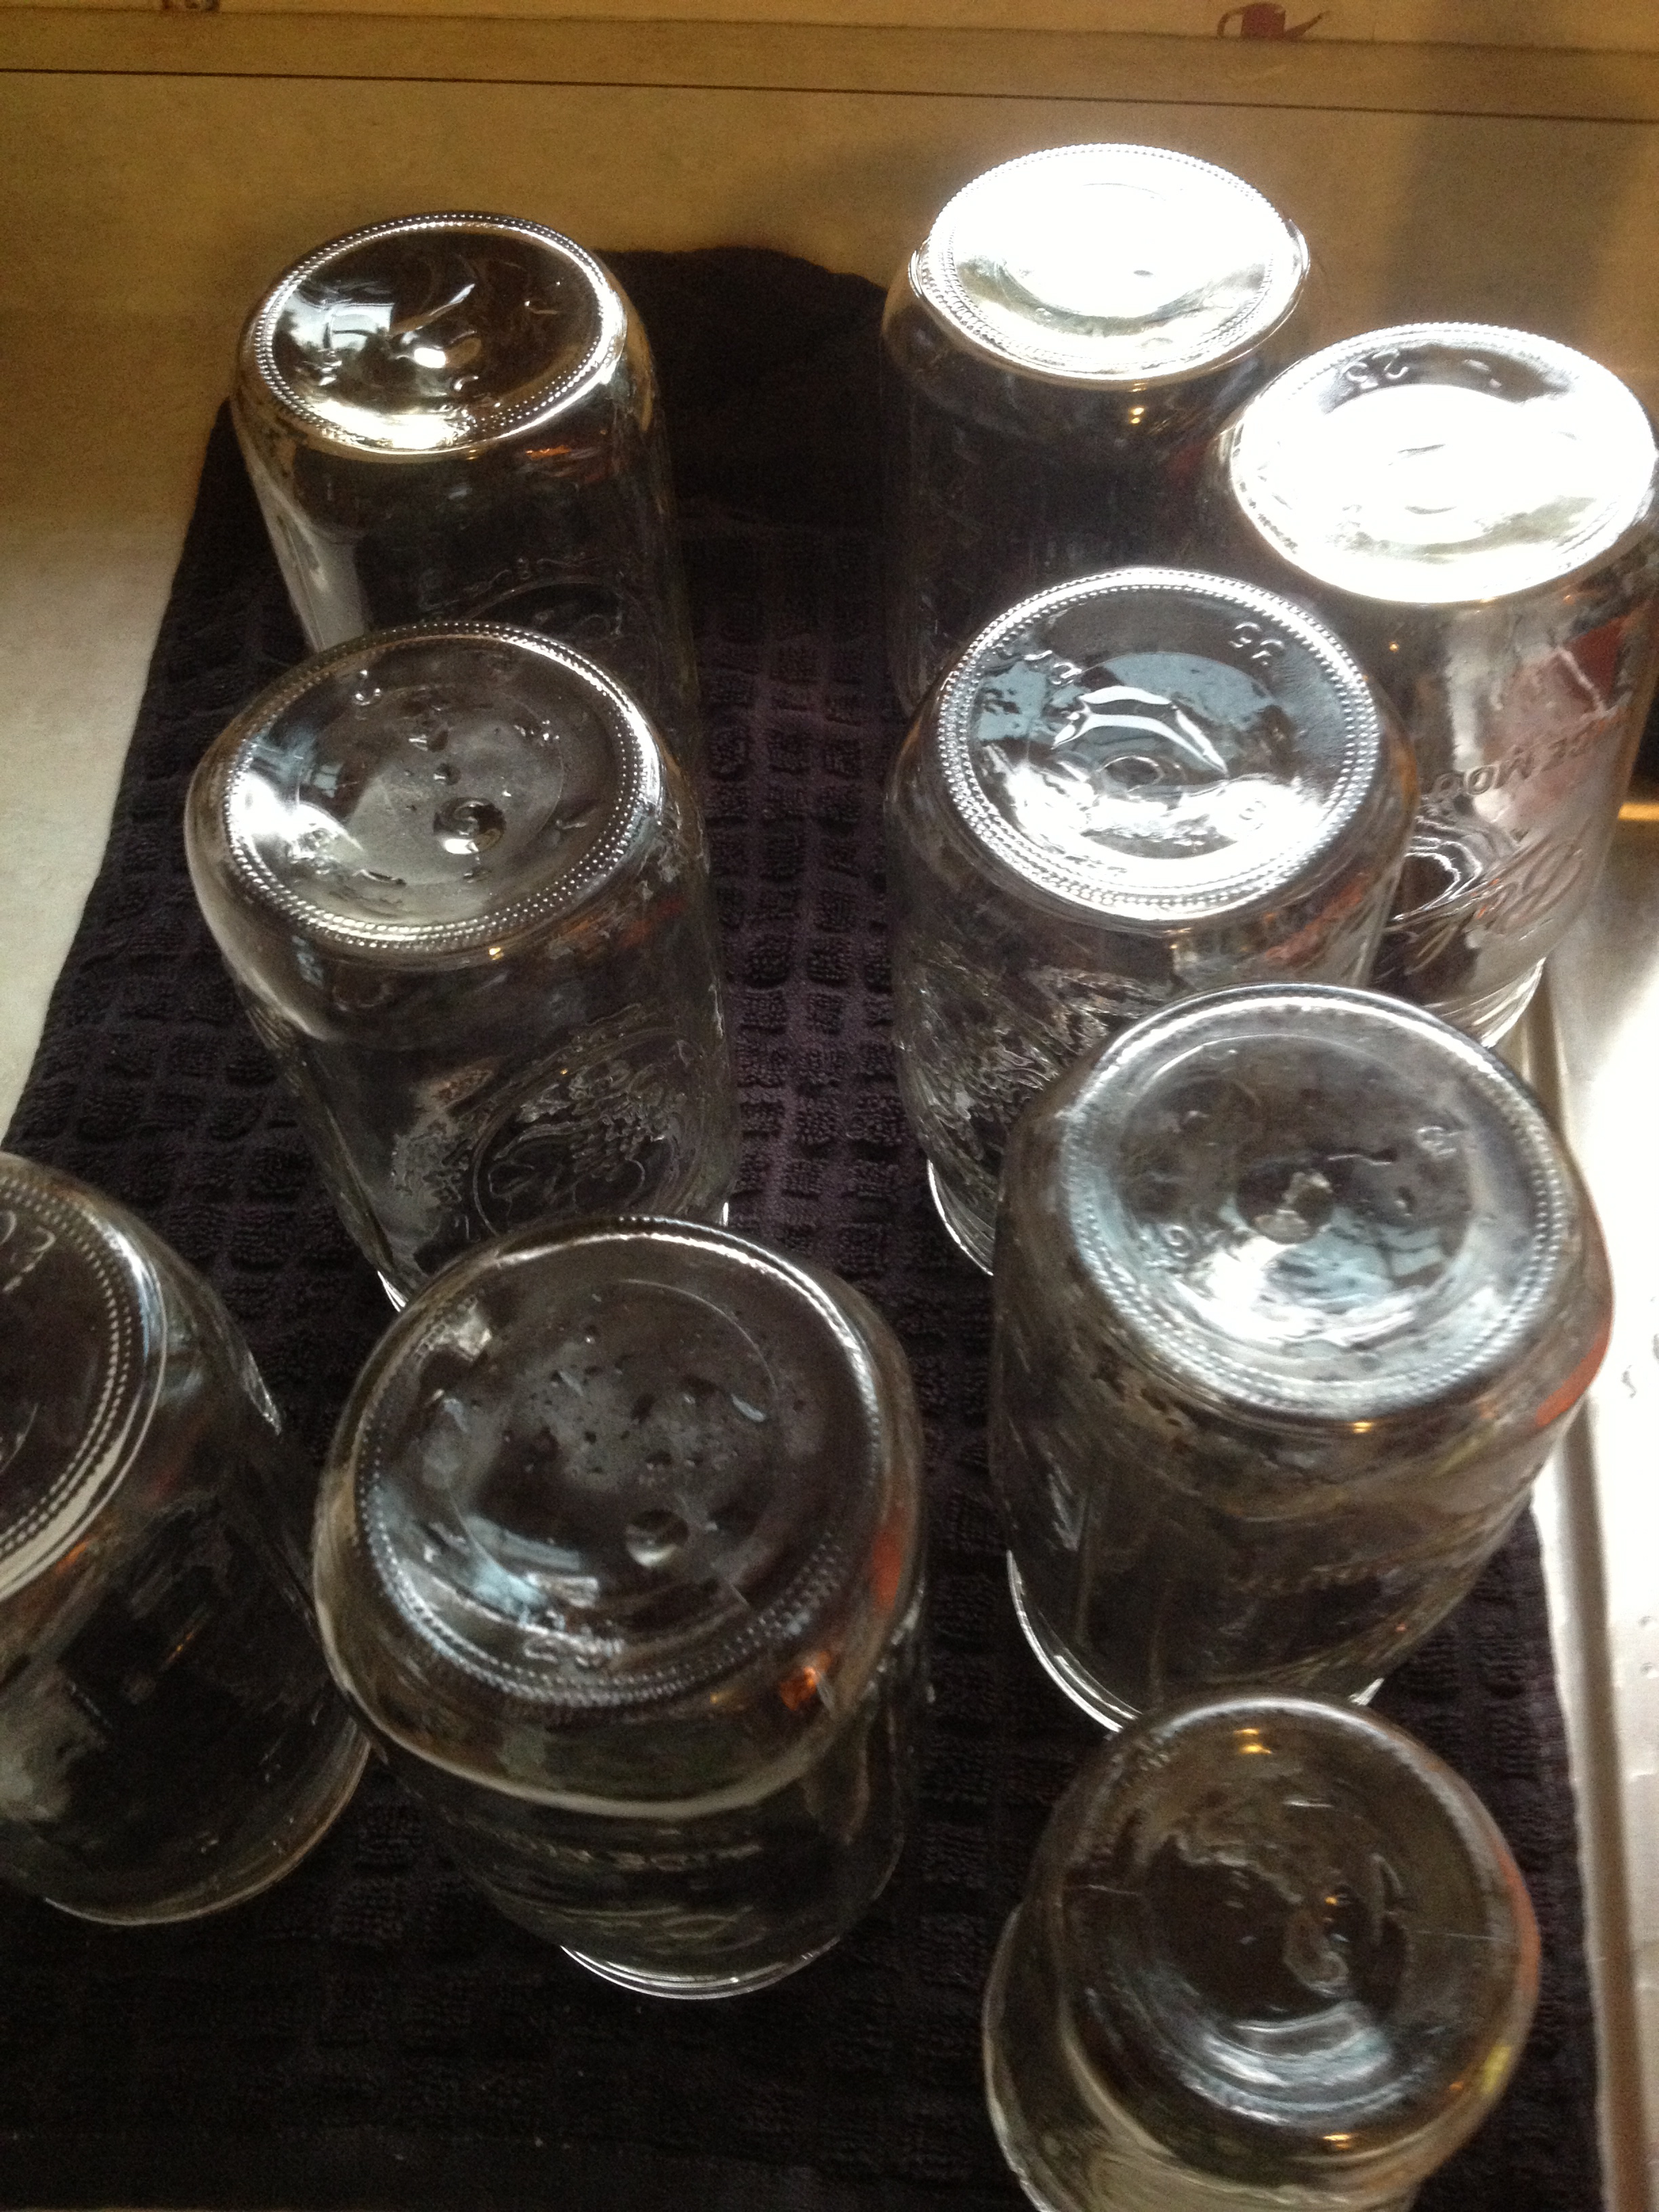
The I got my jars all ready… First I clean them in hot water and a little dish soap, and I make sure to rinse them well so that no soap remains in the jar… then I take the jar and in a wide sauce pan I place about an inch of water, and put the jars in mouth side down and bring the water to a boil leaving the jars in until I am ready to fill them with peaches…
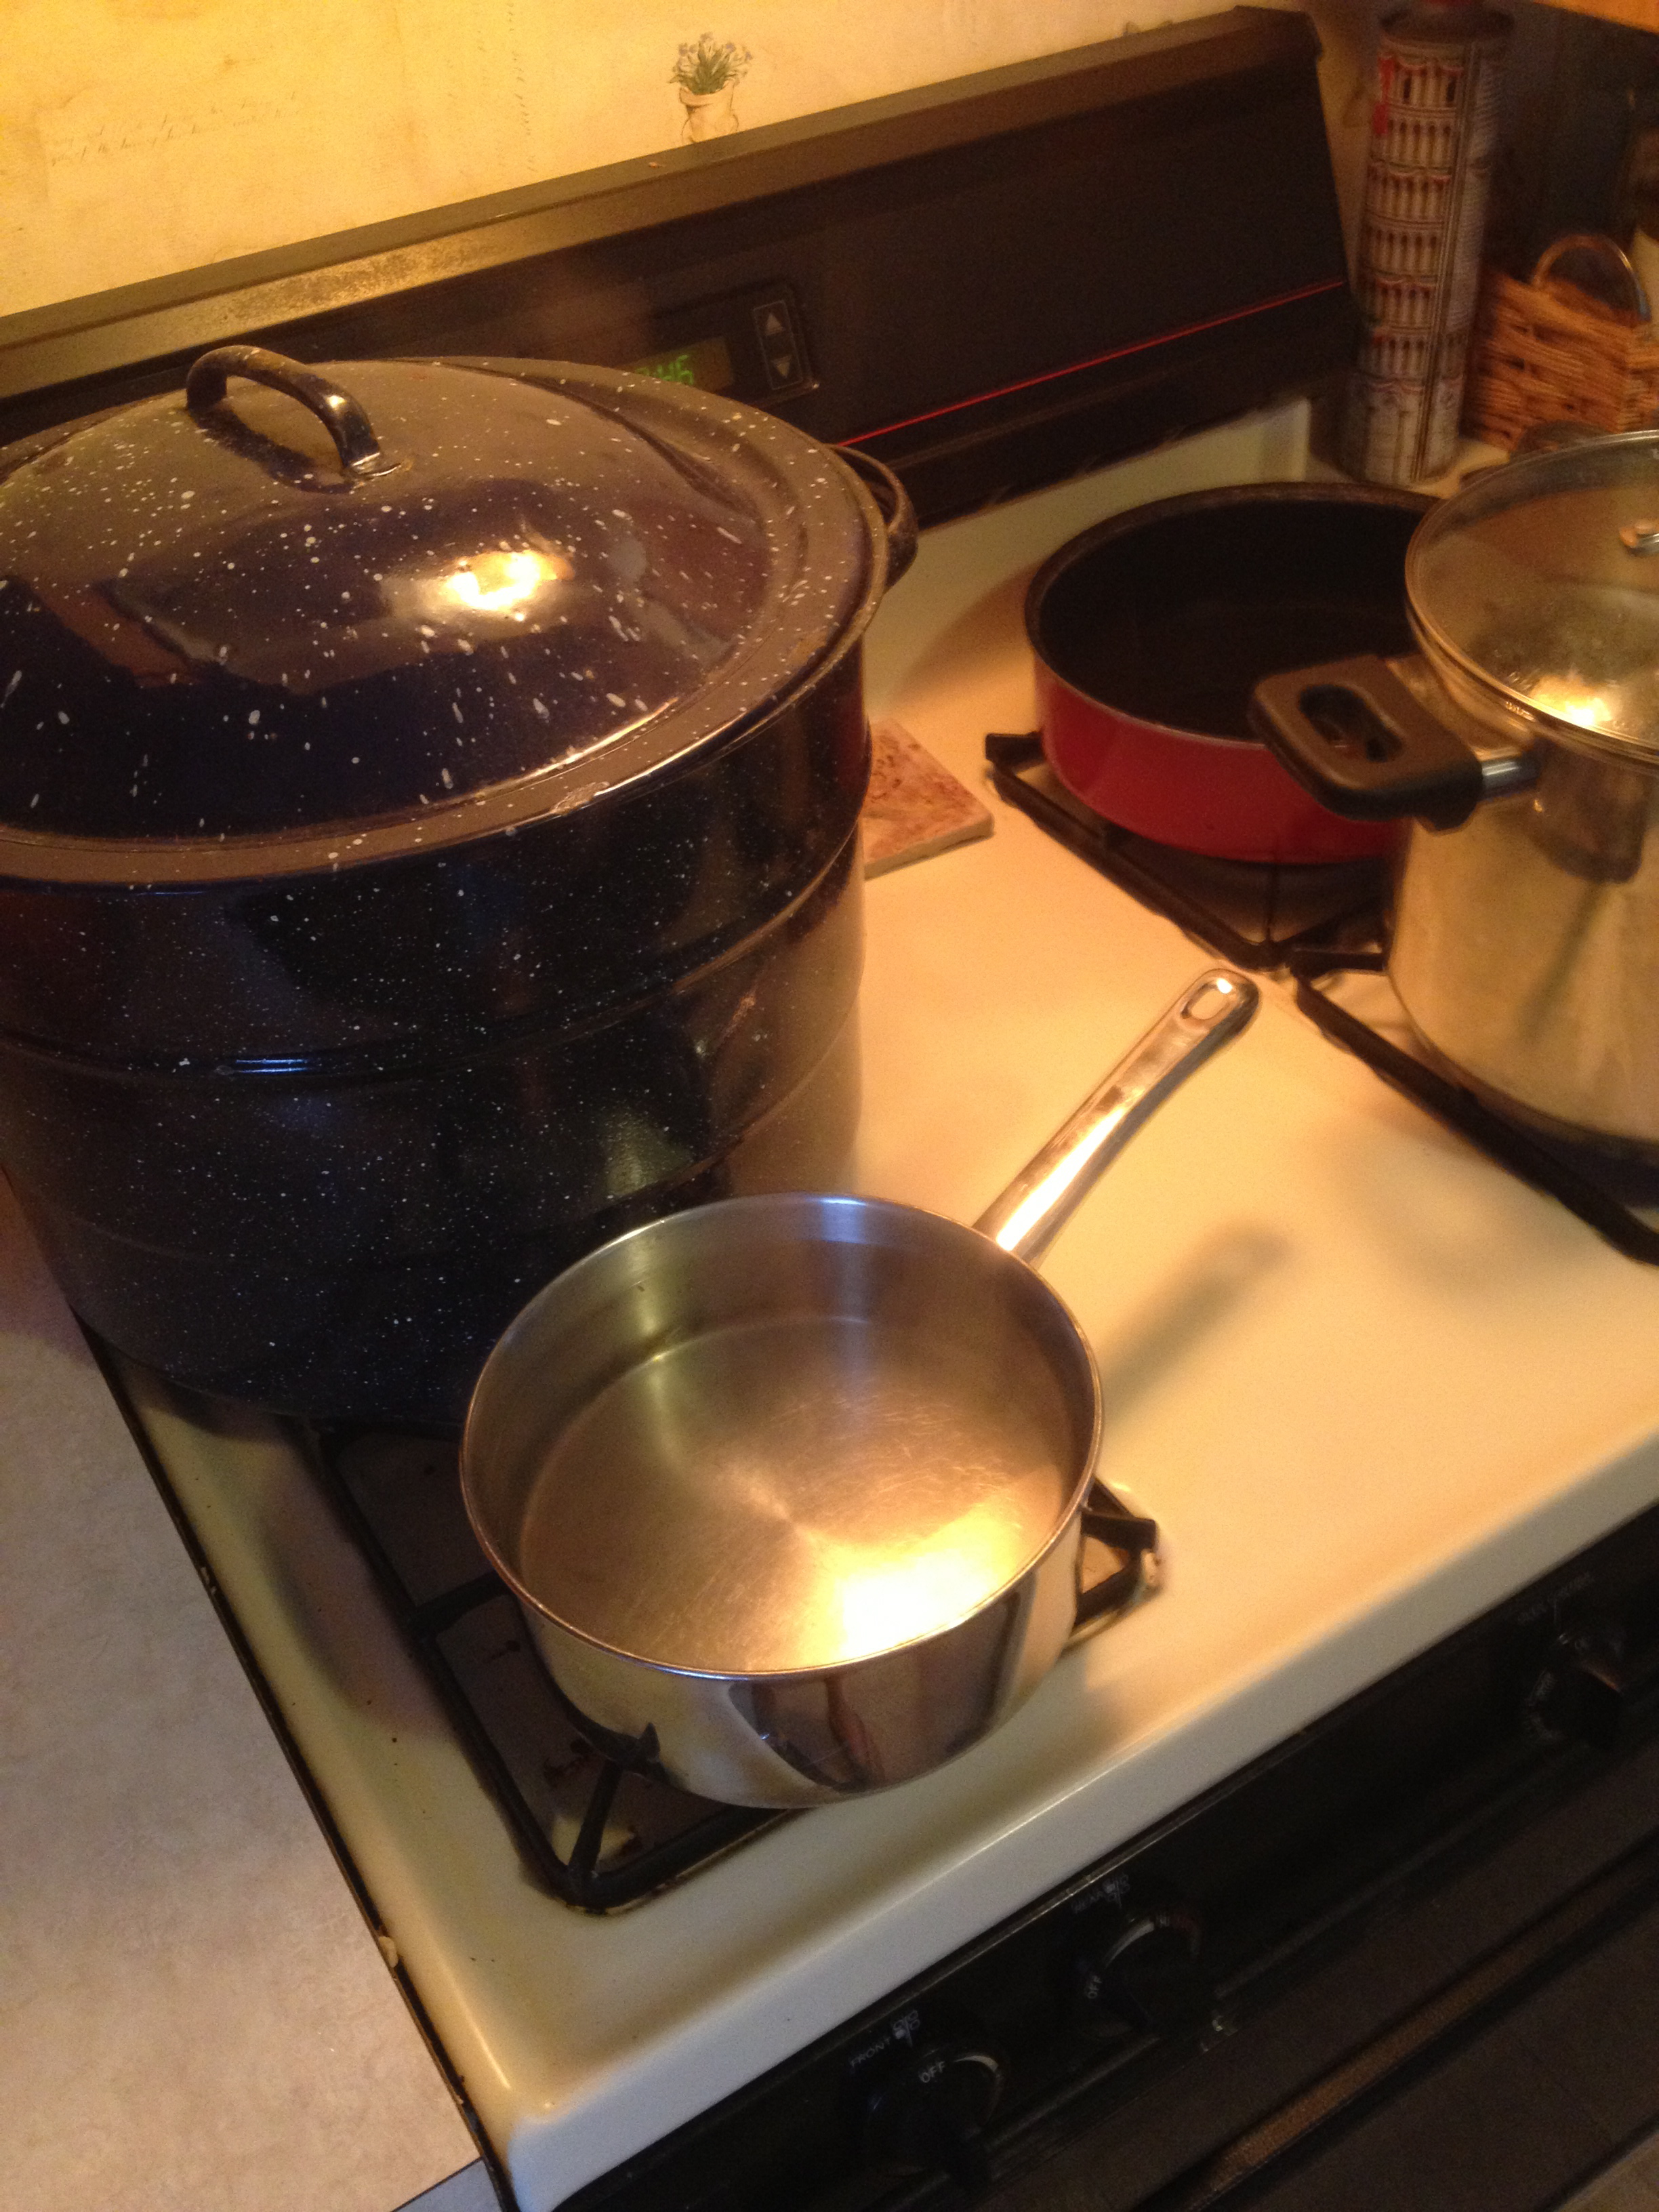 The I get all of my stove ready, they just don’t make the burners wide enough… The large granite blue is the caner.. fill it up with water and put on to boil… it takes a while so if you start it now by the time you get the jars packed it will be boiling… The small sauce pan in front is for making the simple syrup you will top off the jars with… place one quarter cup of sugar with 6 cups of water and heat until the sugar dissolves, then remove from heat…. the tall pot in the front it my blanching pot fill with water and bring to a boil to drop the peaches in… the red pan in the back is for the jars…
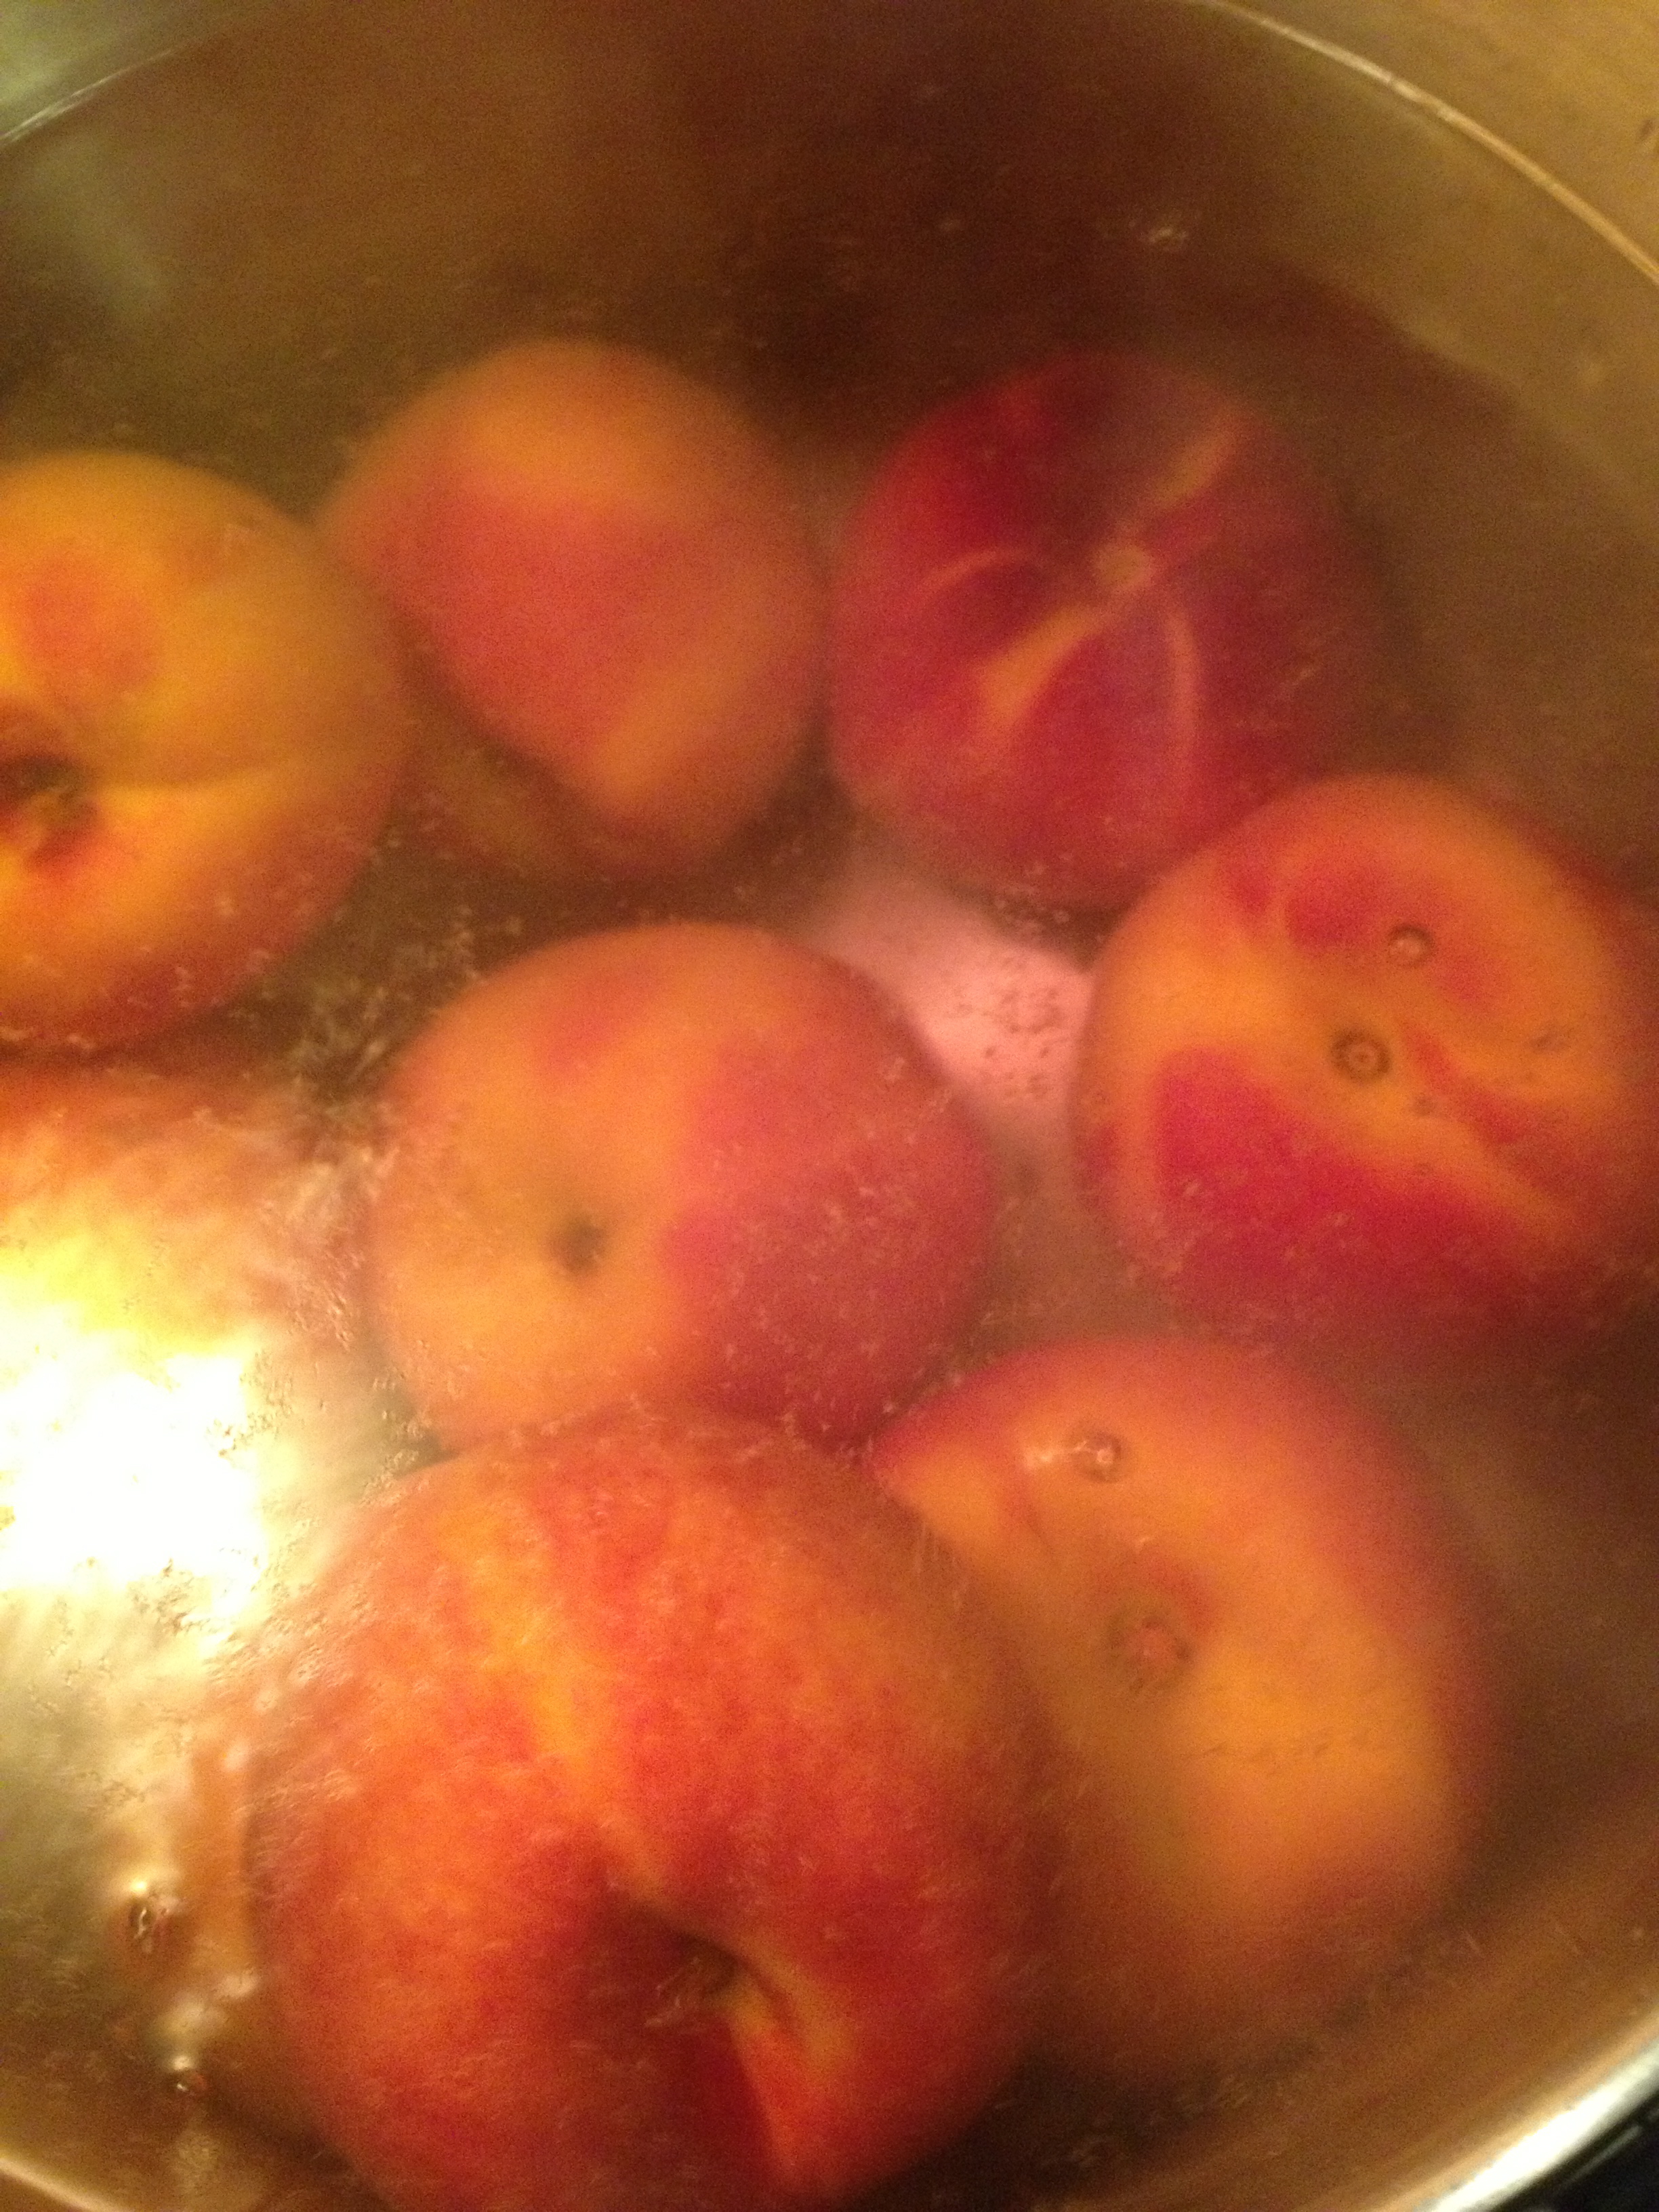 Next in the boiling pot of water, take and make an X with your knife along the bottom of your peach, and drop into boiling water for a few minutes, this is to remove the skins… once they look like the skins will fall of, remove from boiling water and place under sink and run cold water over them, then pull off the skins, so easy now…
 Next let the packing begin… cut them in half and then into quarters, remove the pit and layer them into the hot jars from the boiling water in the pot on the stove… once the jar is full of peaches, pour in a little of the simple syrup to fill in the air pocket in between the peaches… Then place a lid and a screw top on to the jar… once you get enough jars filled to fill up your caner place them all in at the same time… and boil for 7 minutes… the books all say for 30 minutes, but I find that makes the peaches get mushy in the jars, and as long as the lid on your jar pops down the cans are sealed and ready to go….
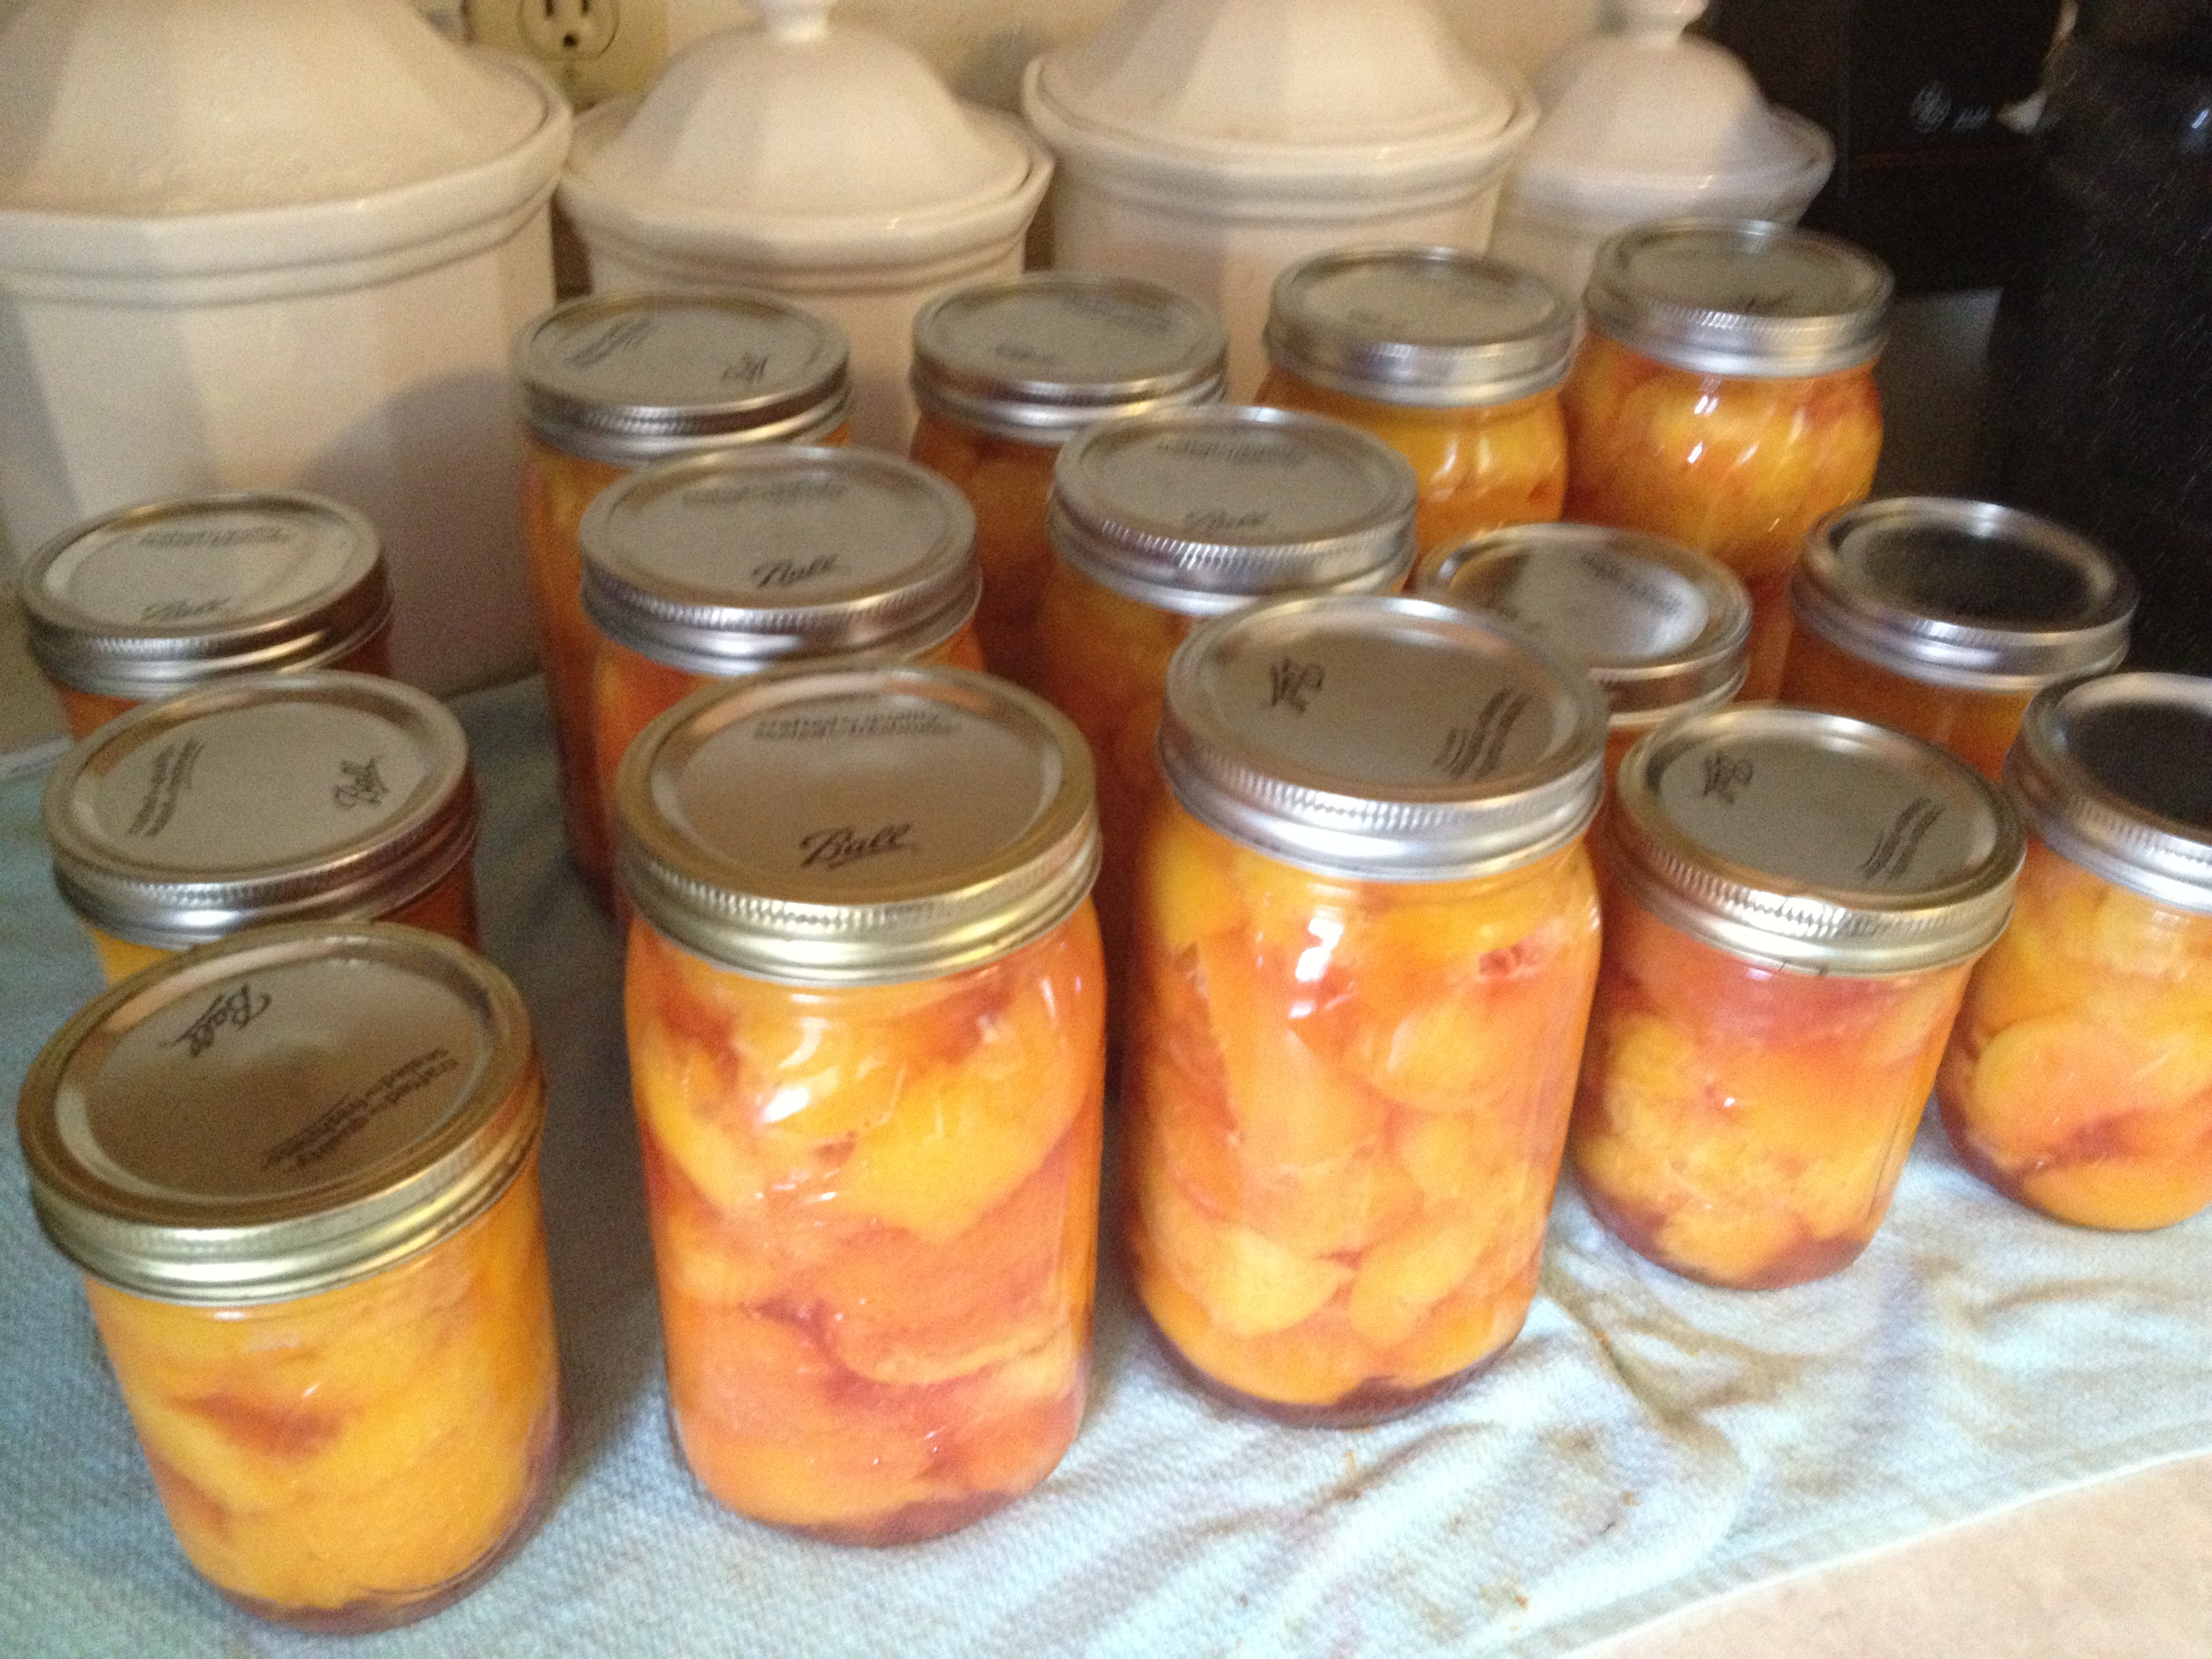 The freshly caned peaches … all ready for storage until winter!
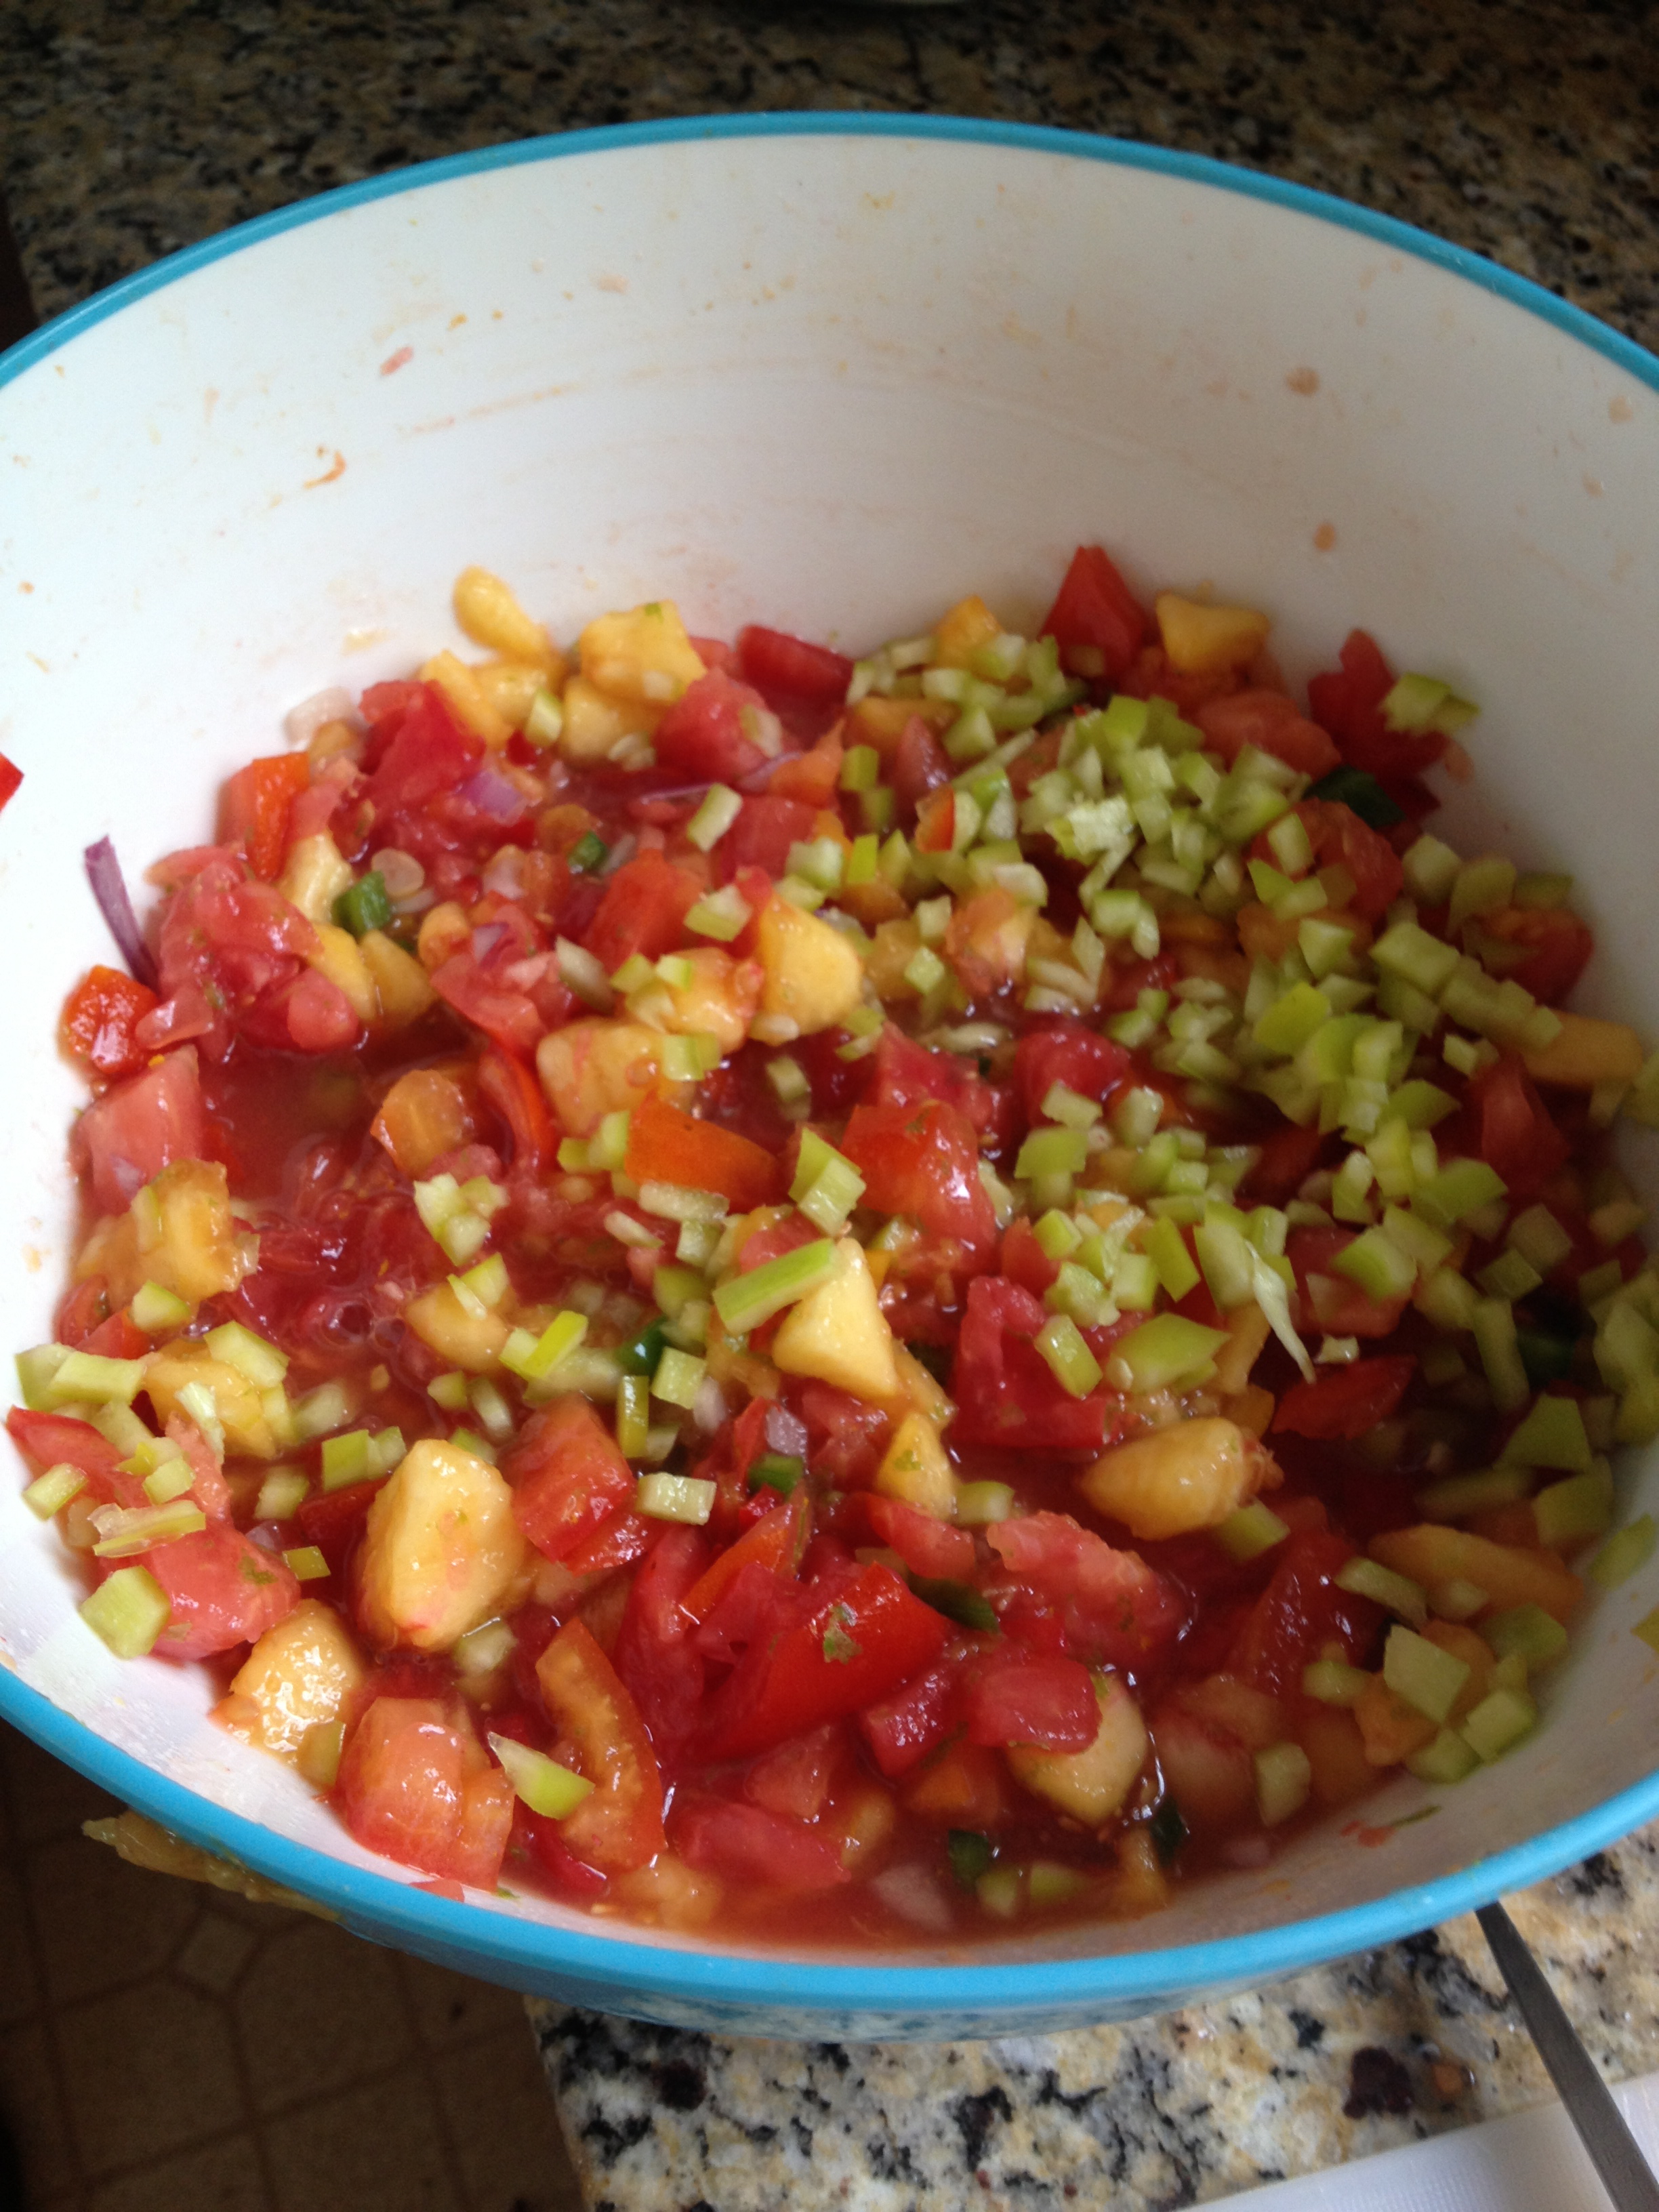
Chop the peaches and tomatoes first.. then the tomatoes next… let them sit to get a little juicy together…
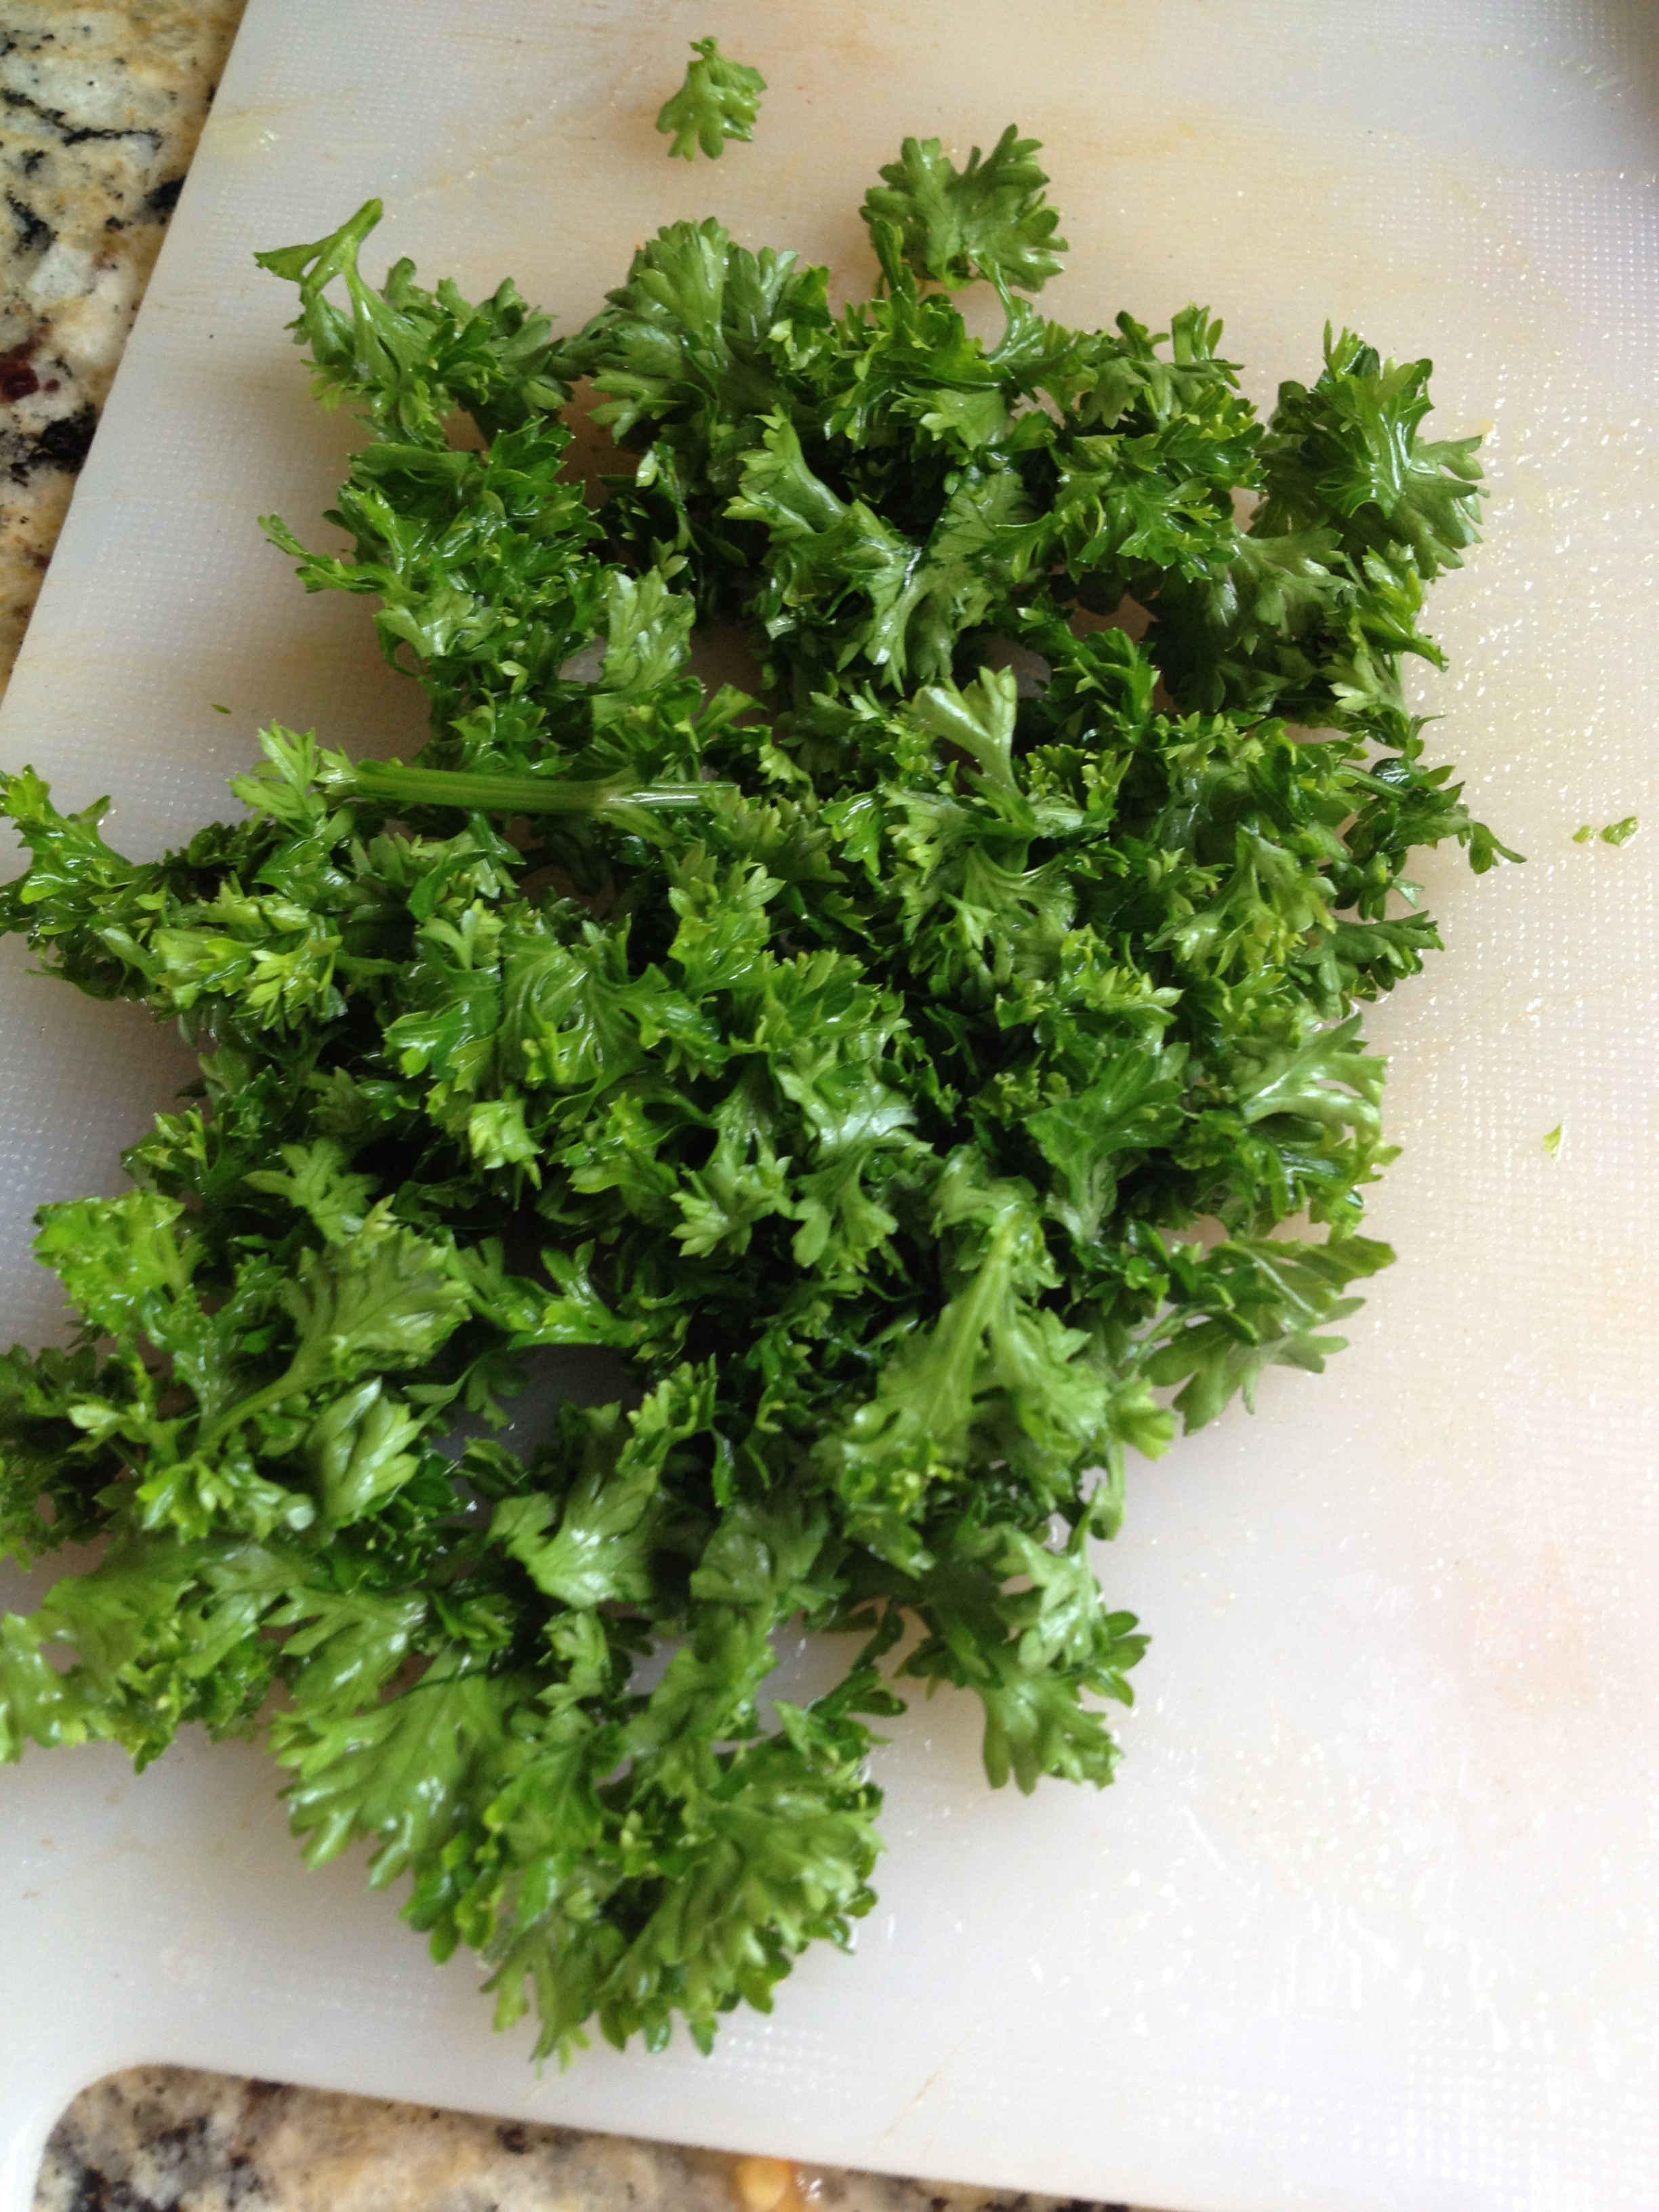 Chop a healthy dose of parley and add along with all the peppers… stir it all together
 A bit blurry but so yummy… Zest the lime over it and then squeeze the juice…
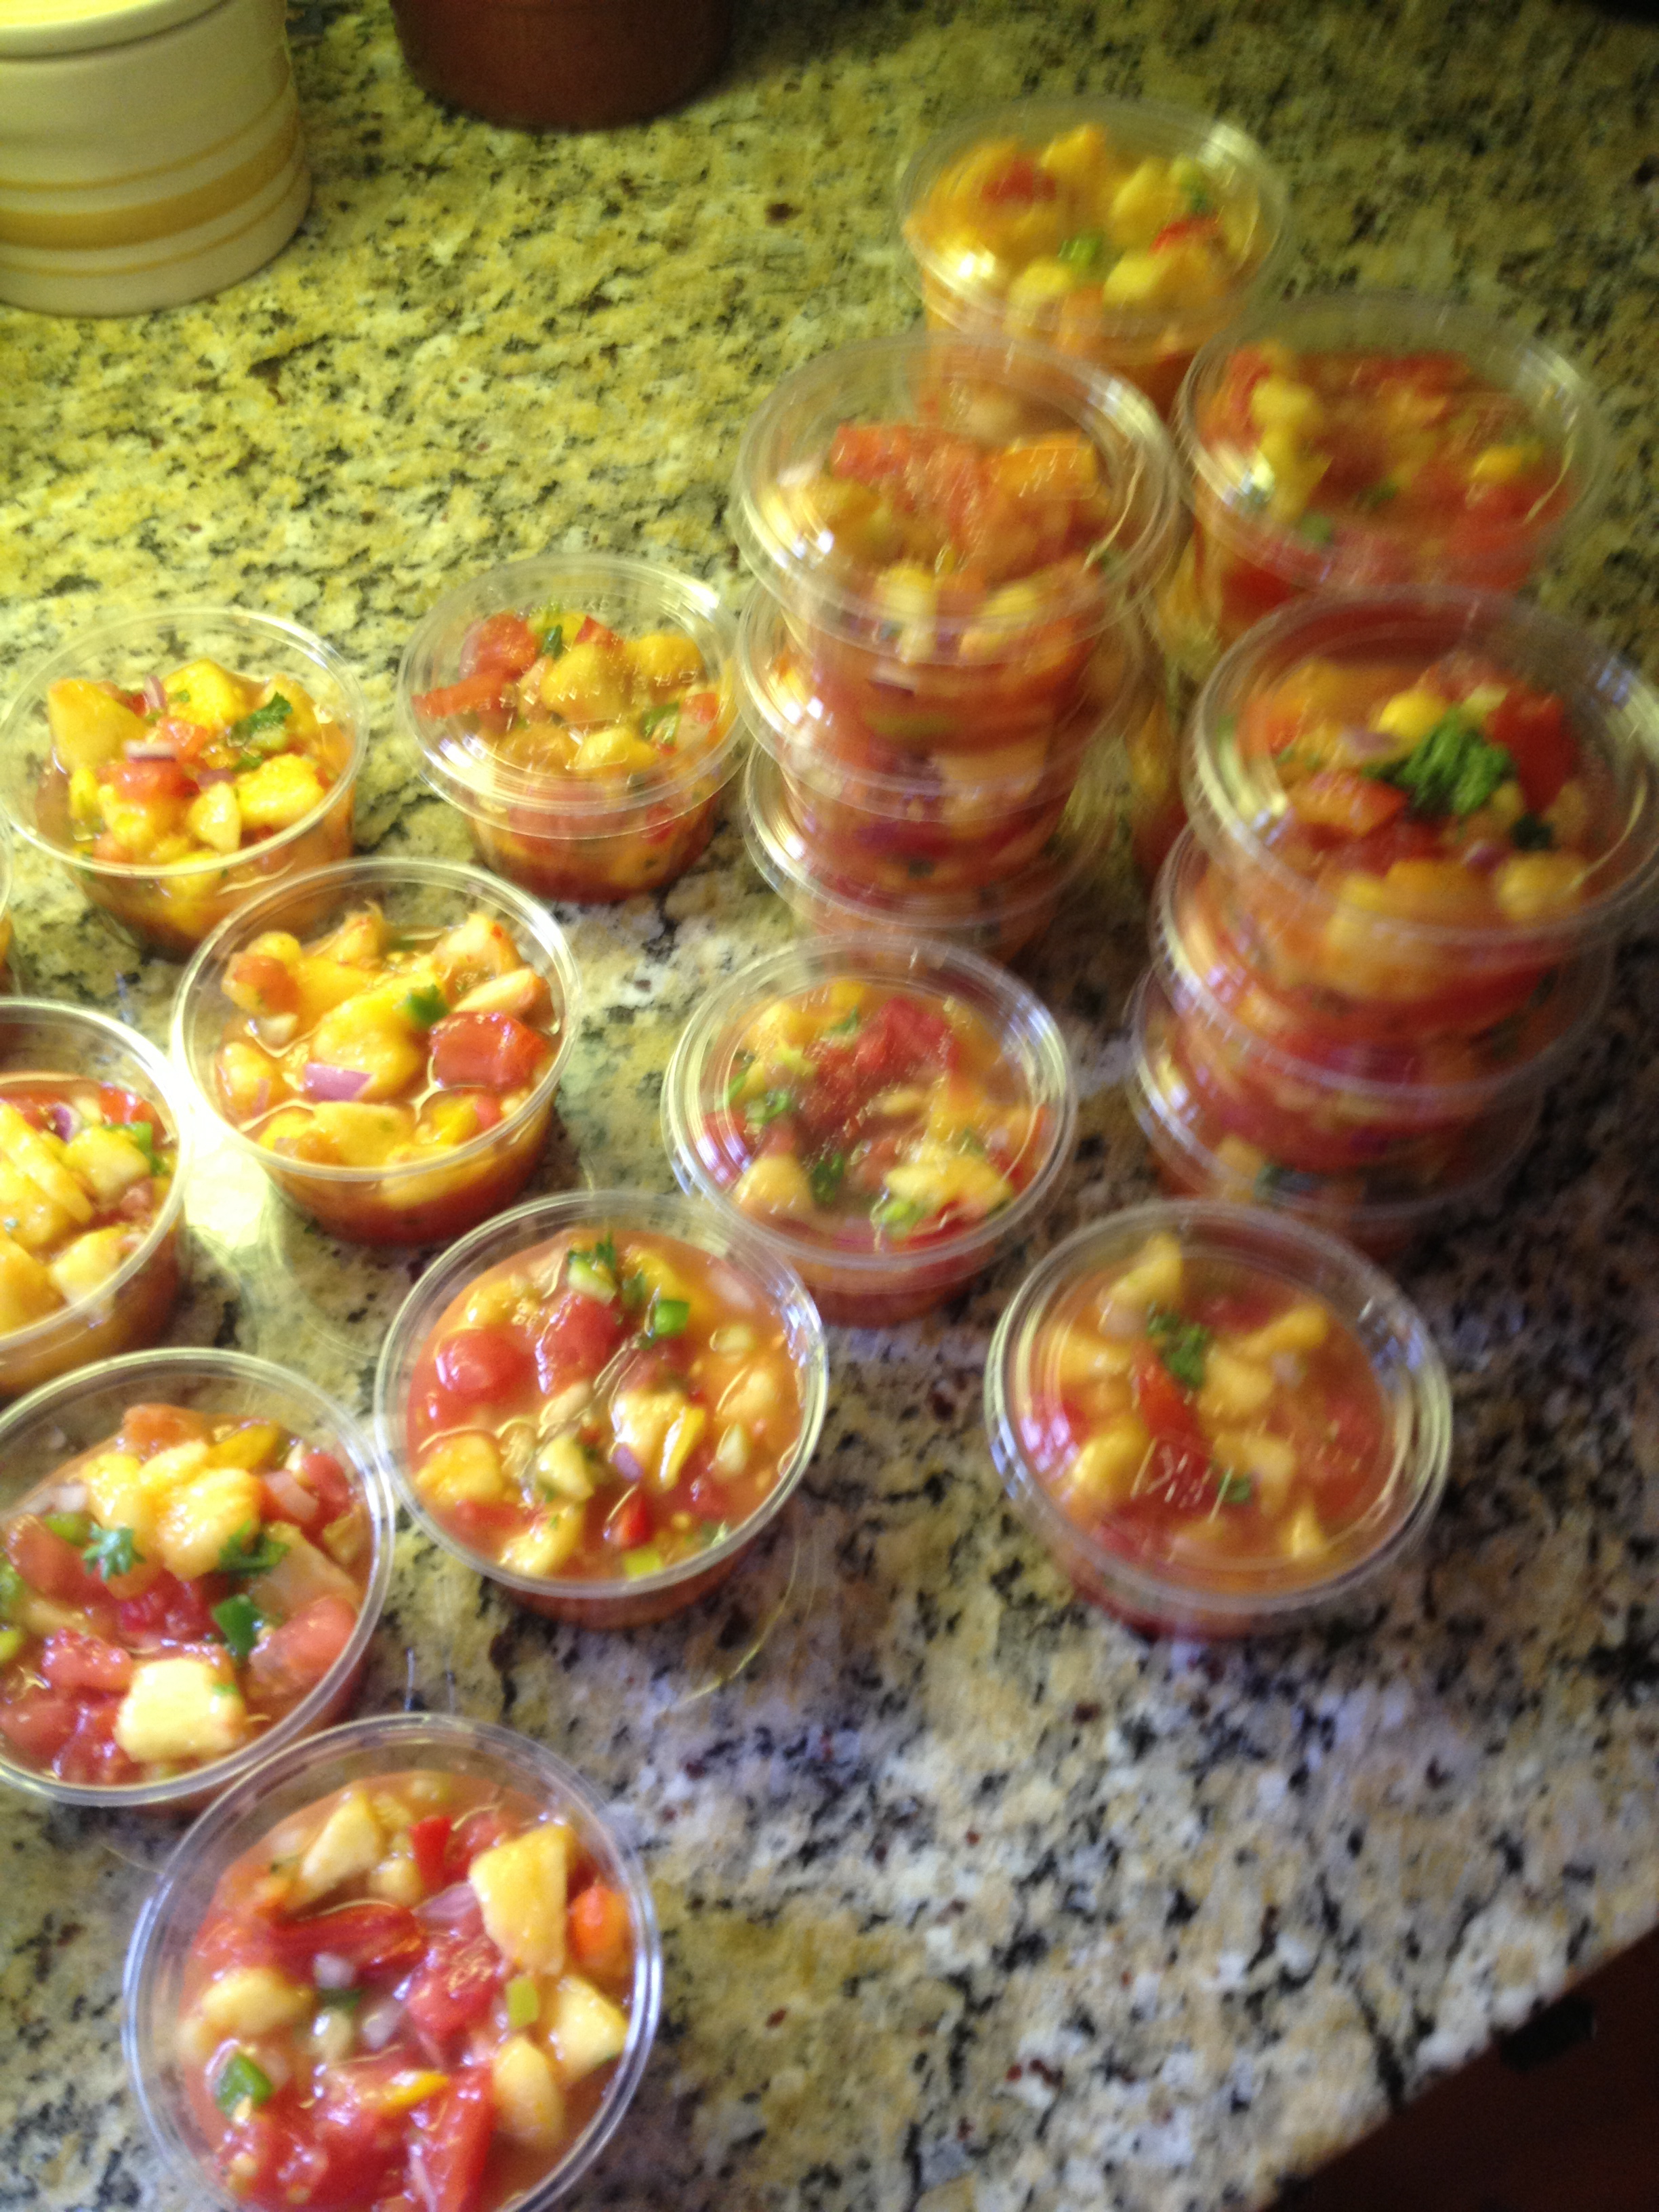 Little self serve container so delicious…
Stretch out the dough to be a square and place on tin foil, if you plan on cooking on the grill, you can also make it in the oven
Top with the peanut sauce, and then layer on tomatoes, cheese, onions, chop off the corn and top with basil
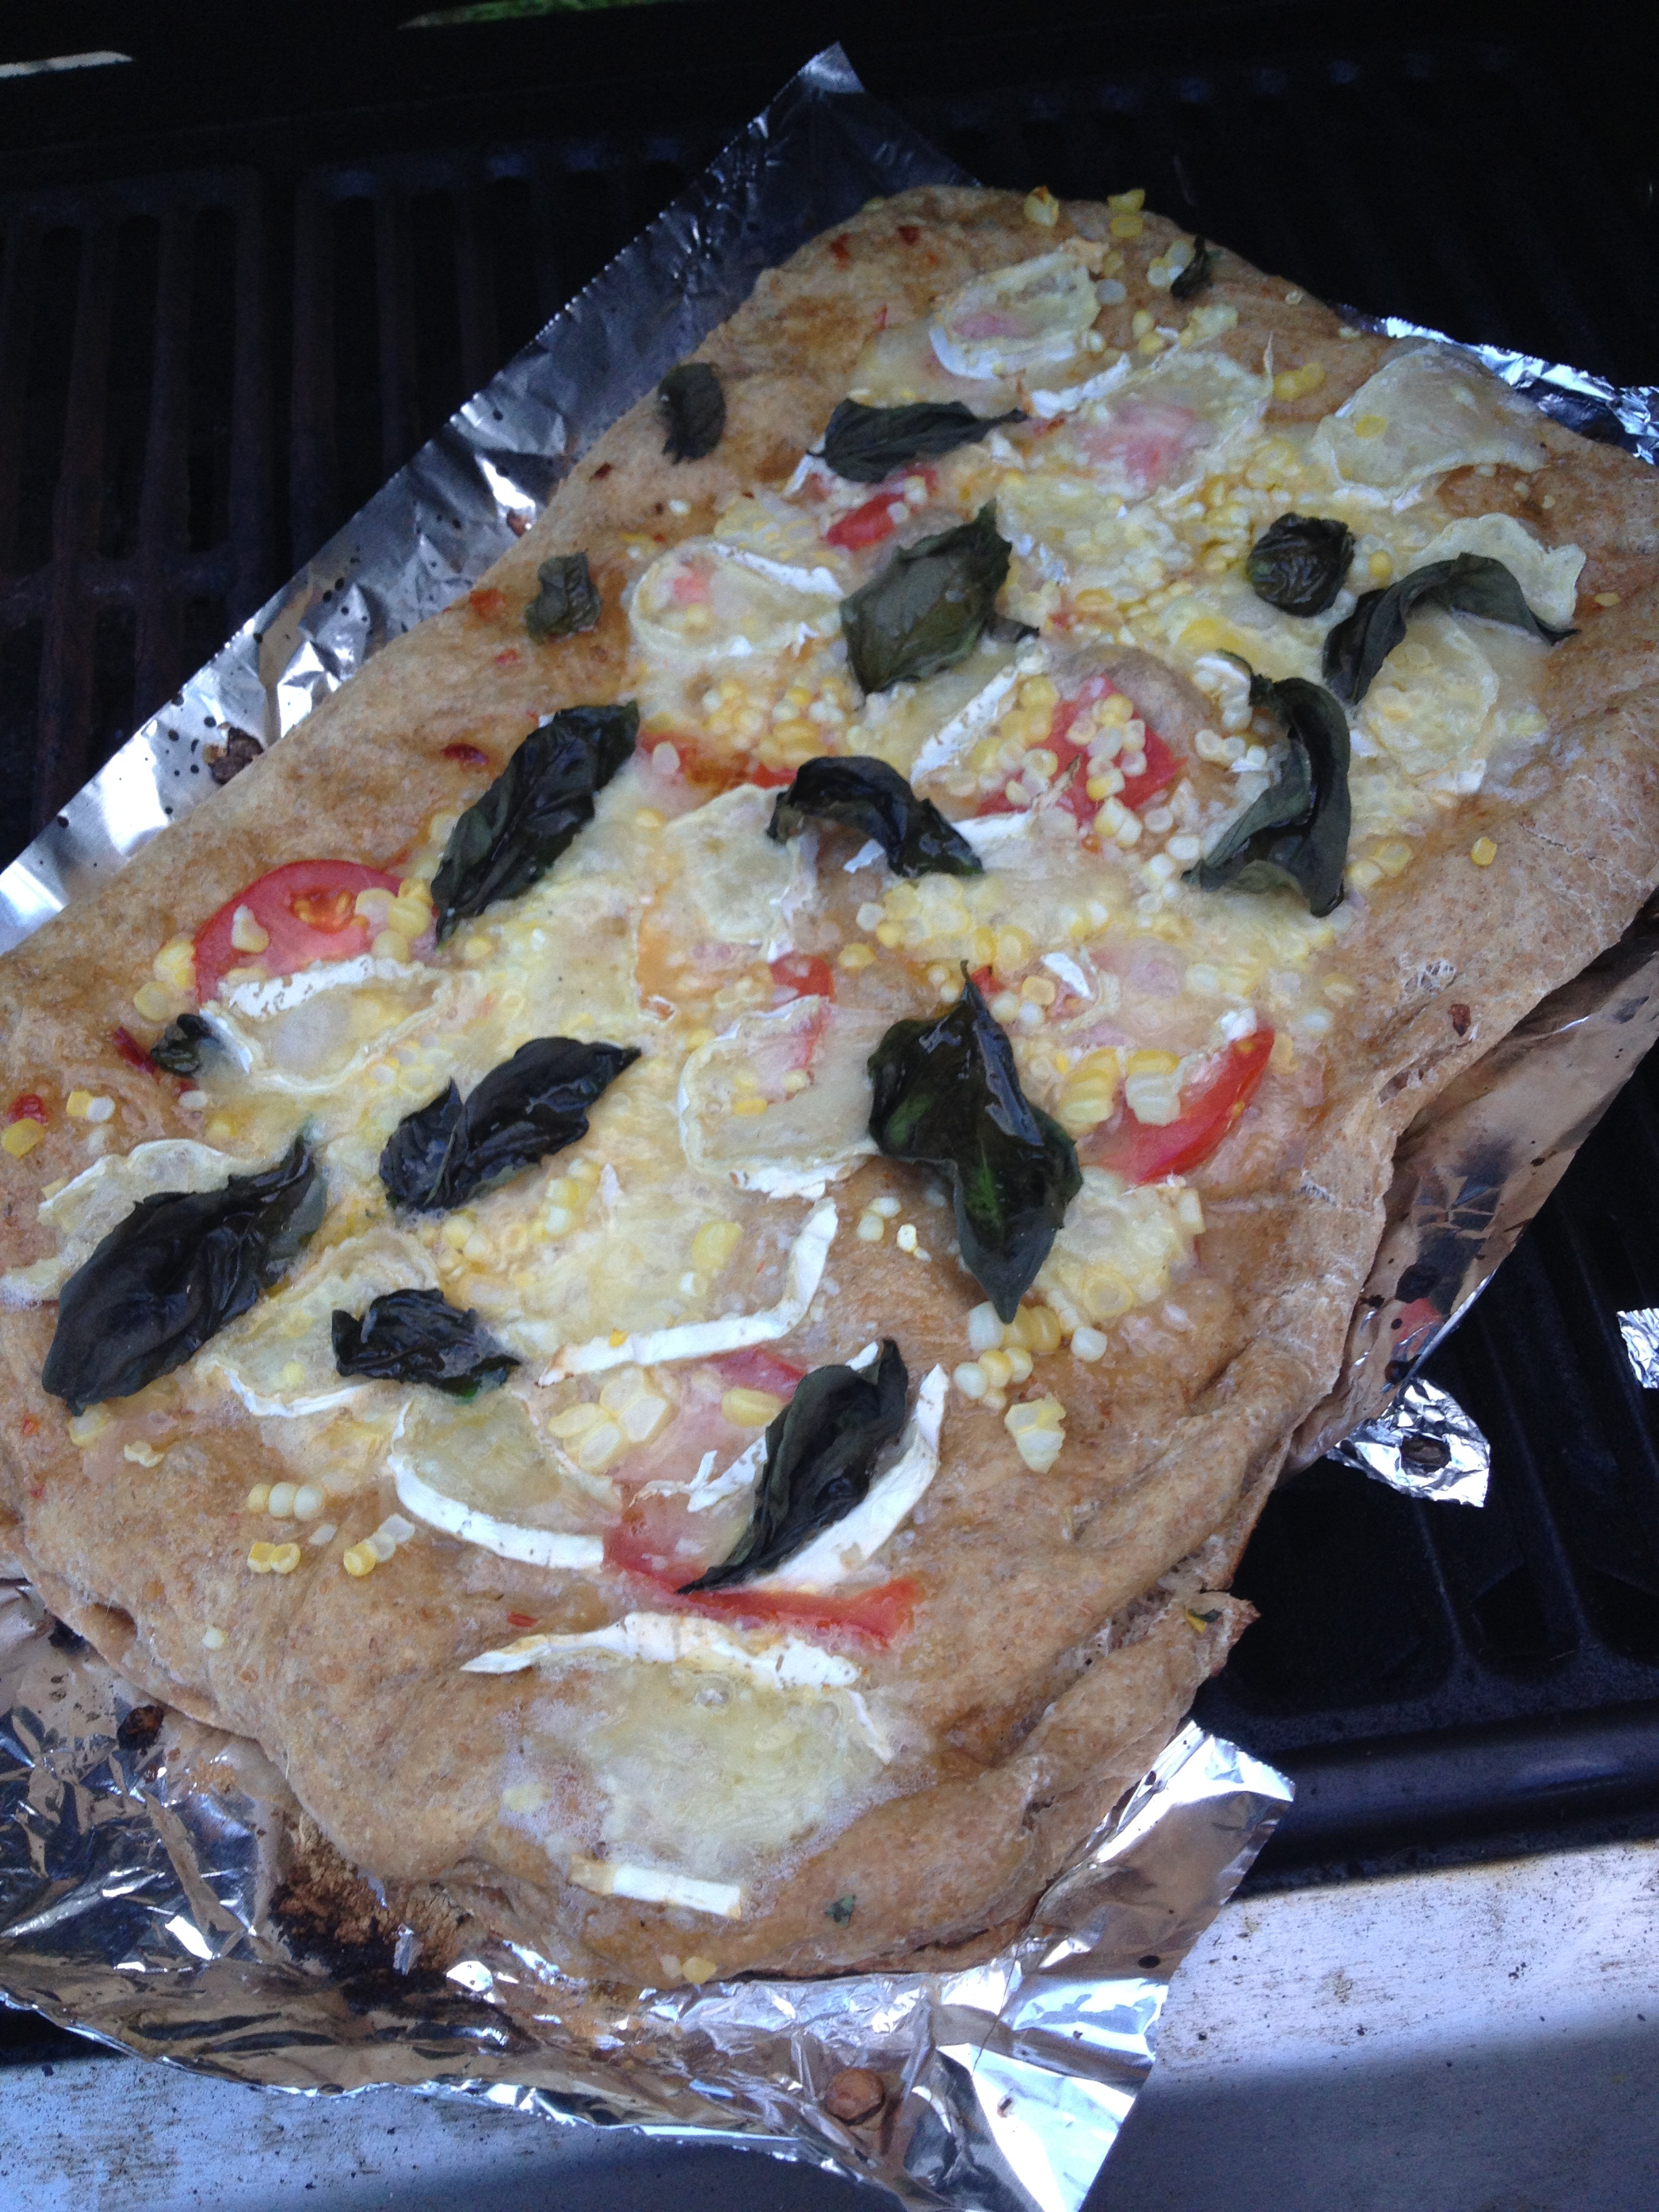
Once it is all layered on… place it on the grill for about 20 minutes… watch for the bottom to not get too burnt, it heats much faster then when you bake in the oven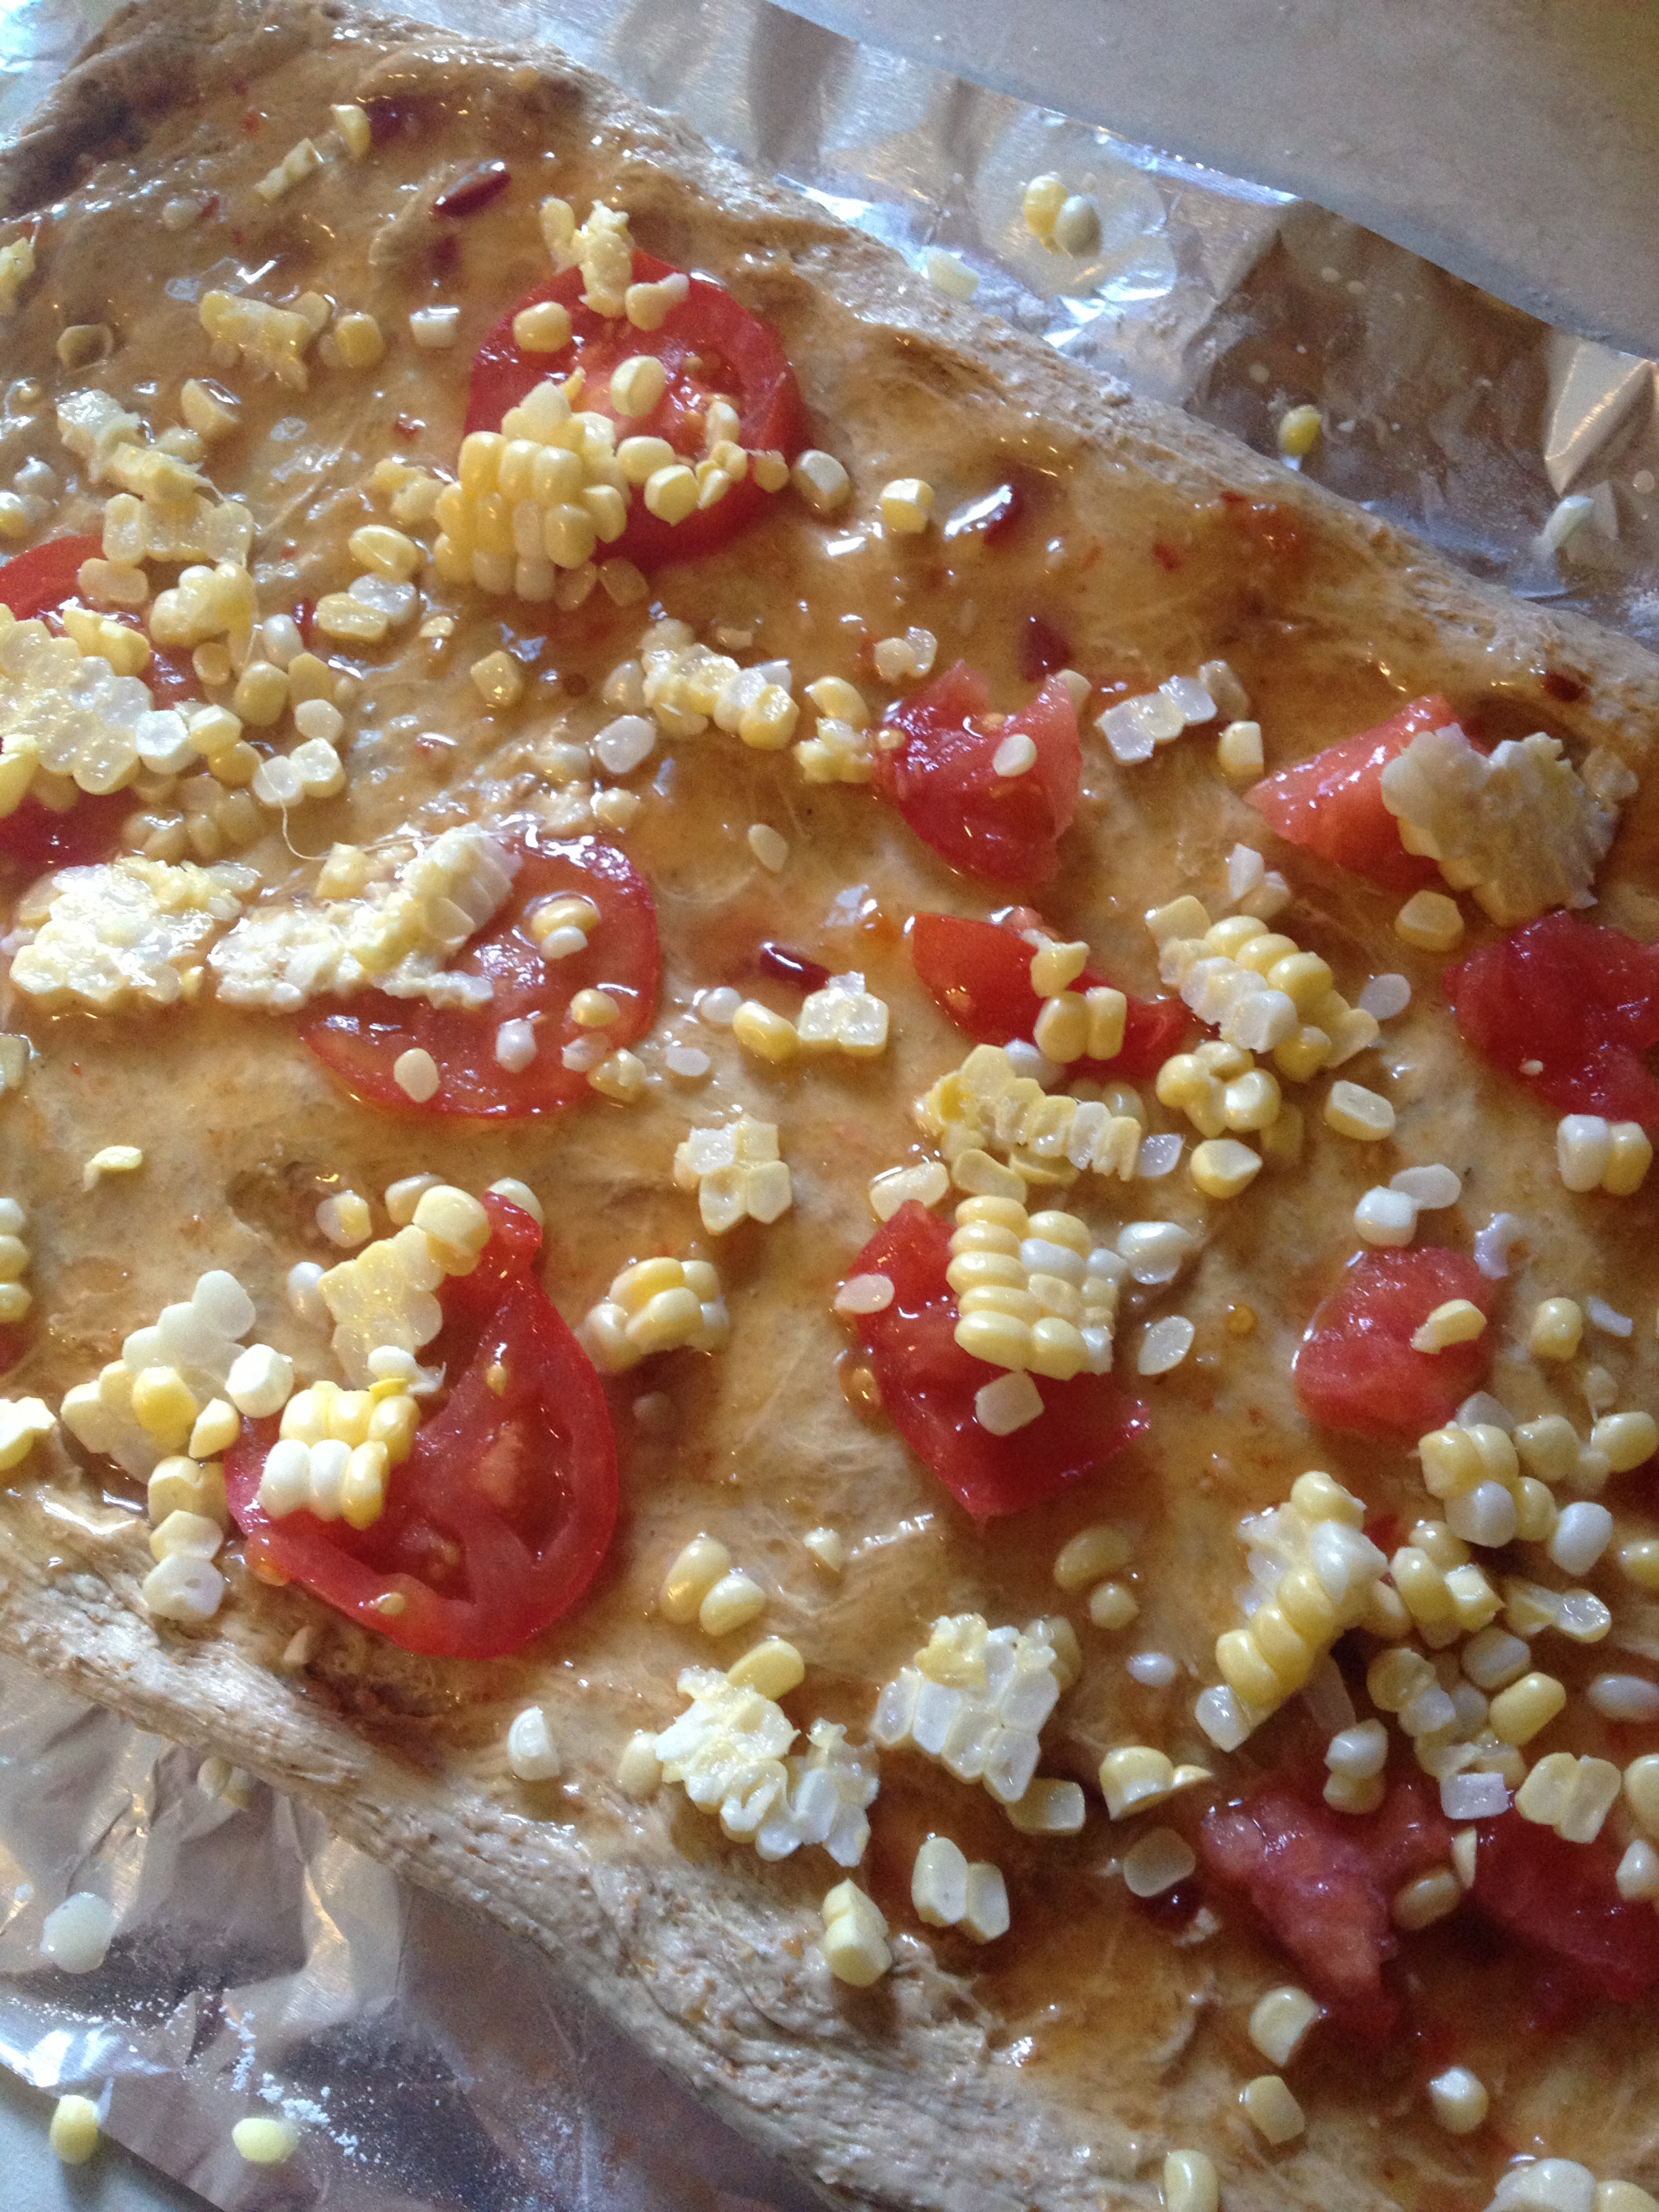
The final product… the basil gets very dark green
Before the heat of the grill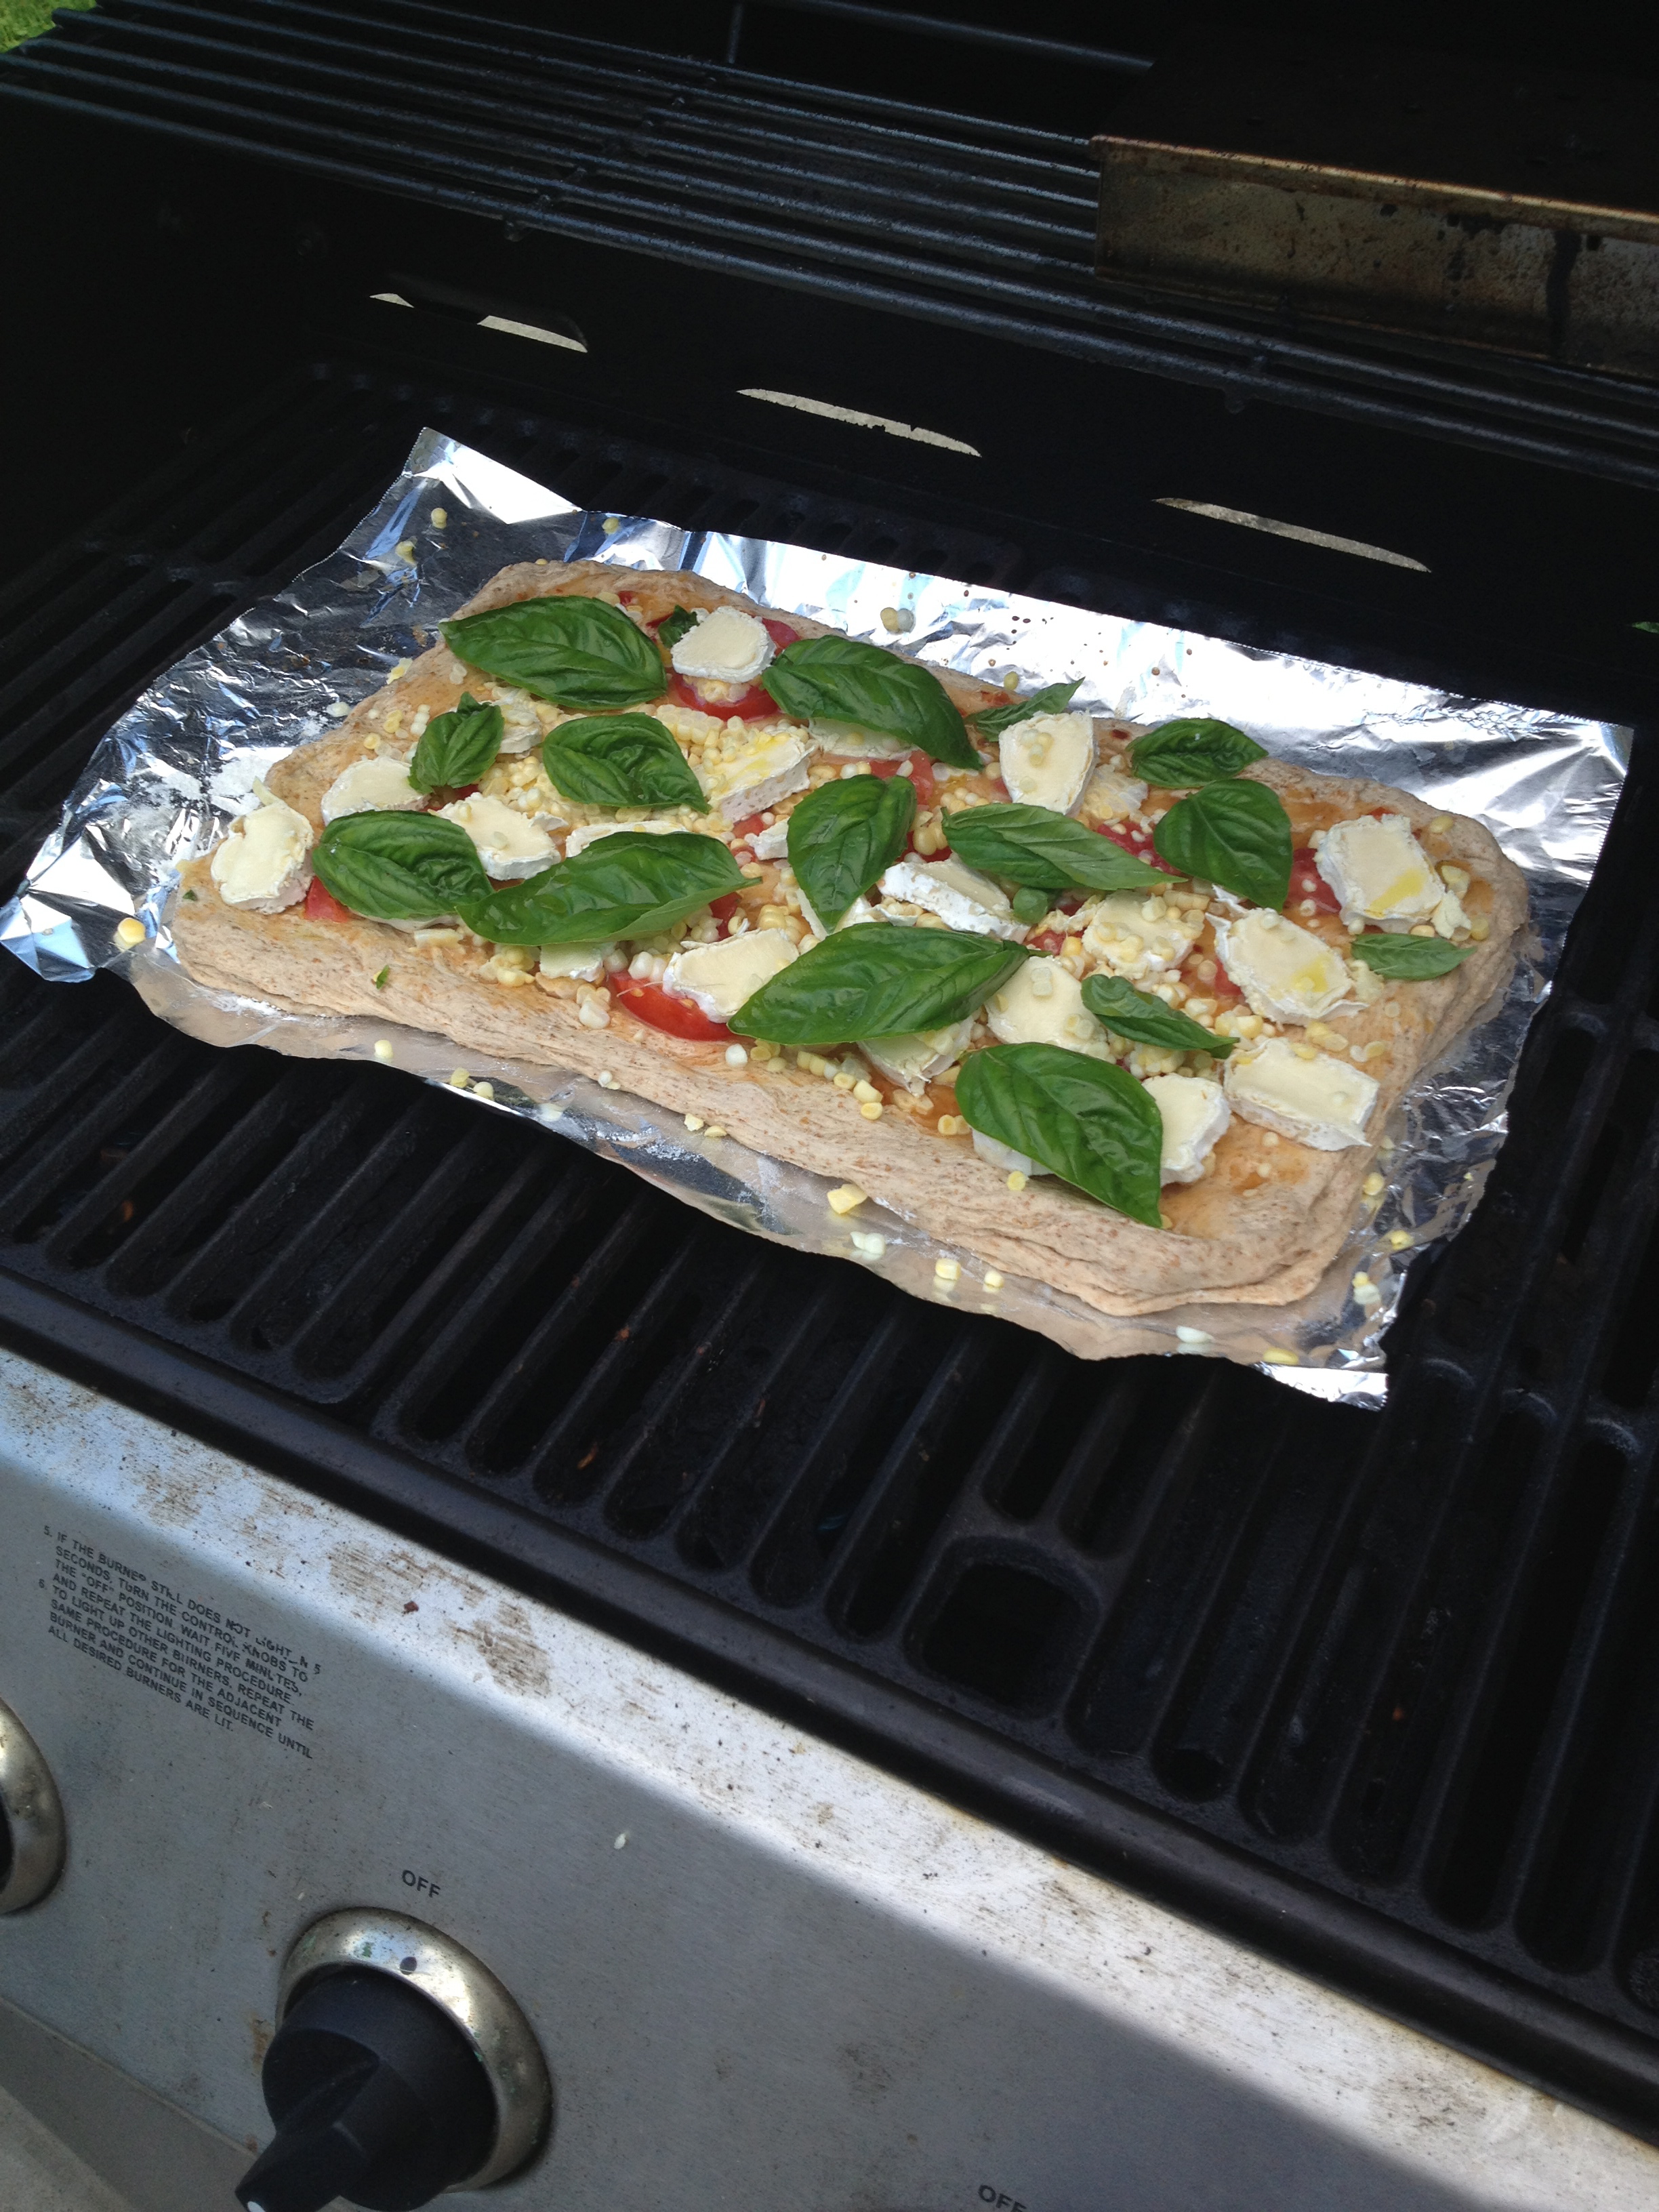
Up close precooked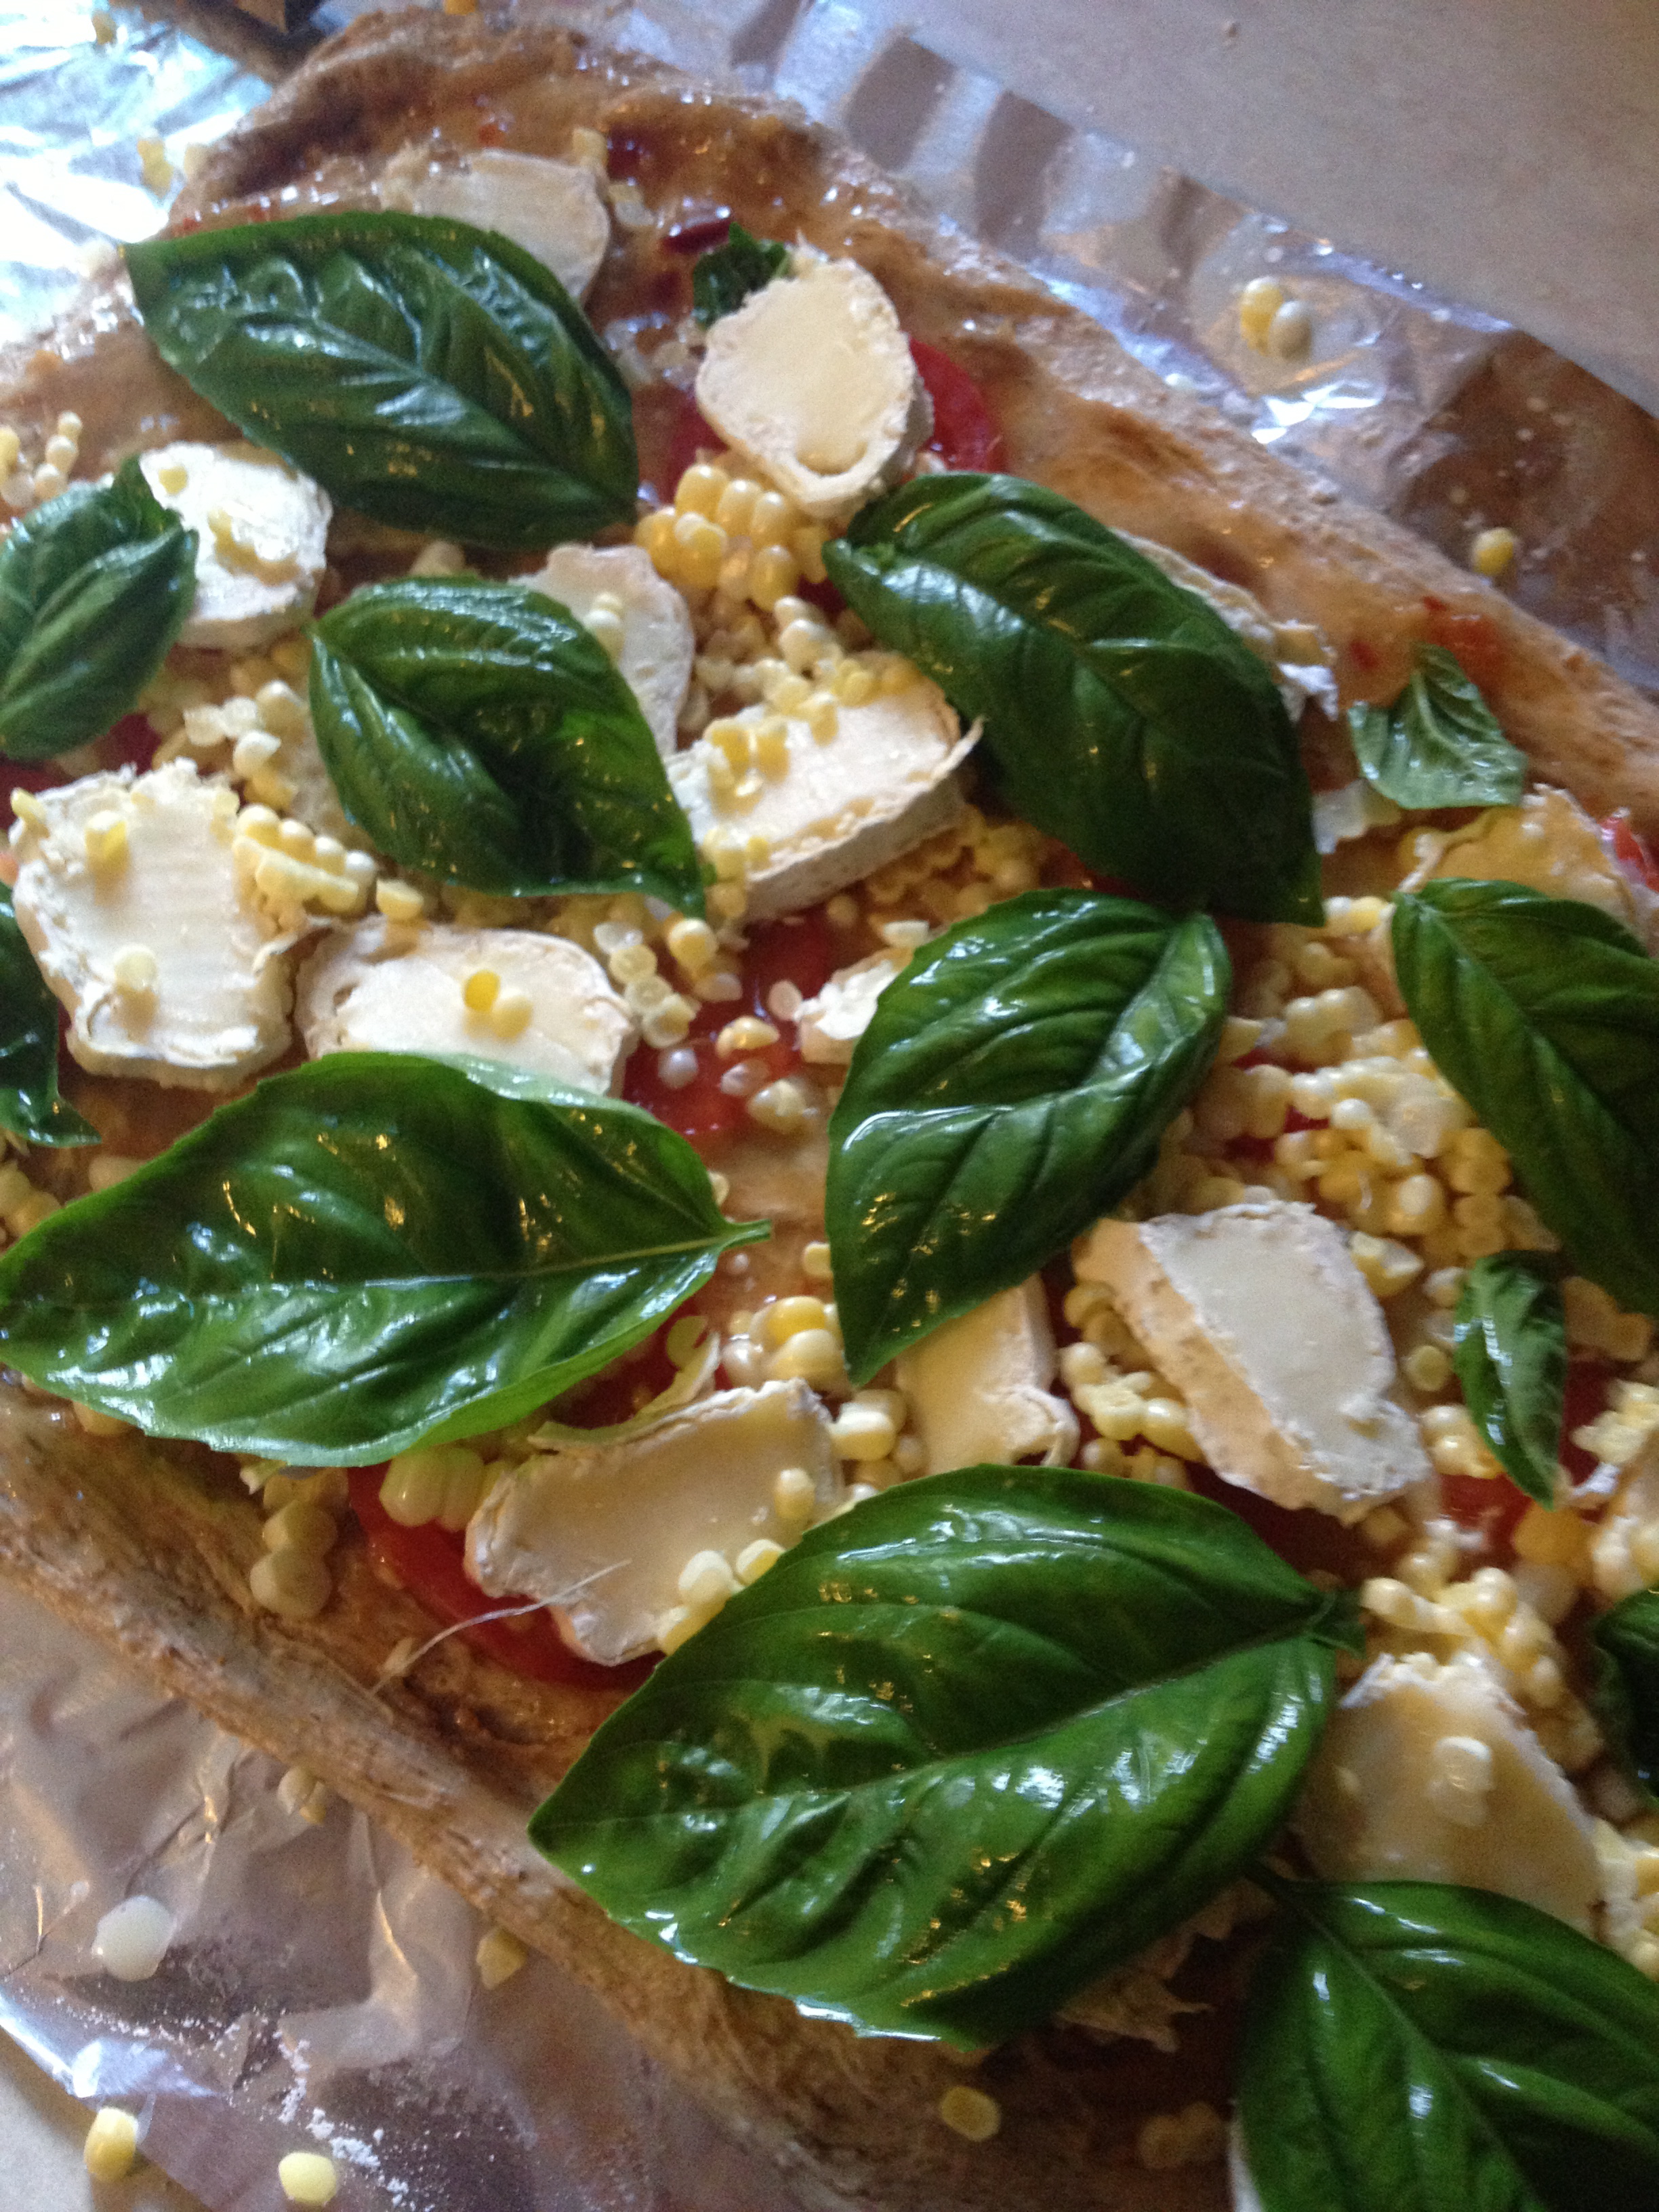
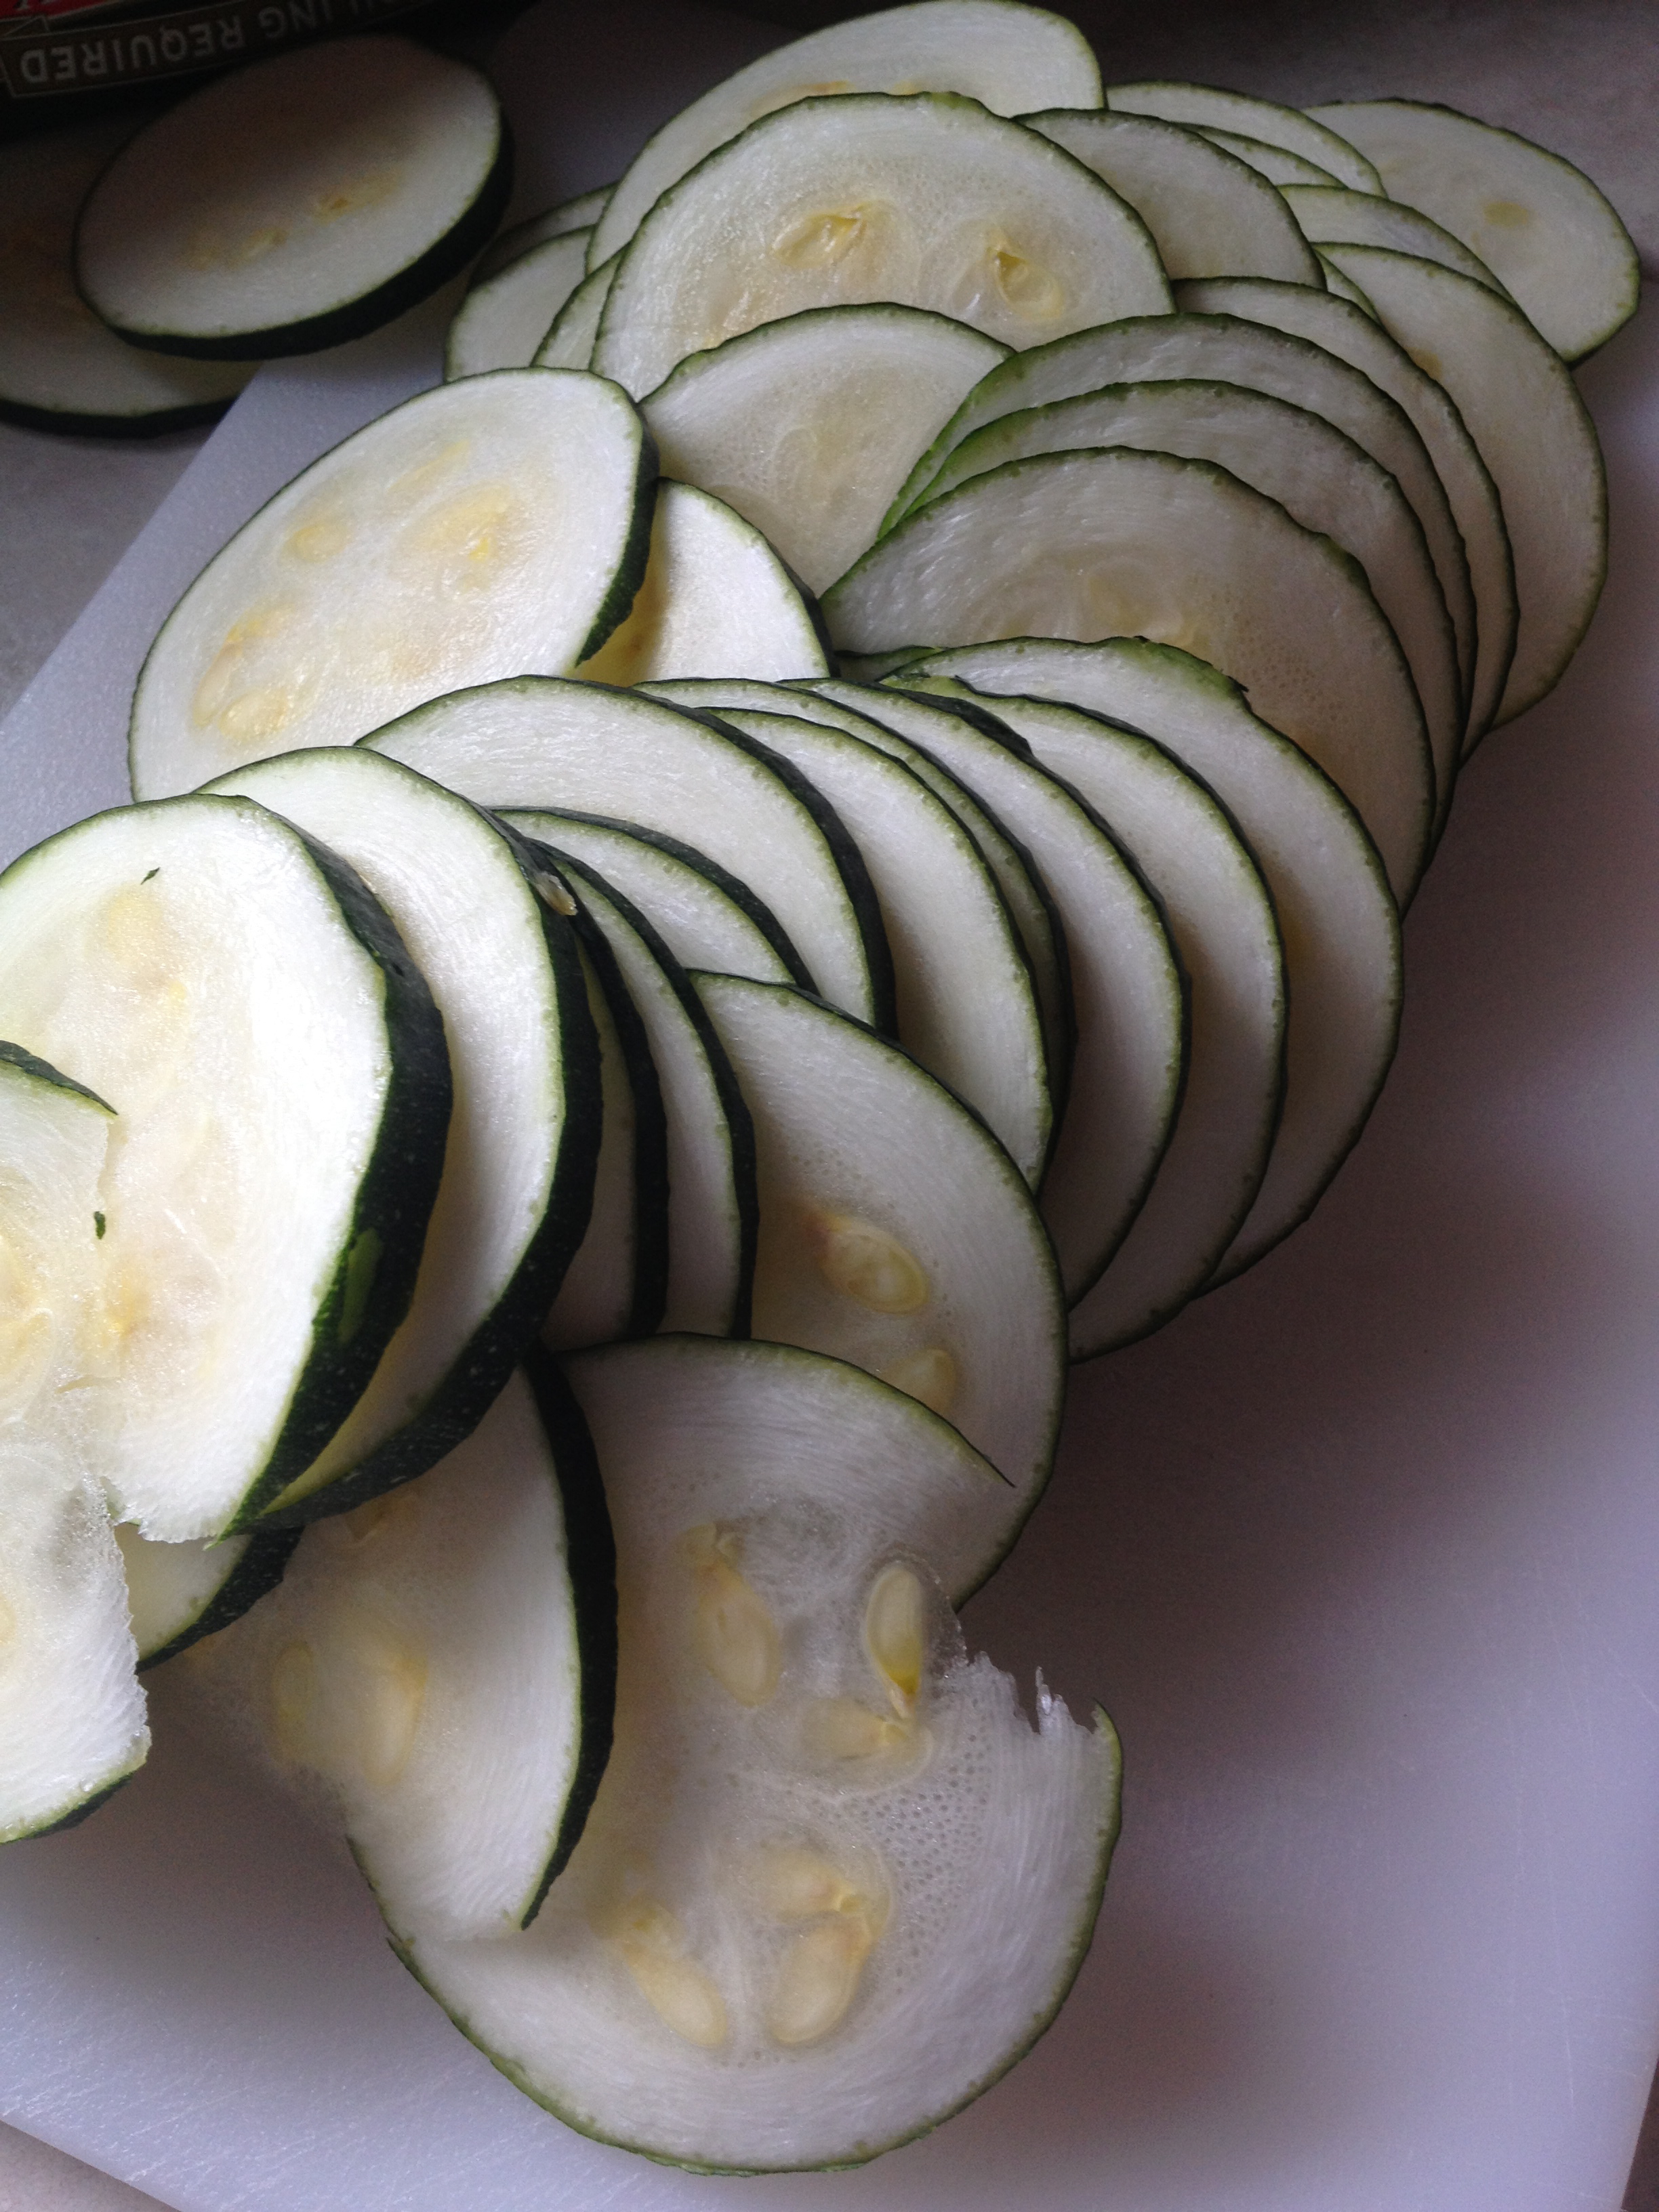
Slice up Zucchini, Soak one box of noodles in hot water
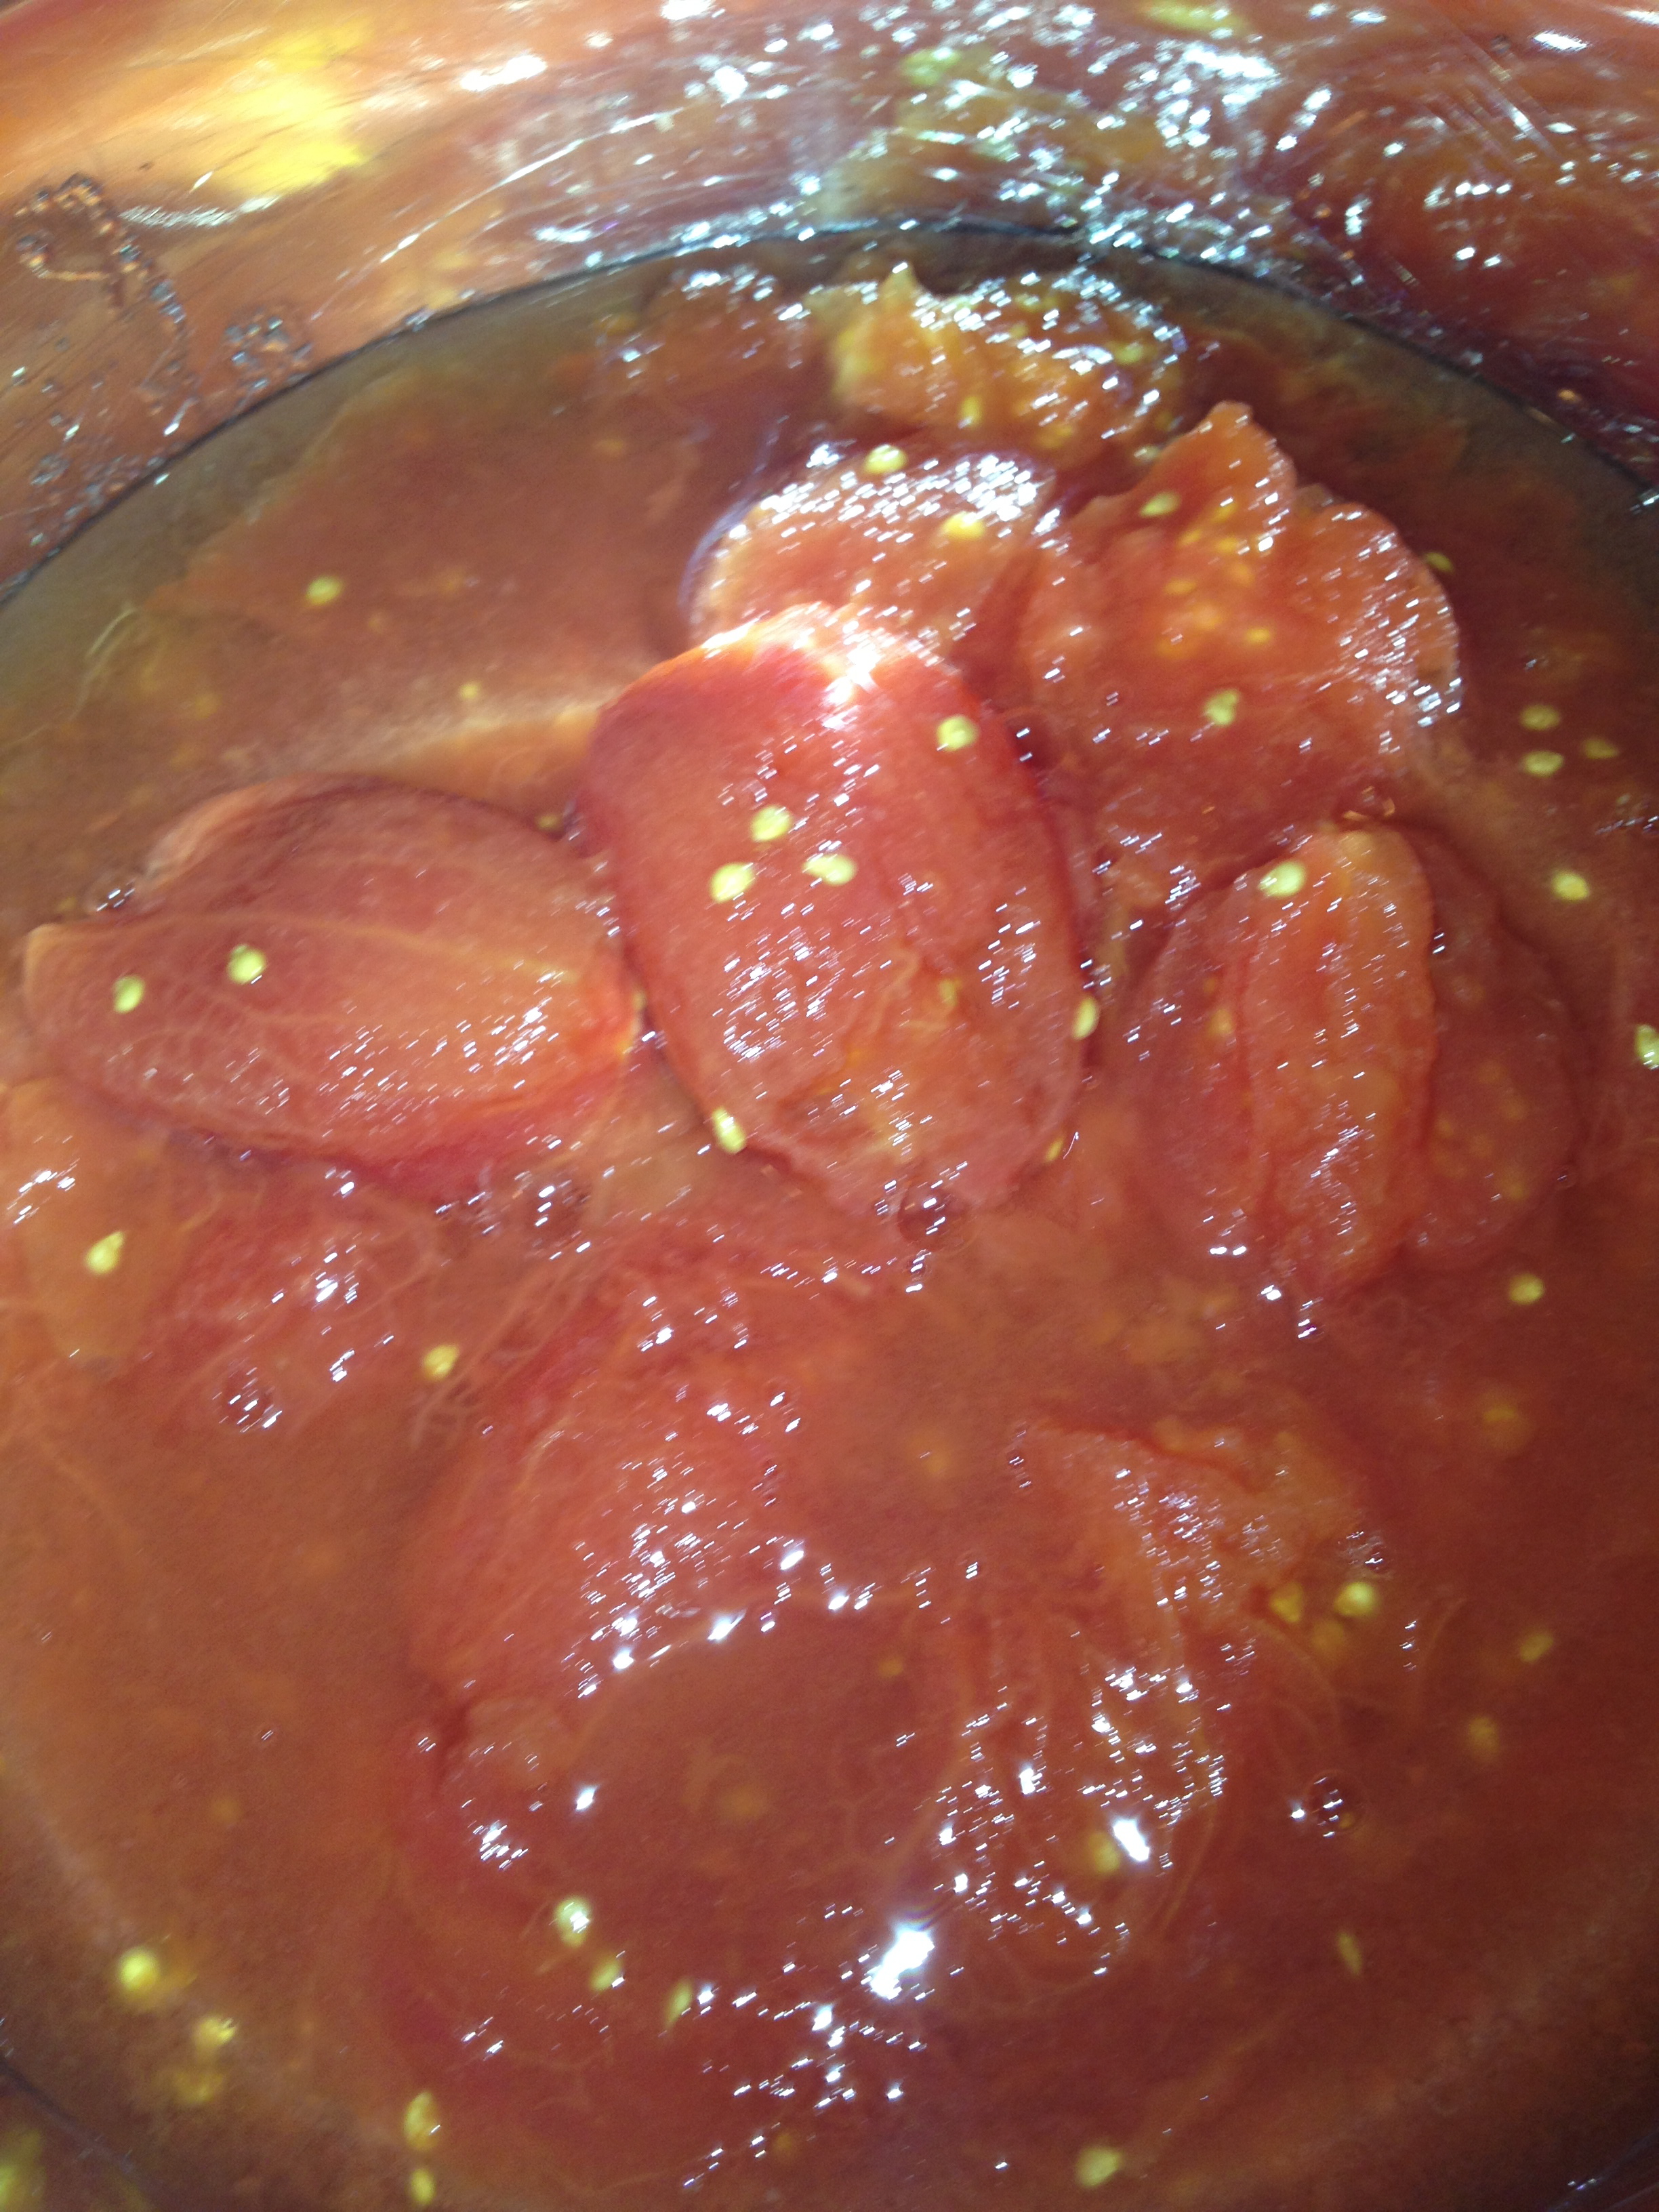
In one bowl, put the tomatoes, add the paste,chop oregano and basil, shake in salt and pepper
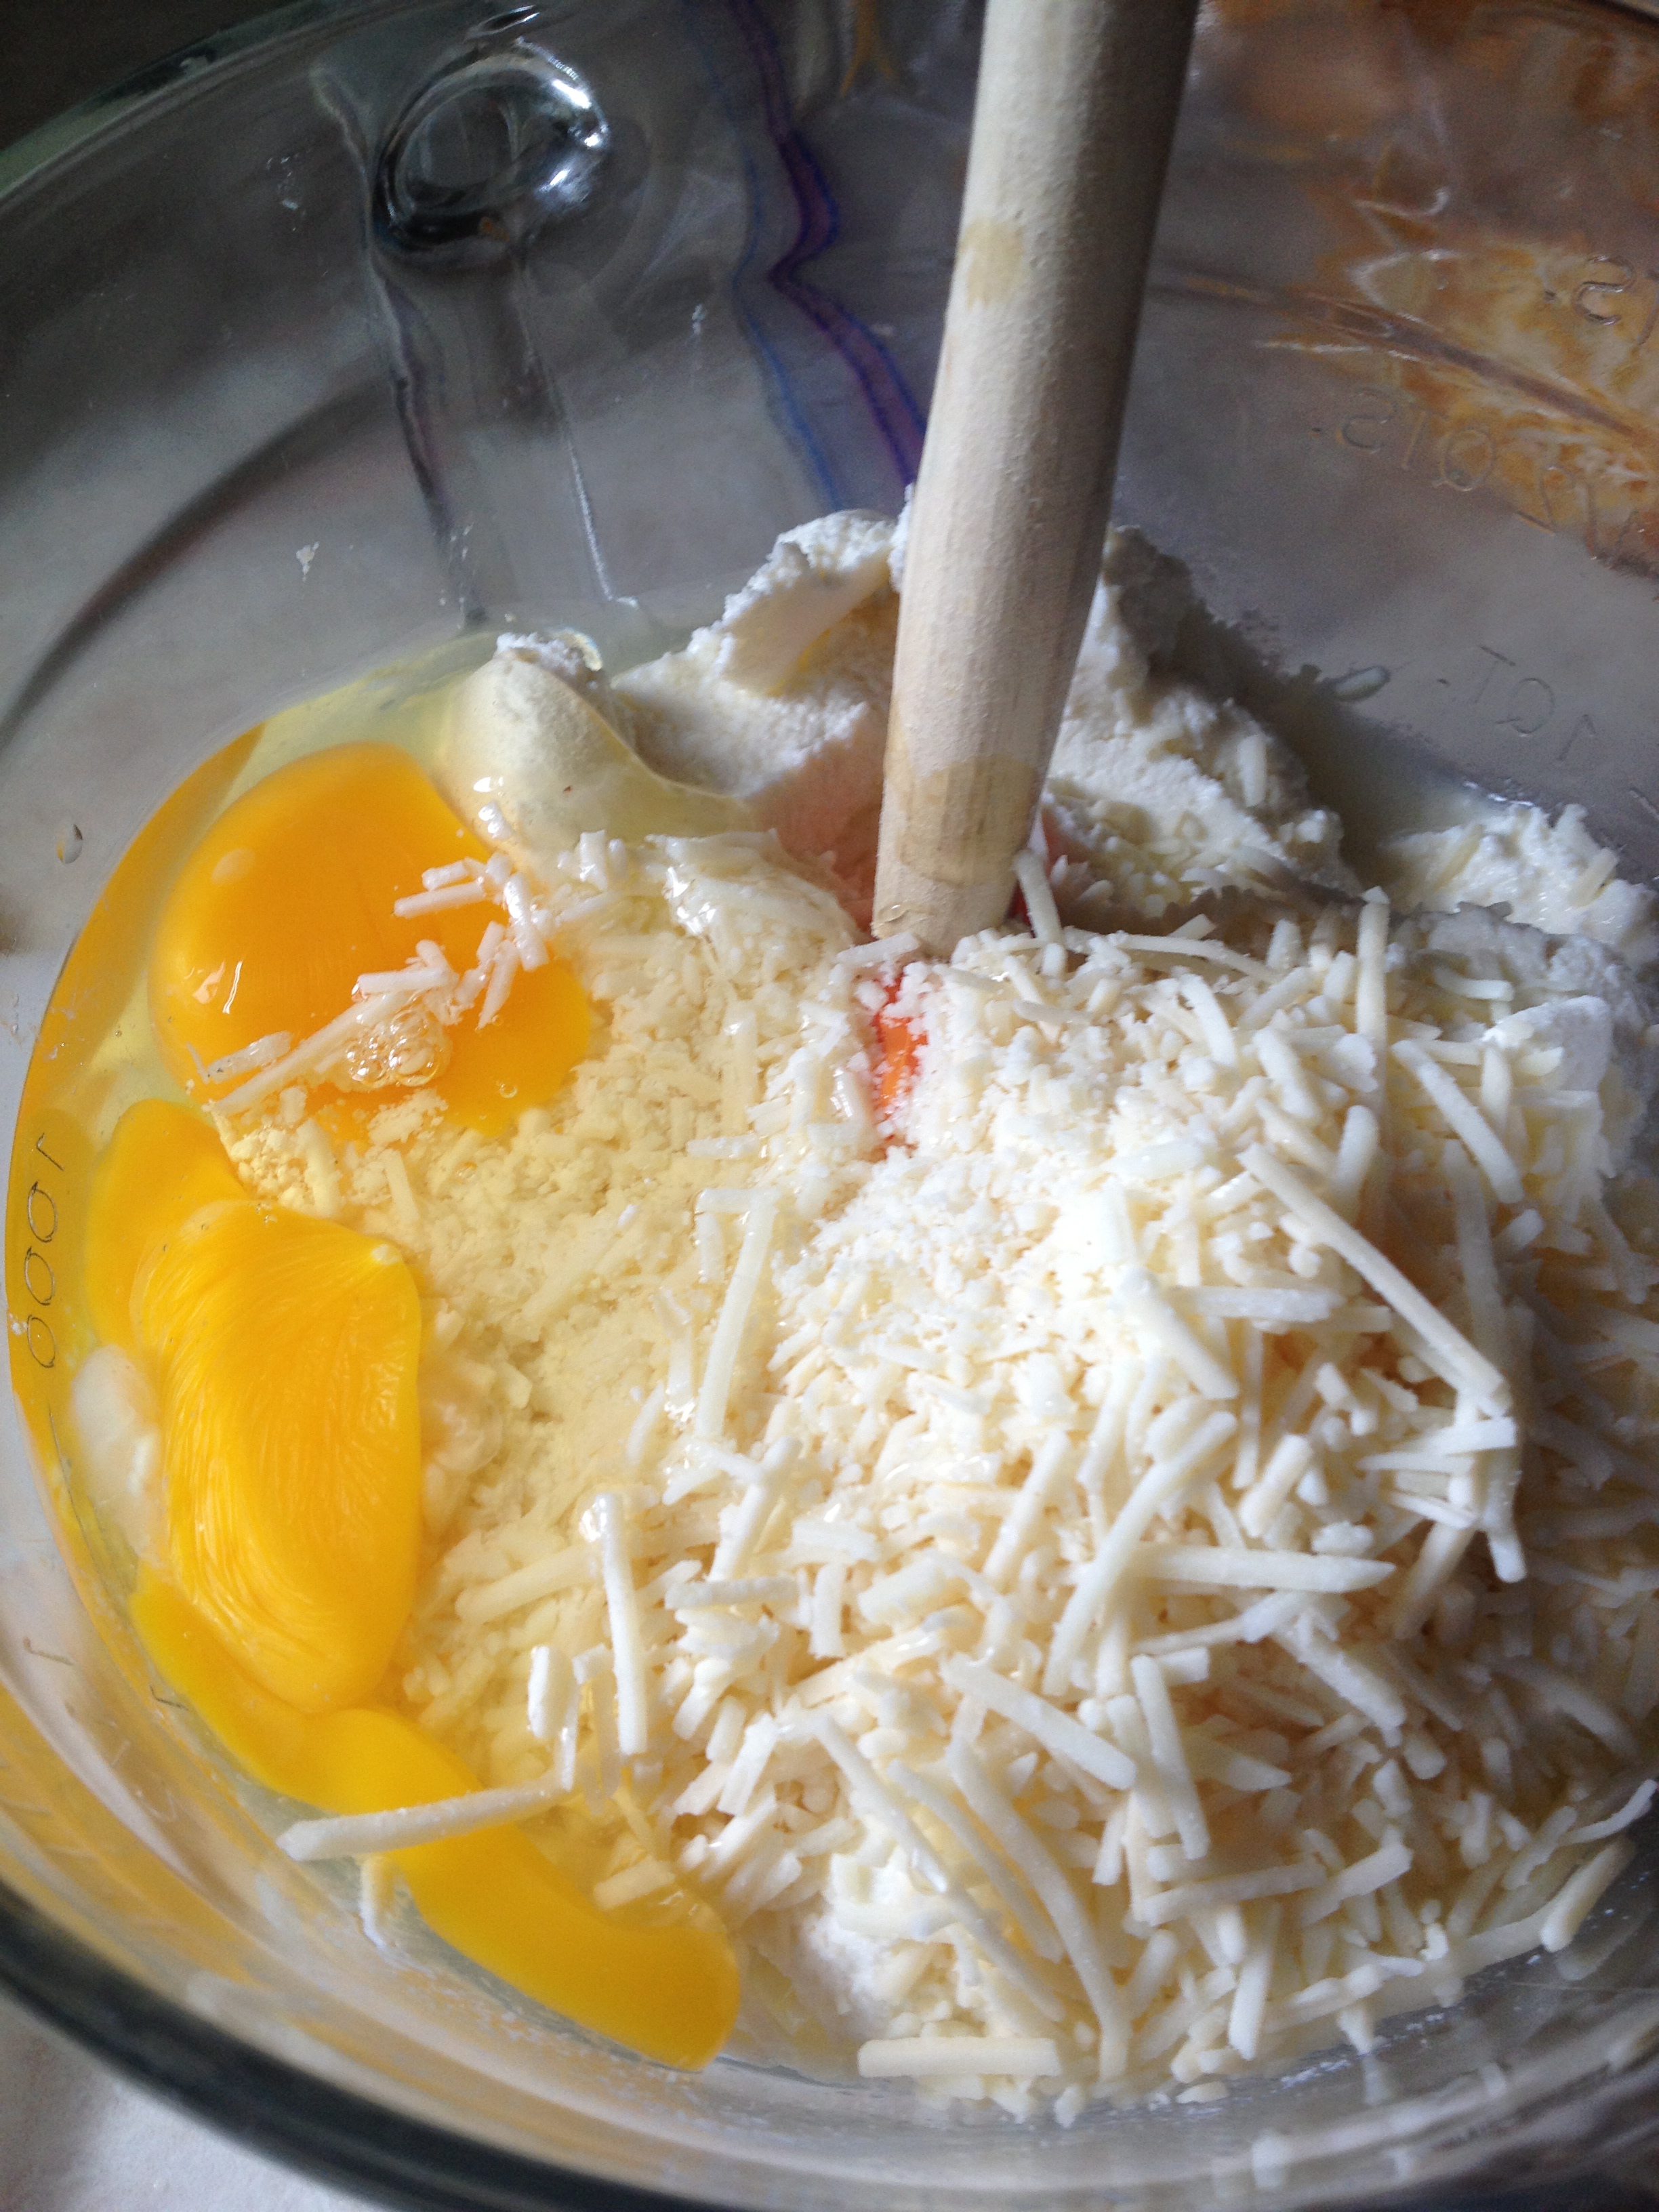
In the next bowl, add the ricotta cheese, eggs, parm cheese, basil, and pepper, mix all together
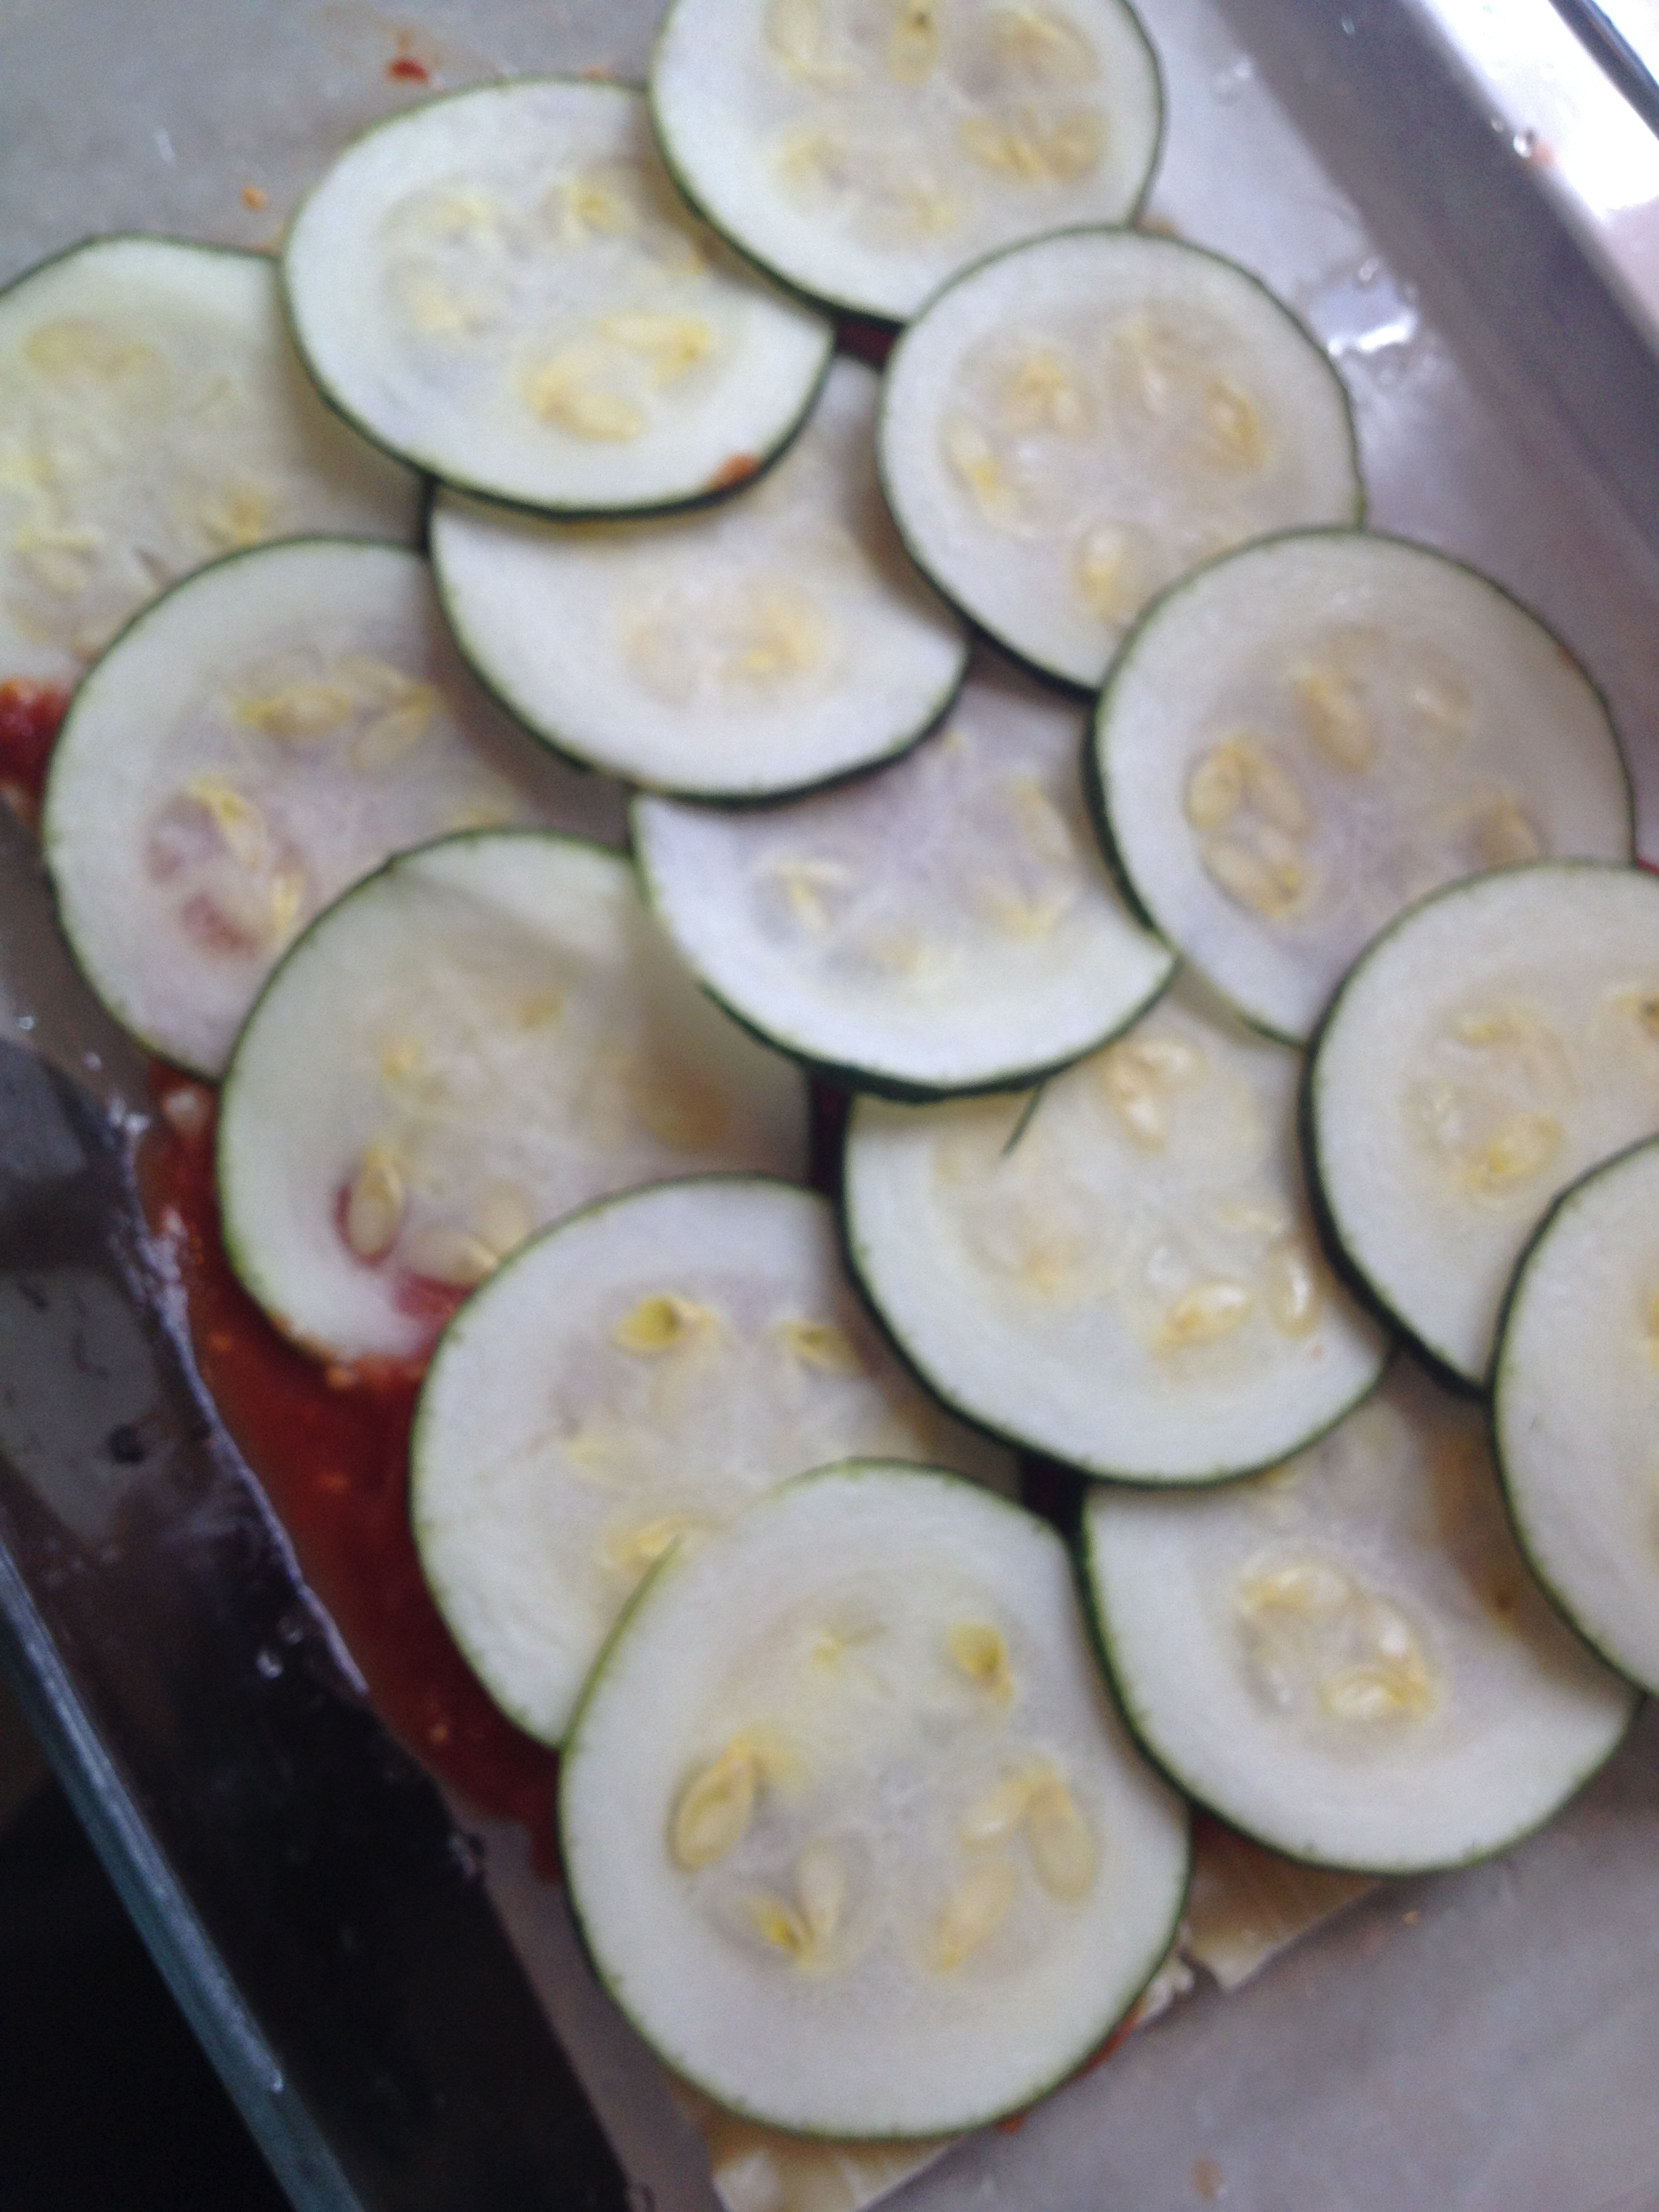
Now let the layering begin, lay noddles flat in the bottom and then top with the cheese mixture, add zucchini flat, and then top with tomato mixture.. keep layering until you have filled the pan
Bake for 50 minutes at 350
Top with more fresh cut basil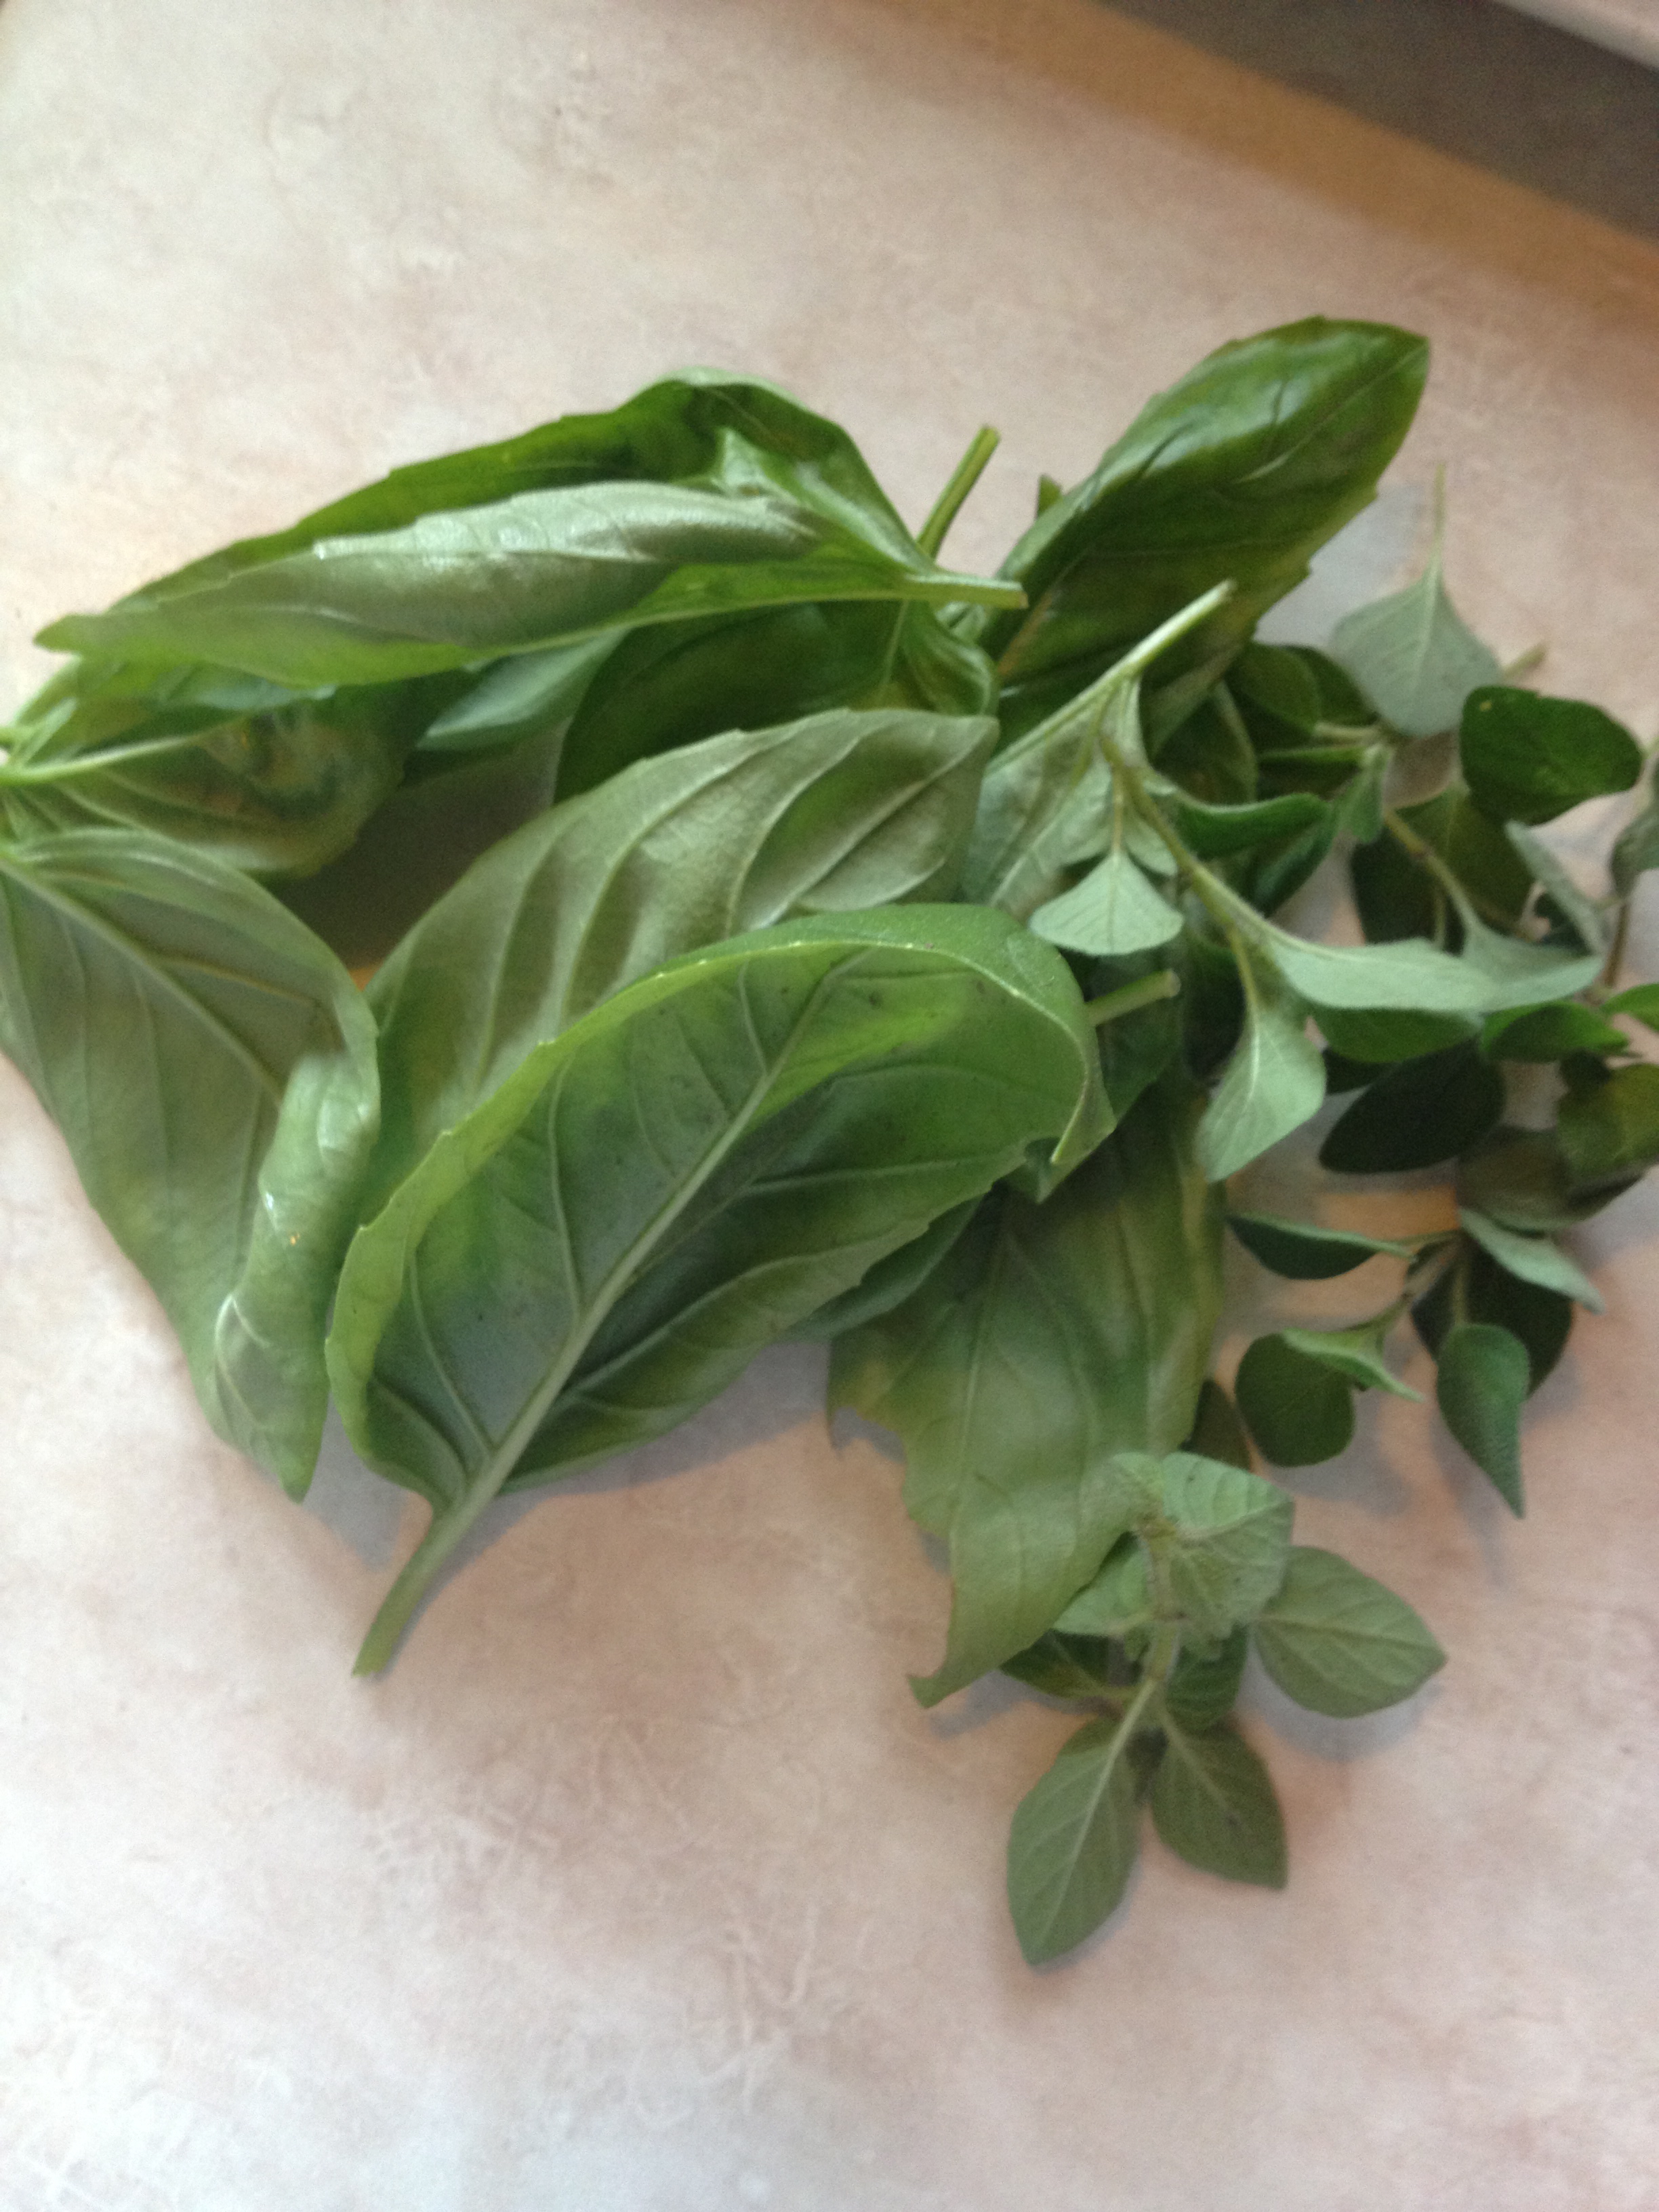
You will need:
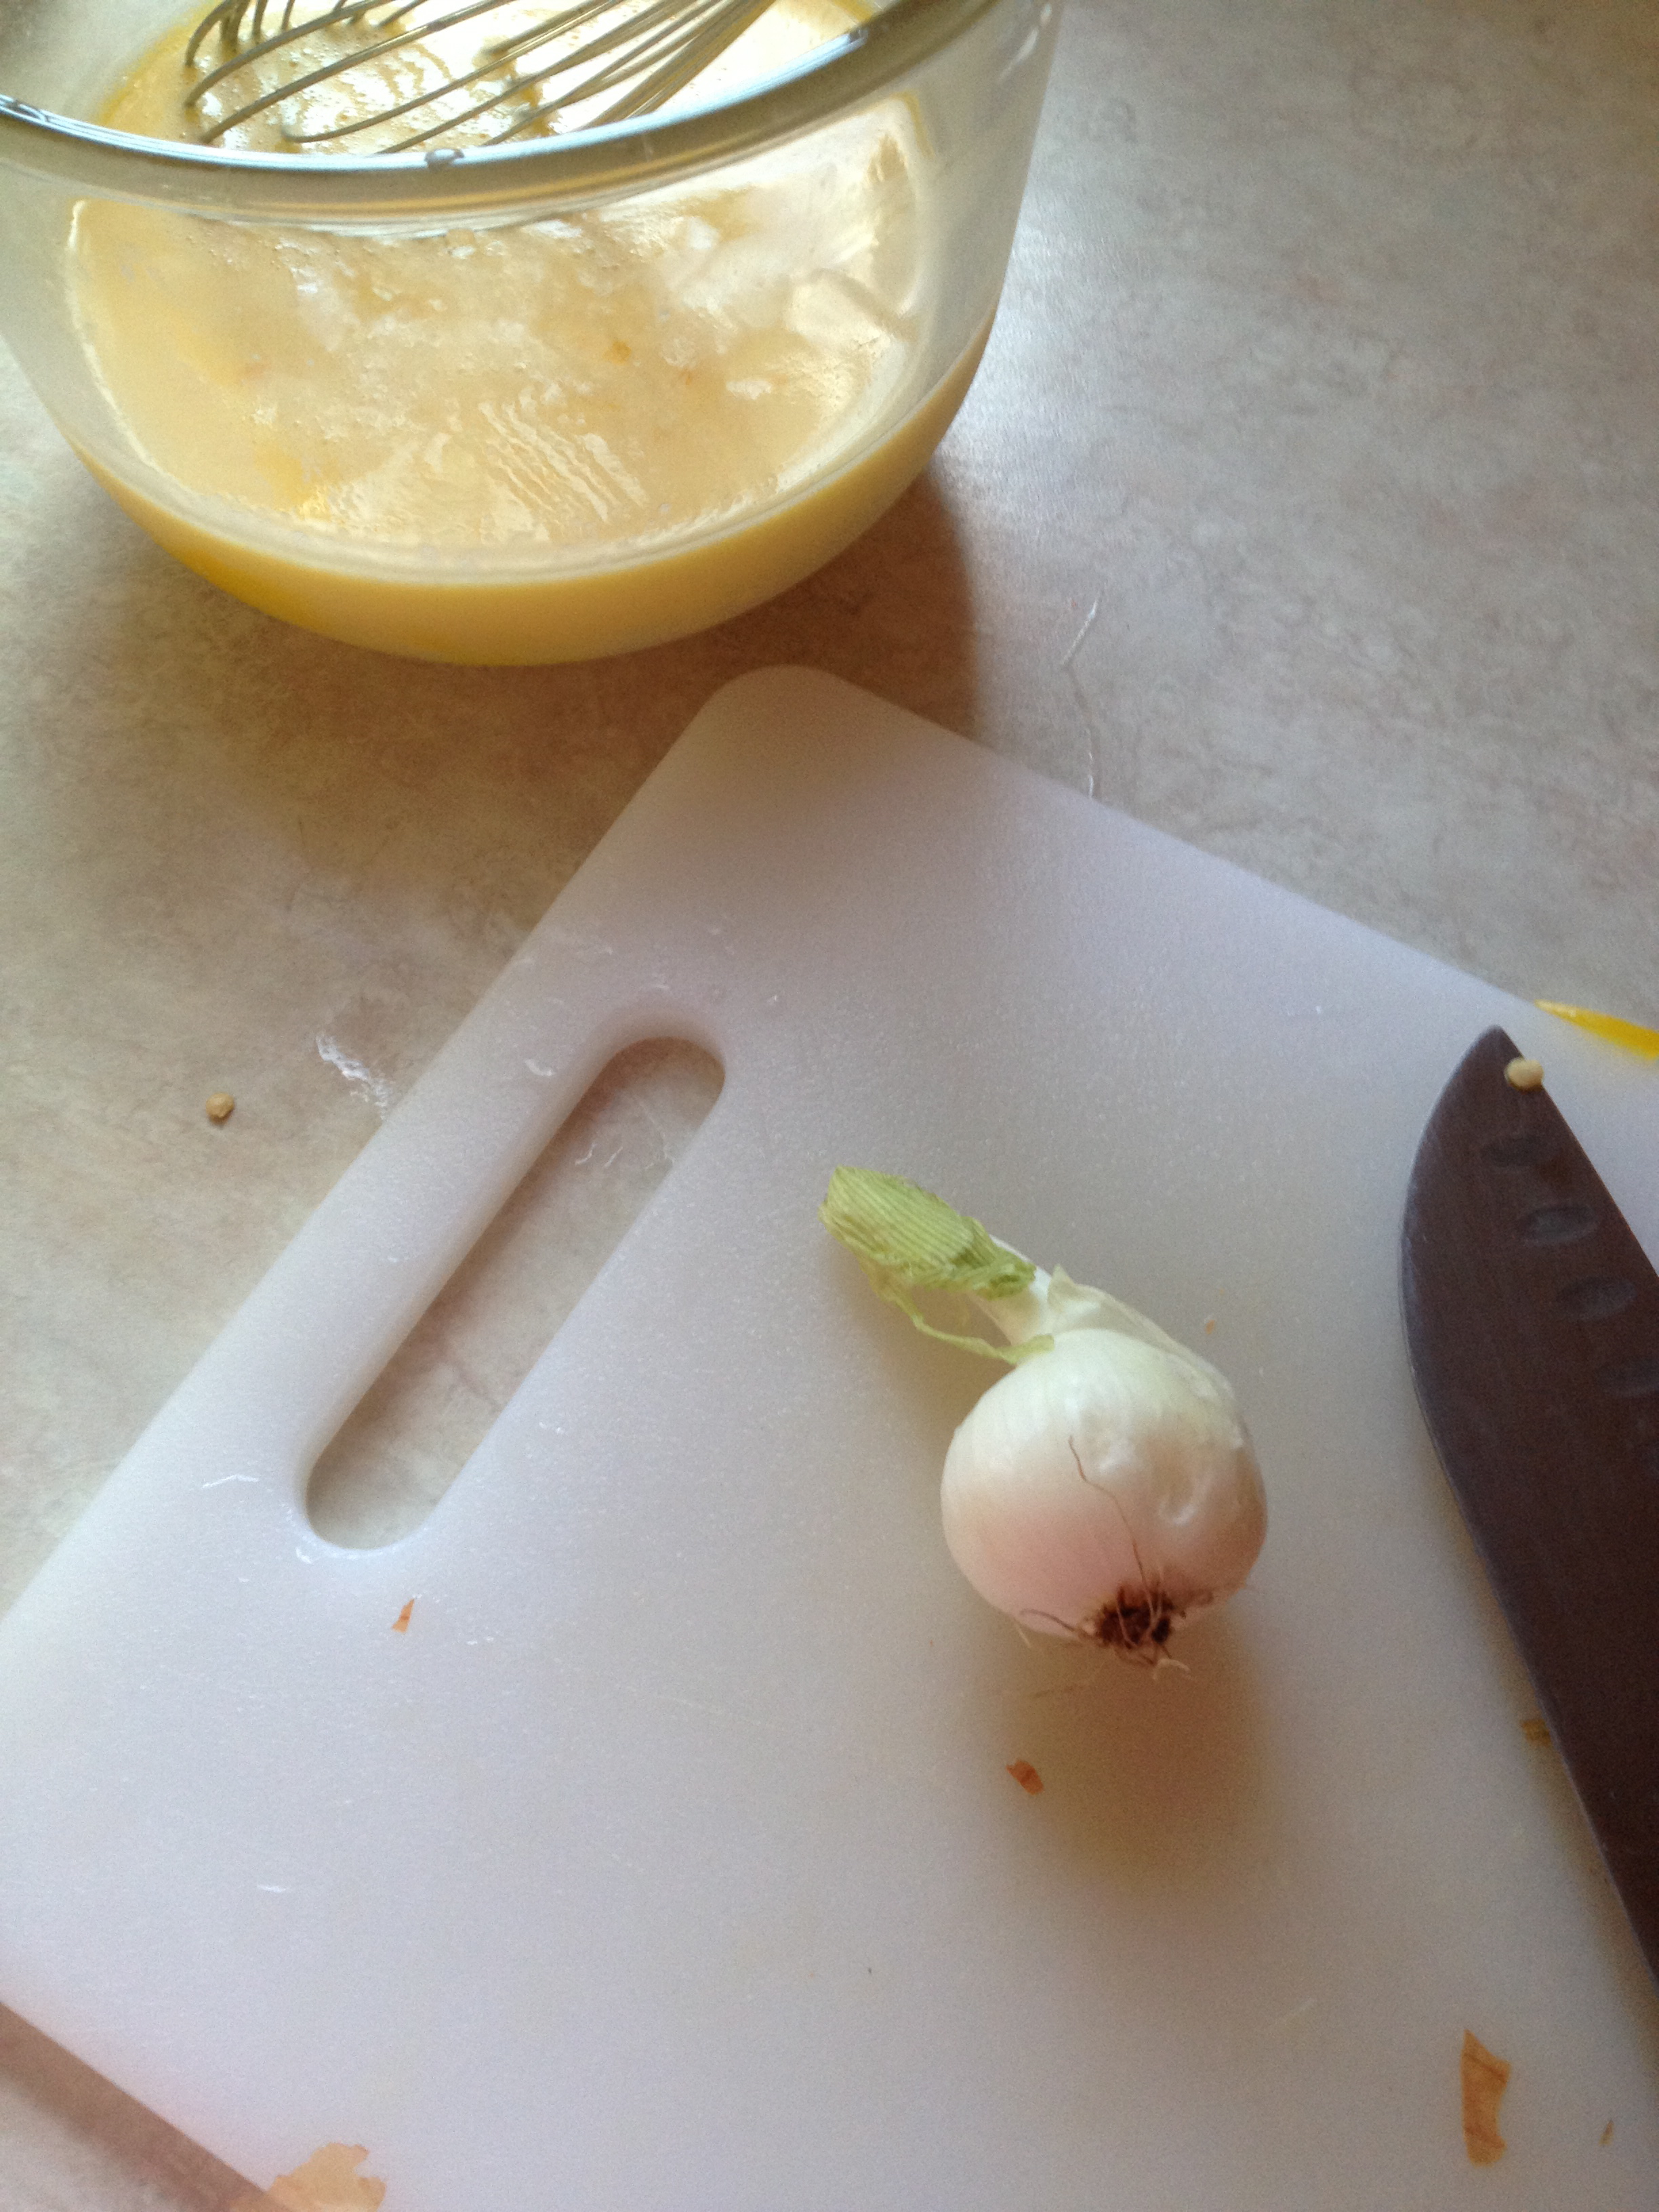
Crack all of the eggs into a bowl, and whisk them until they are smooth, then add in the milk or cream and whisk them some more
Chop the onion to add to the mixture
Chop the parsley and toss it in as well
Sprinkle with salt and pepper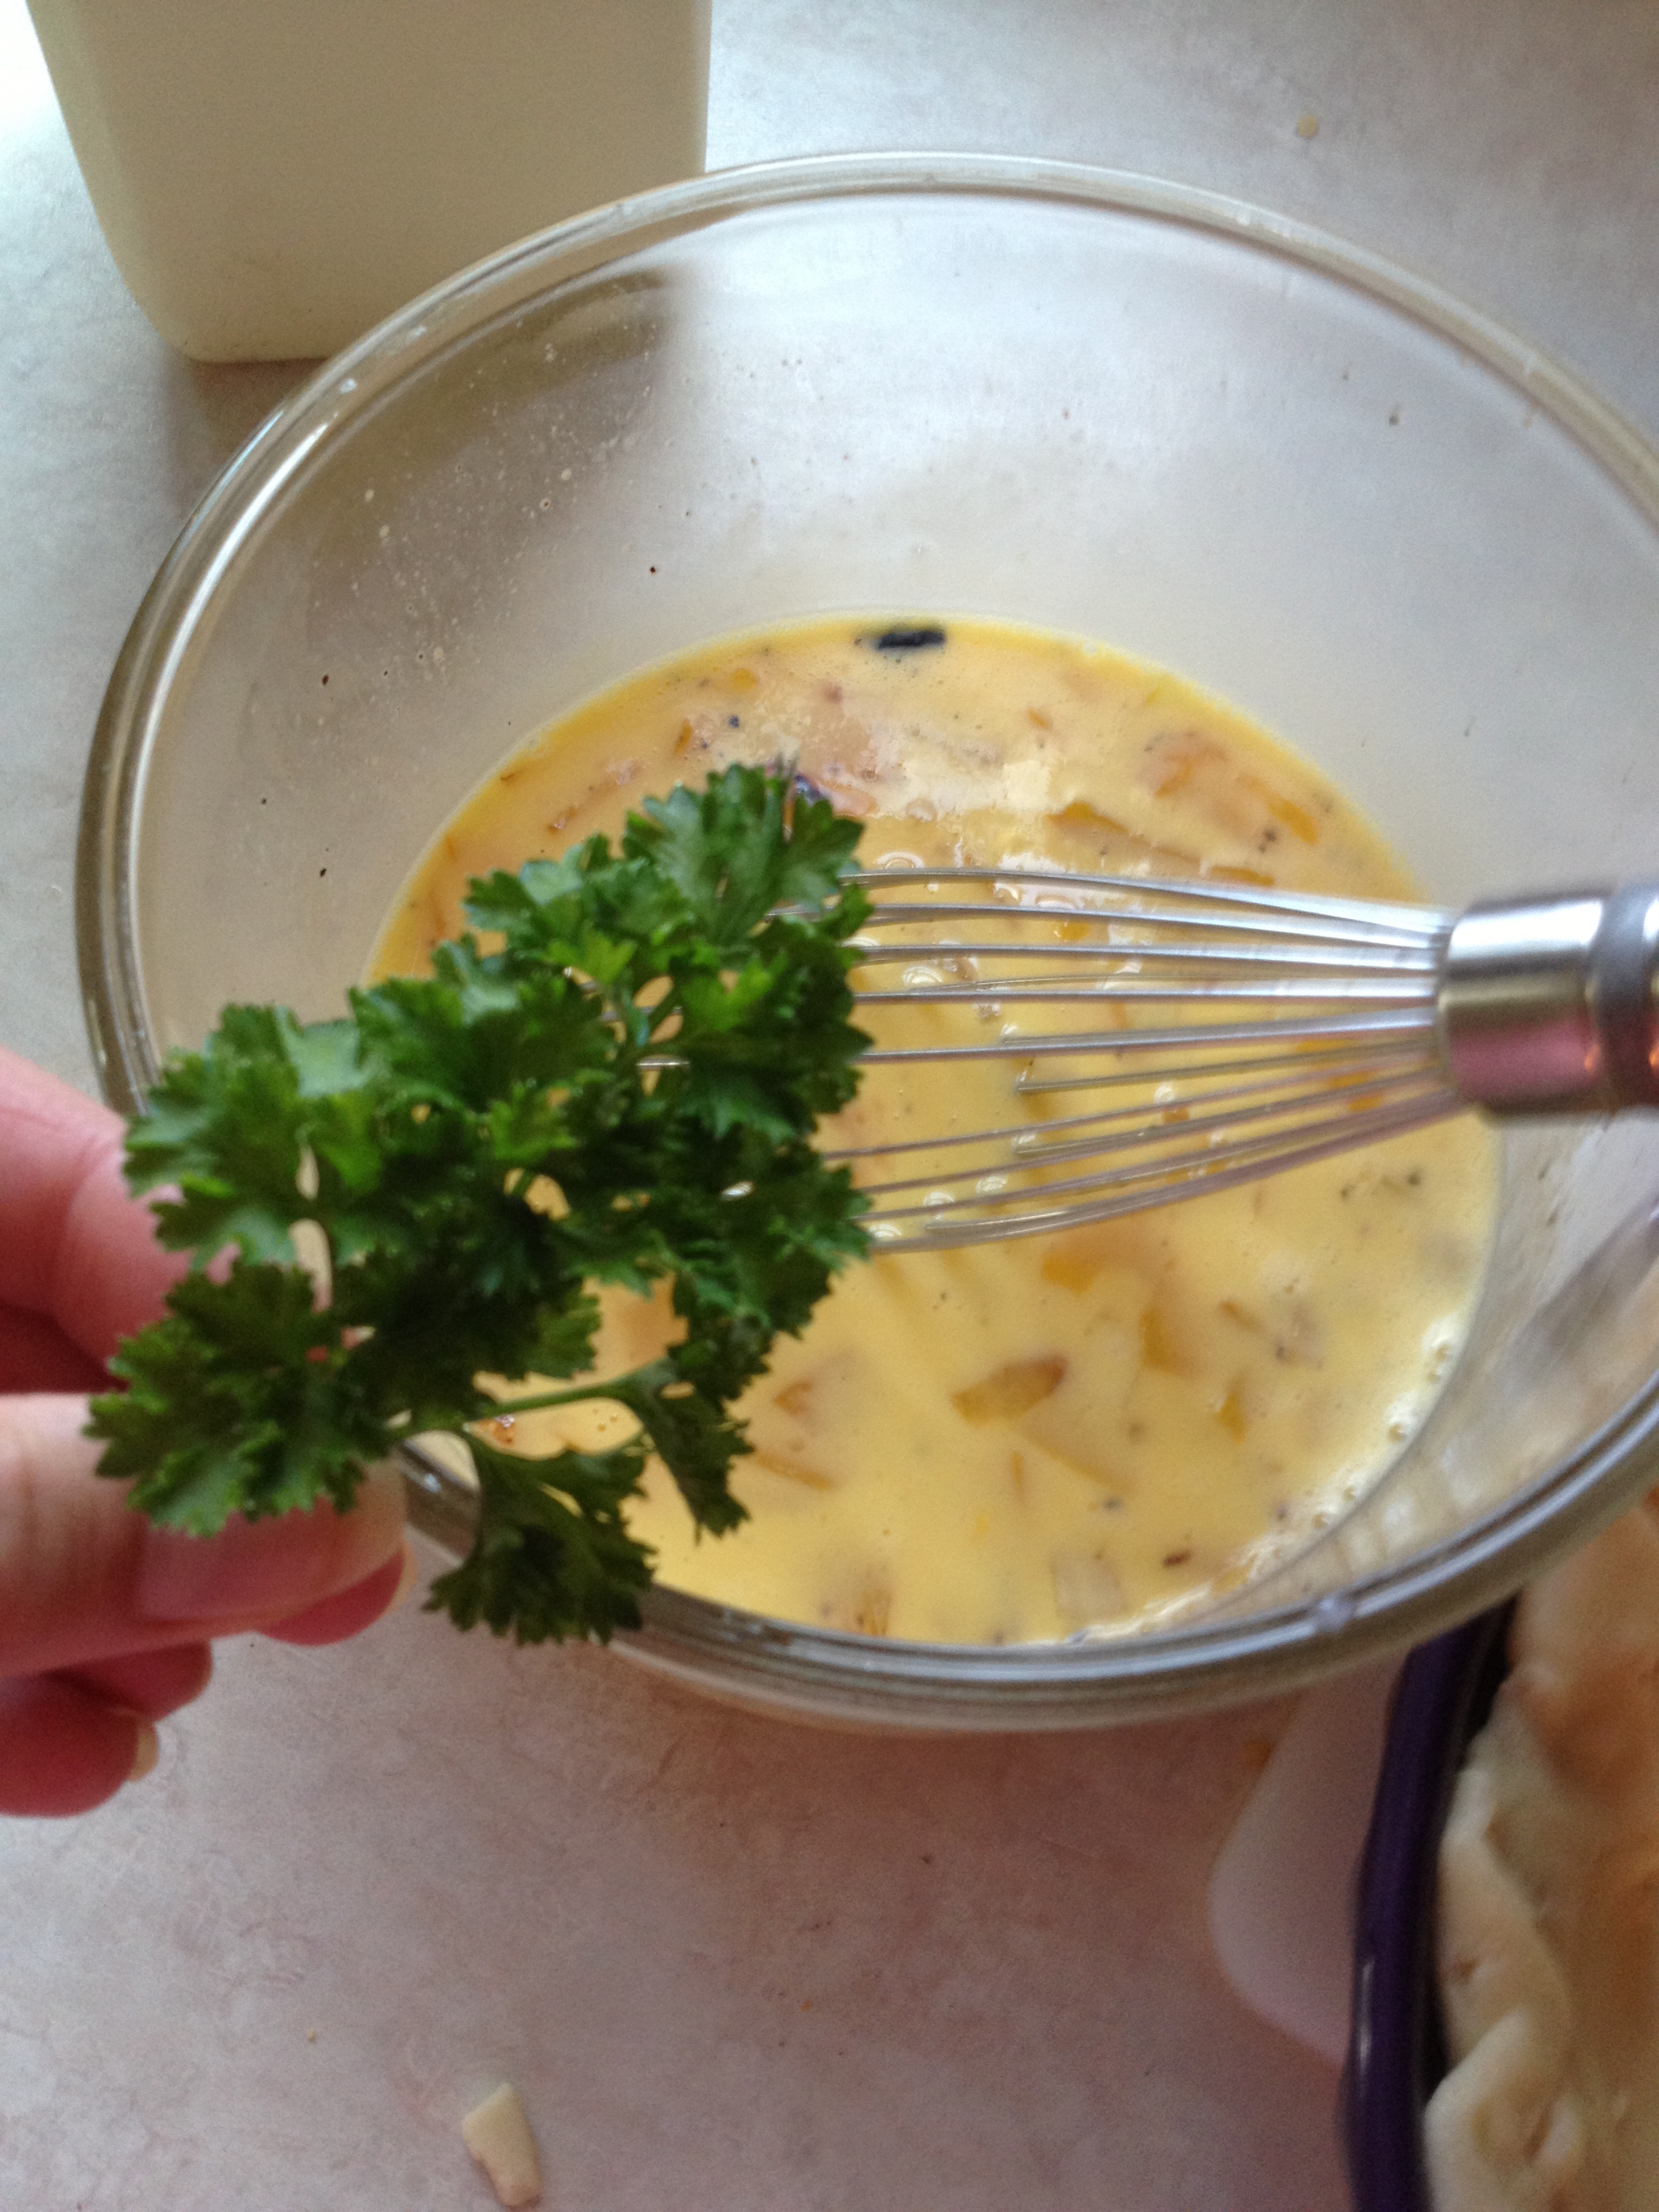
Next add in a little less then half of the cheese to the bowl… once it is all mixed together then pour it into your pie crust..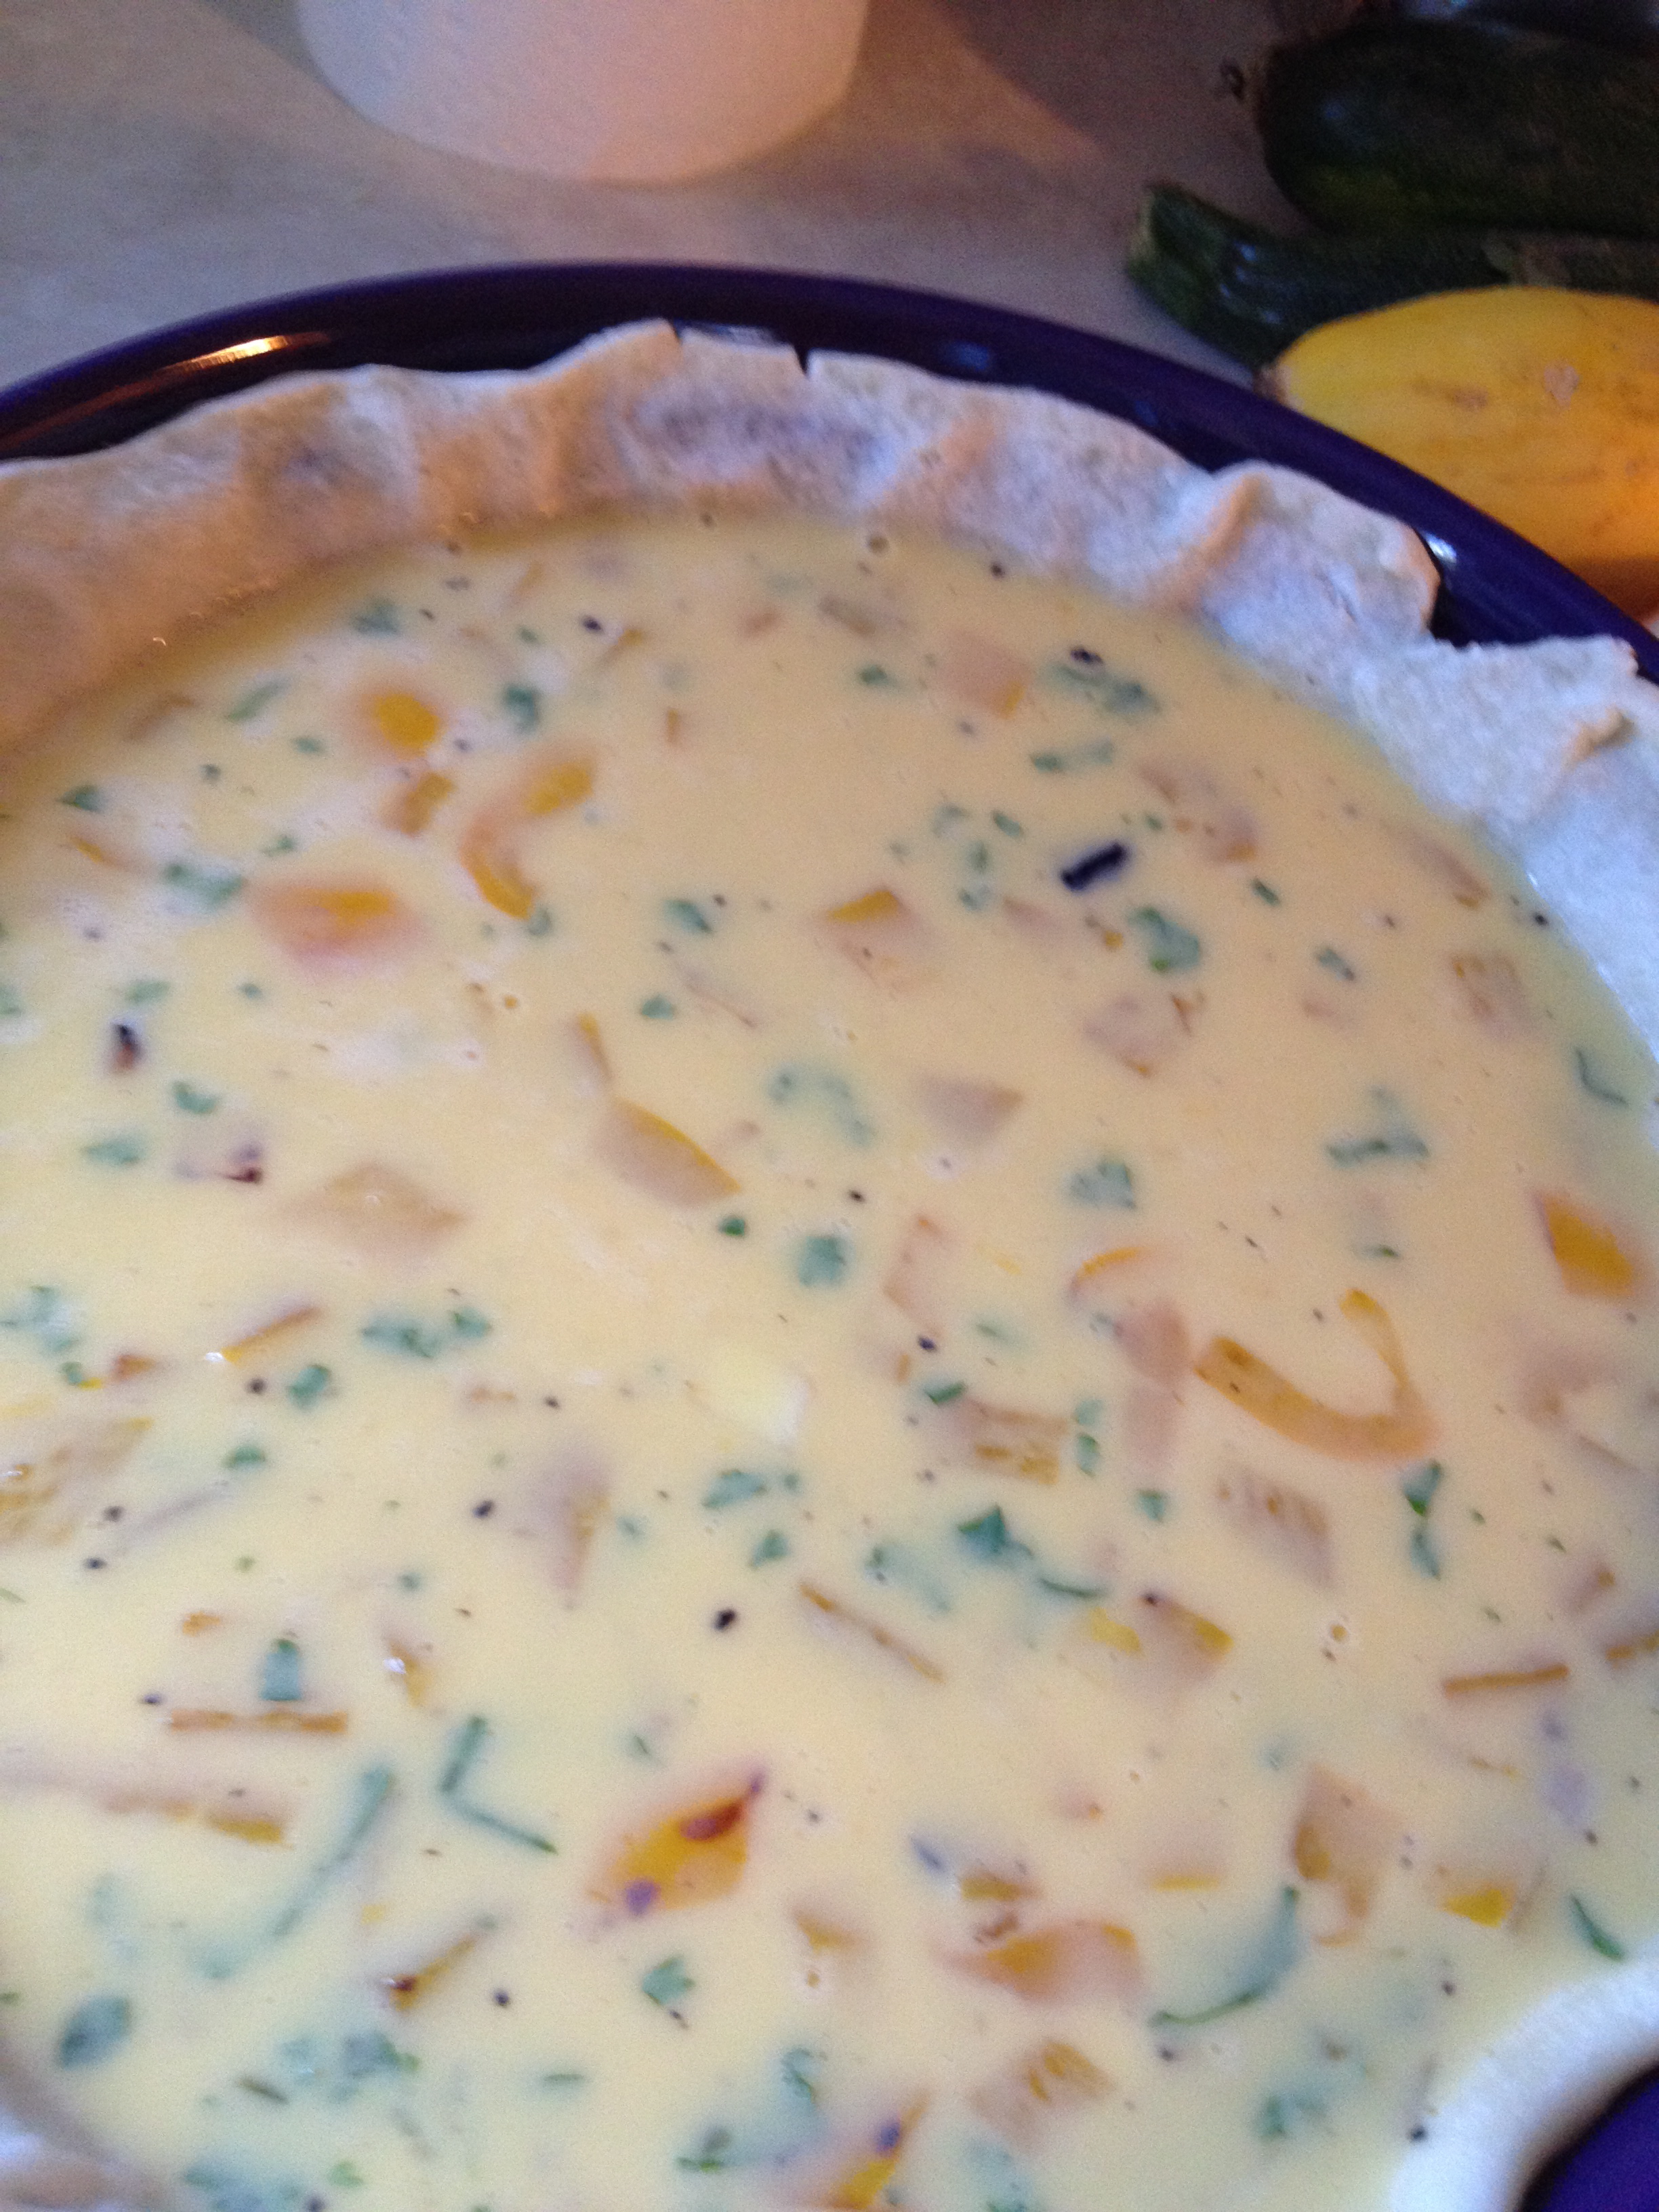
Sprinkle the rest of the cheese on top
Bake at 350 for 25-30 minutes, until the top becomes fully cooked and the quiche is solid…
You will need:
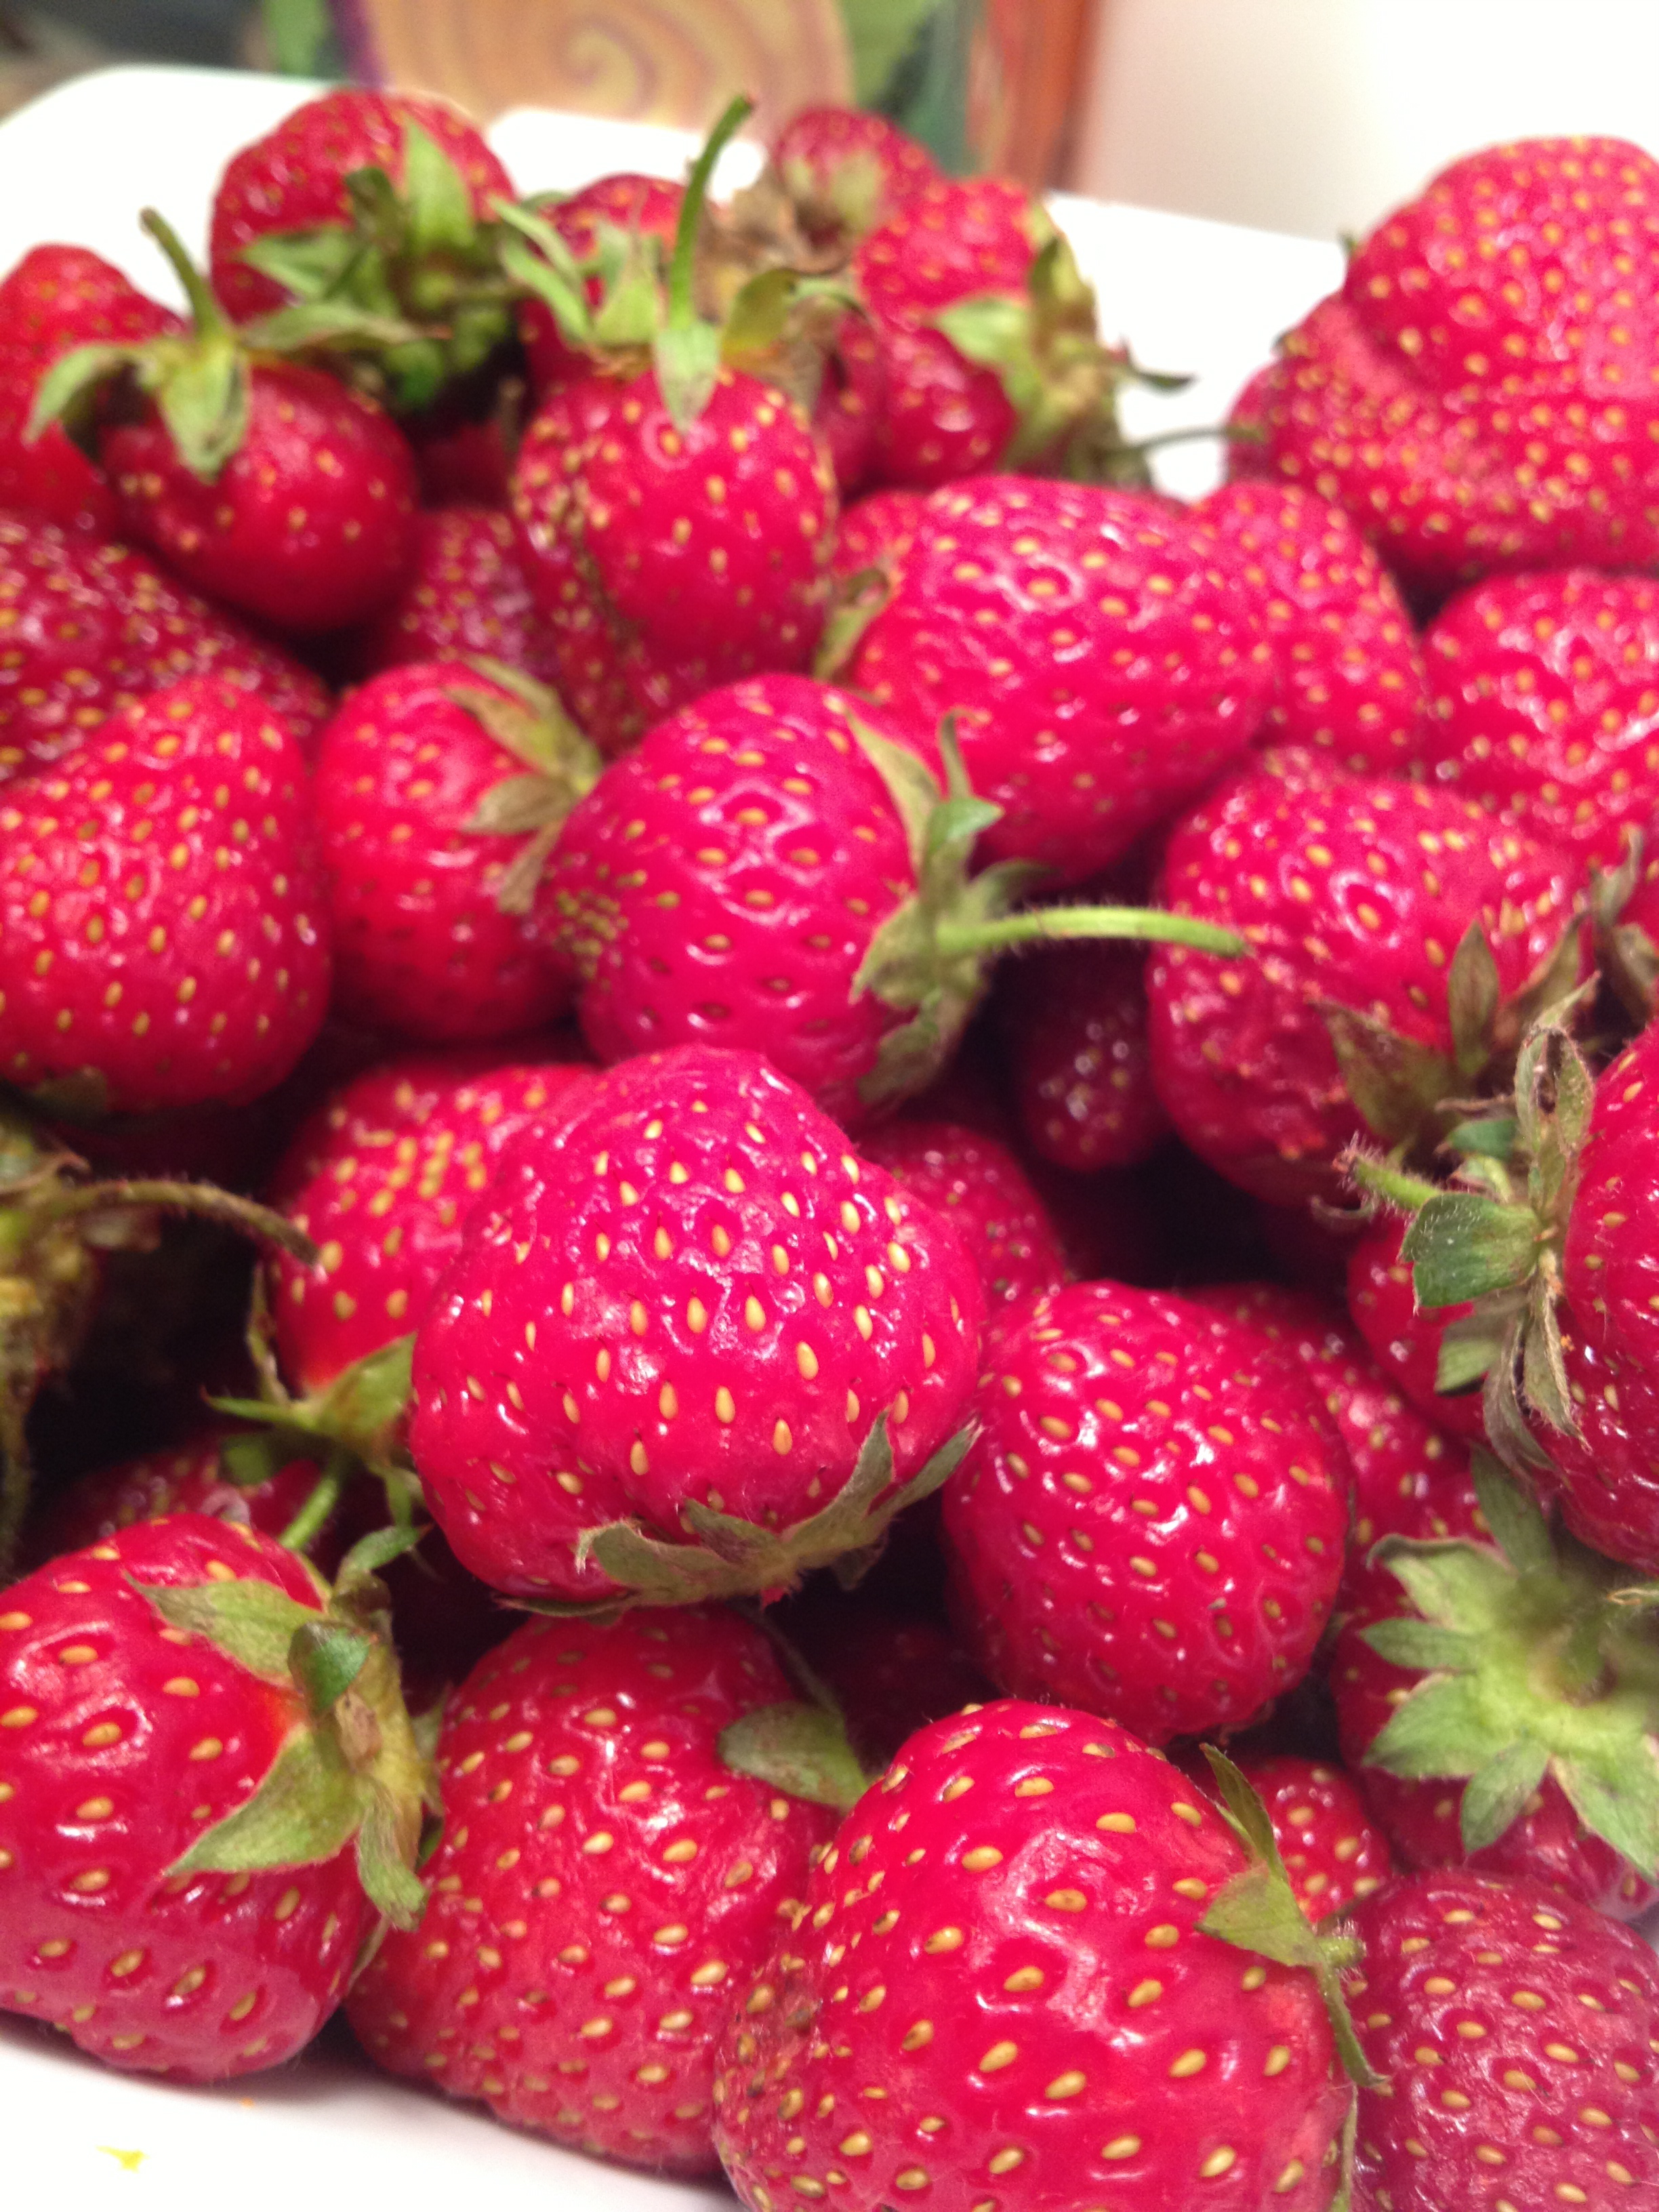
It all begins with the fresh picked strawberries 4 quarts and I made two batches of jam 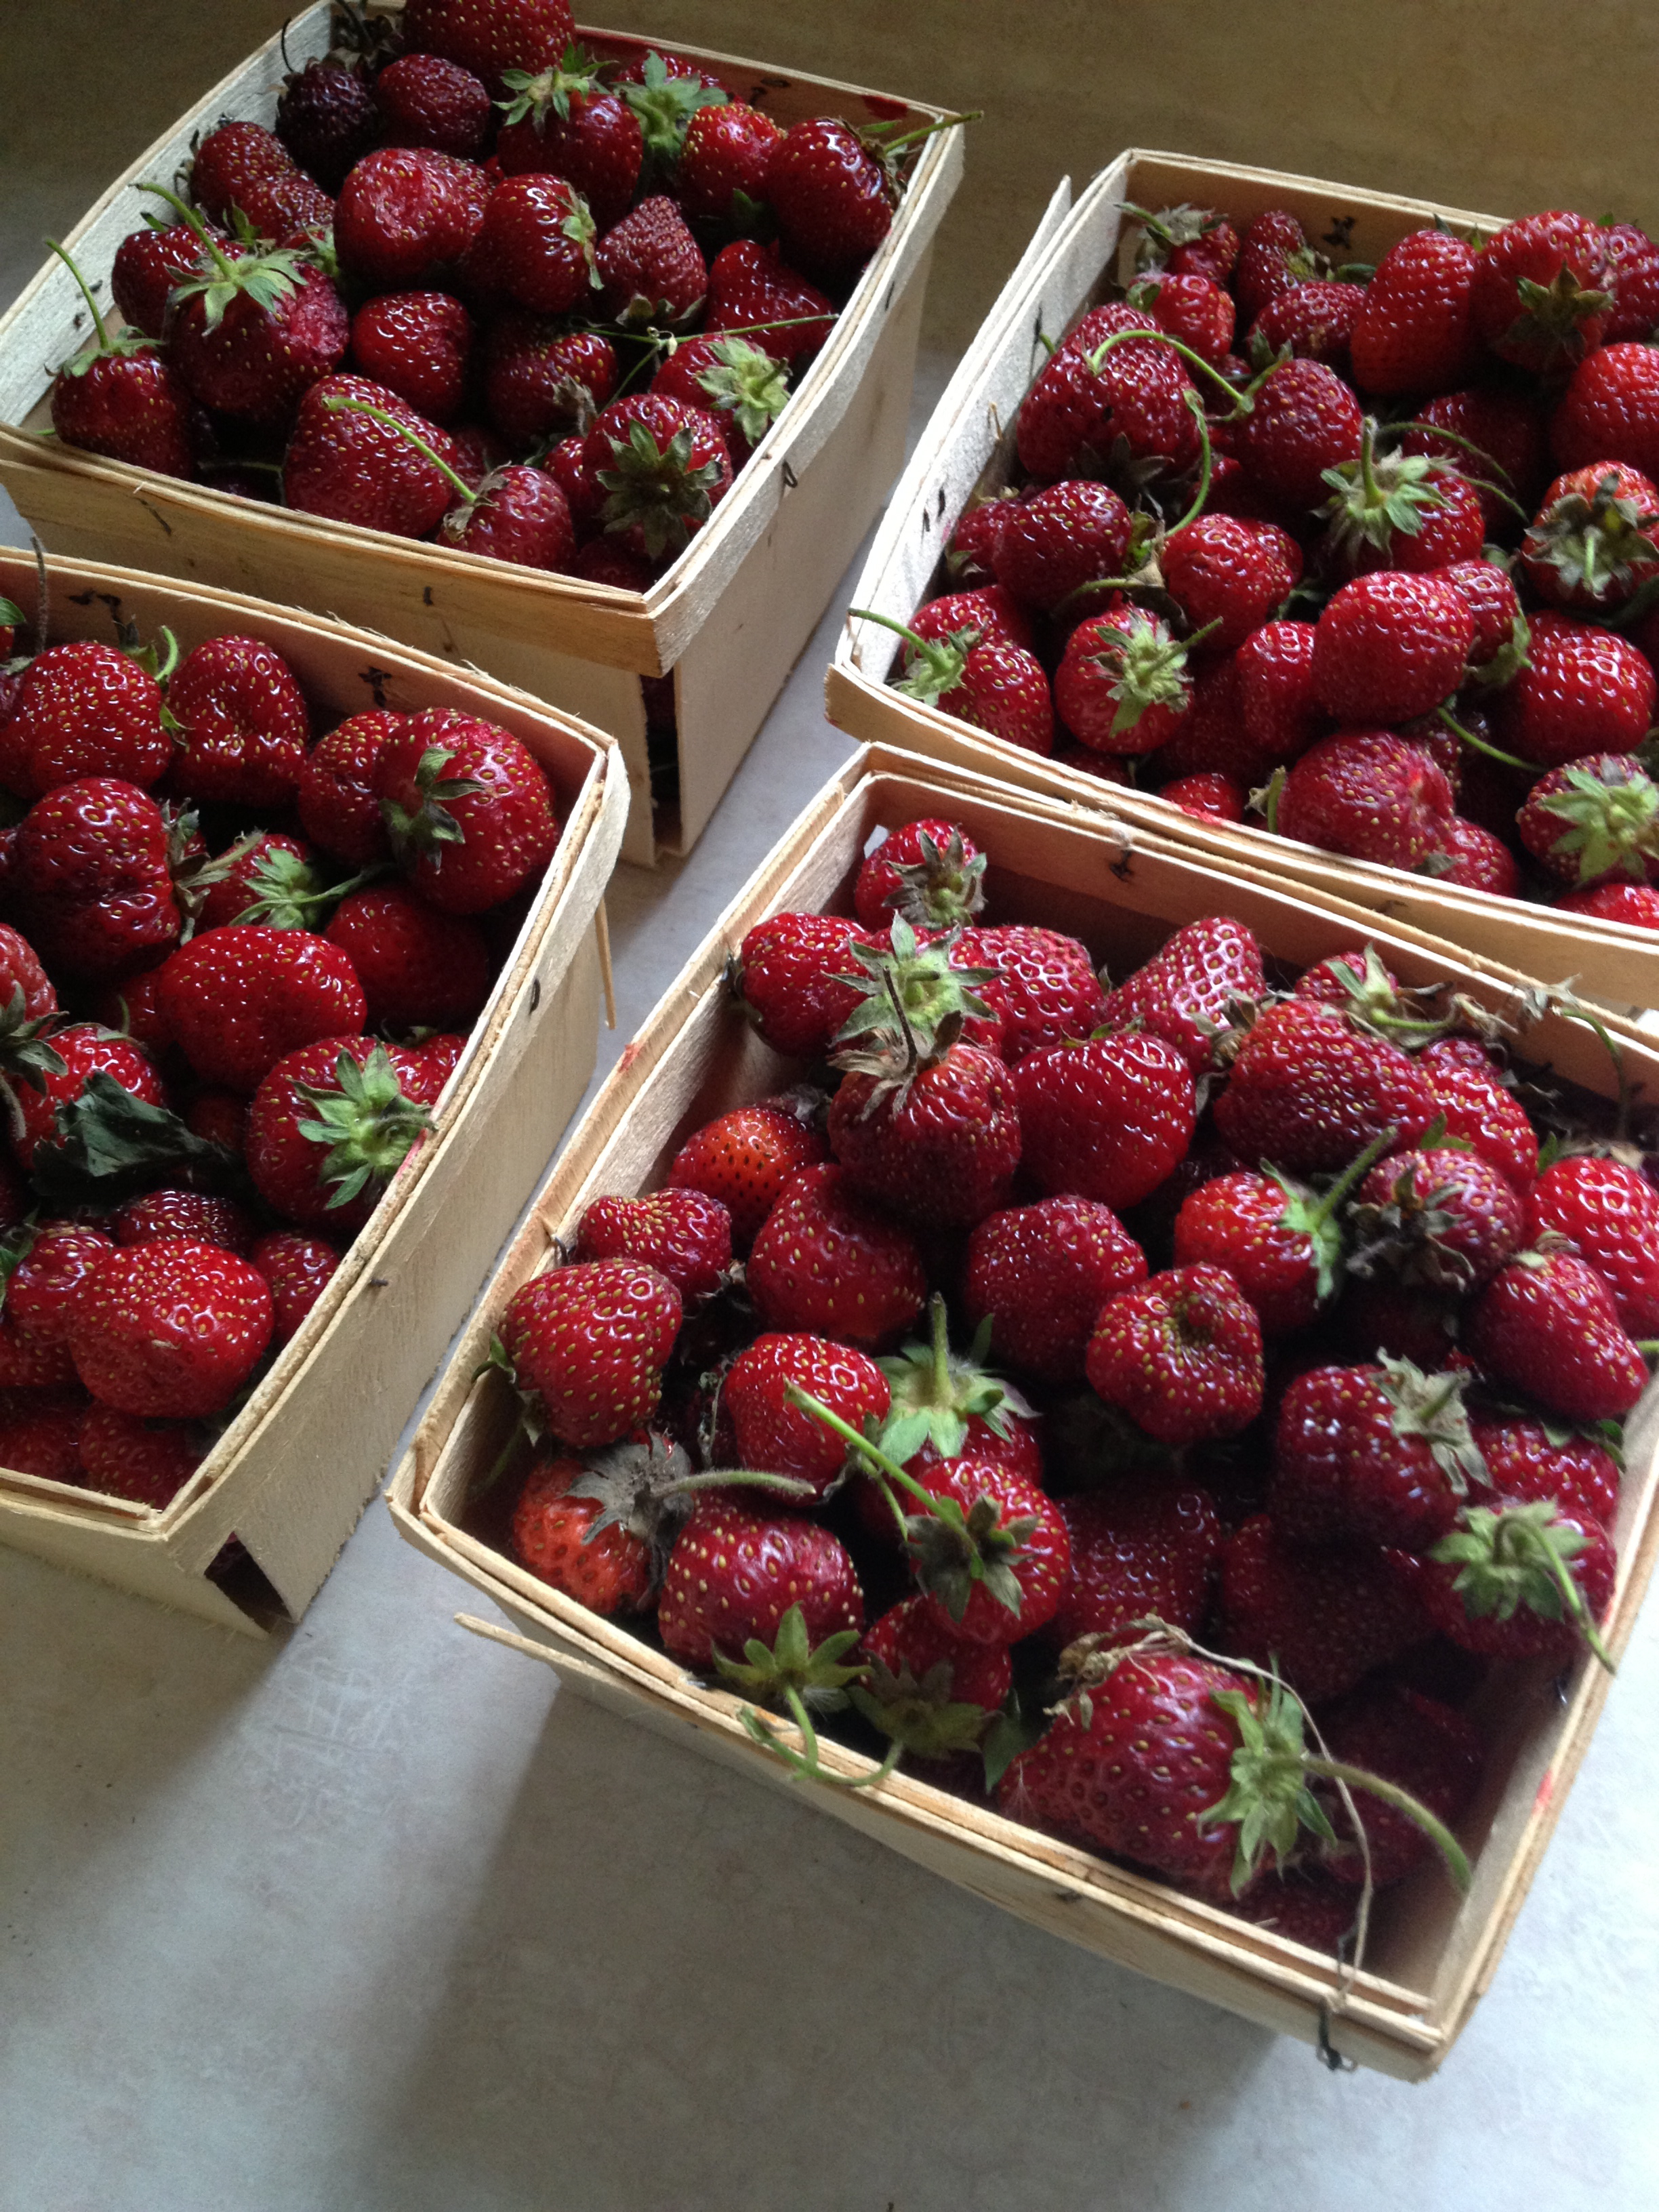
Then I took the stems off of all of them and sliced them into a bowl, they were little so some of them only took a slice in half, then I took a lemon and with my lemon squeezer squeezed the juice out, about 4 tablespoons worth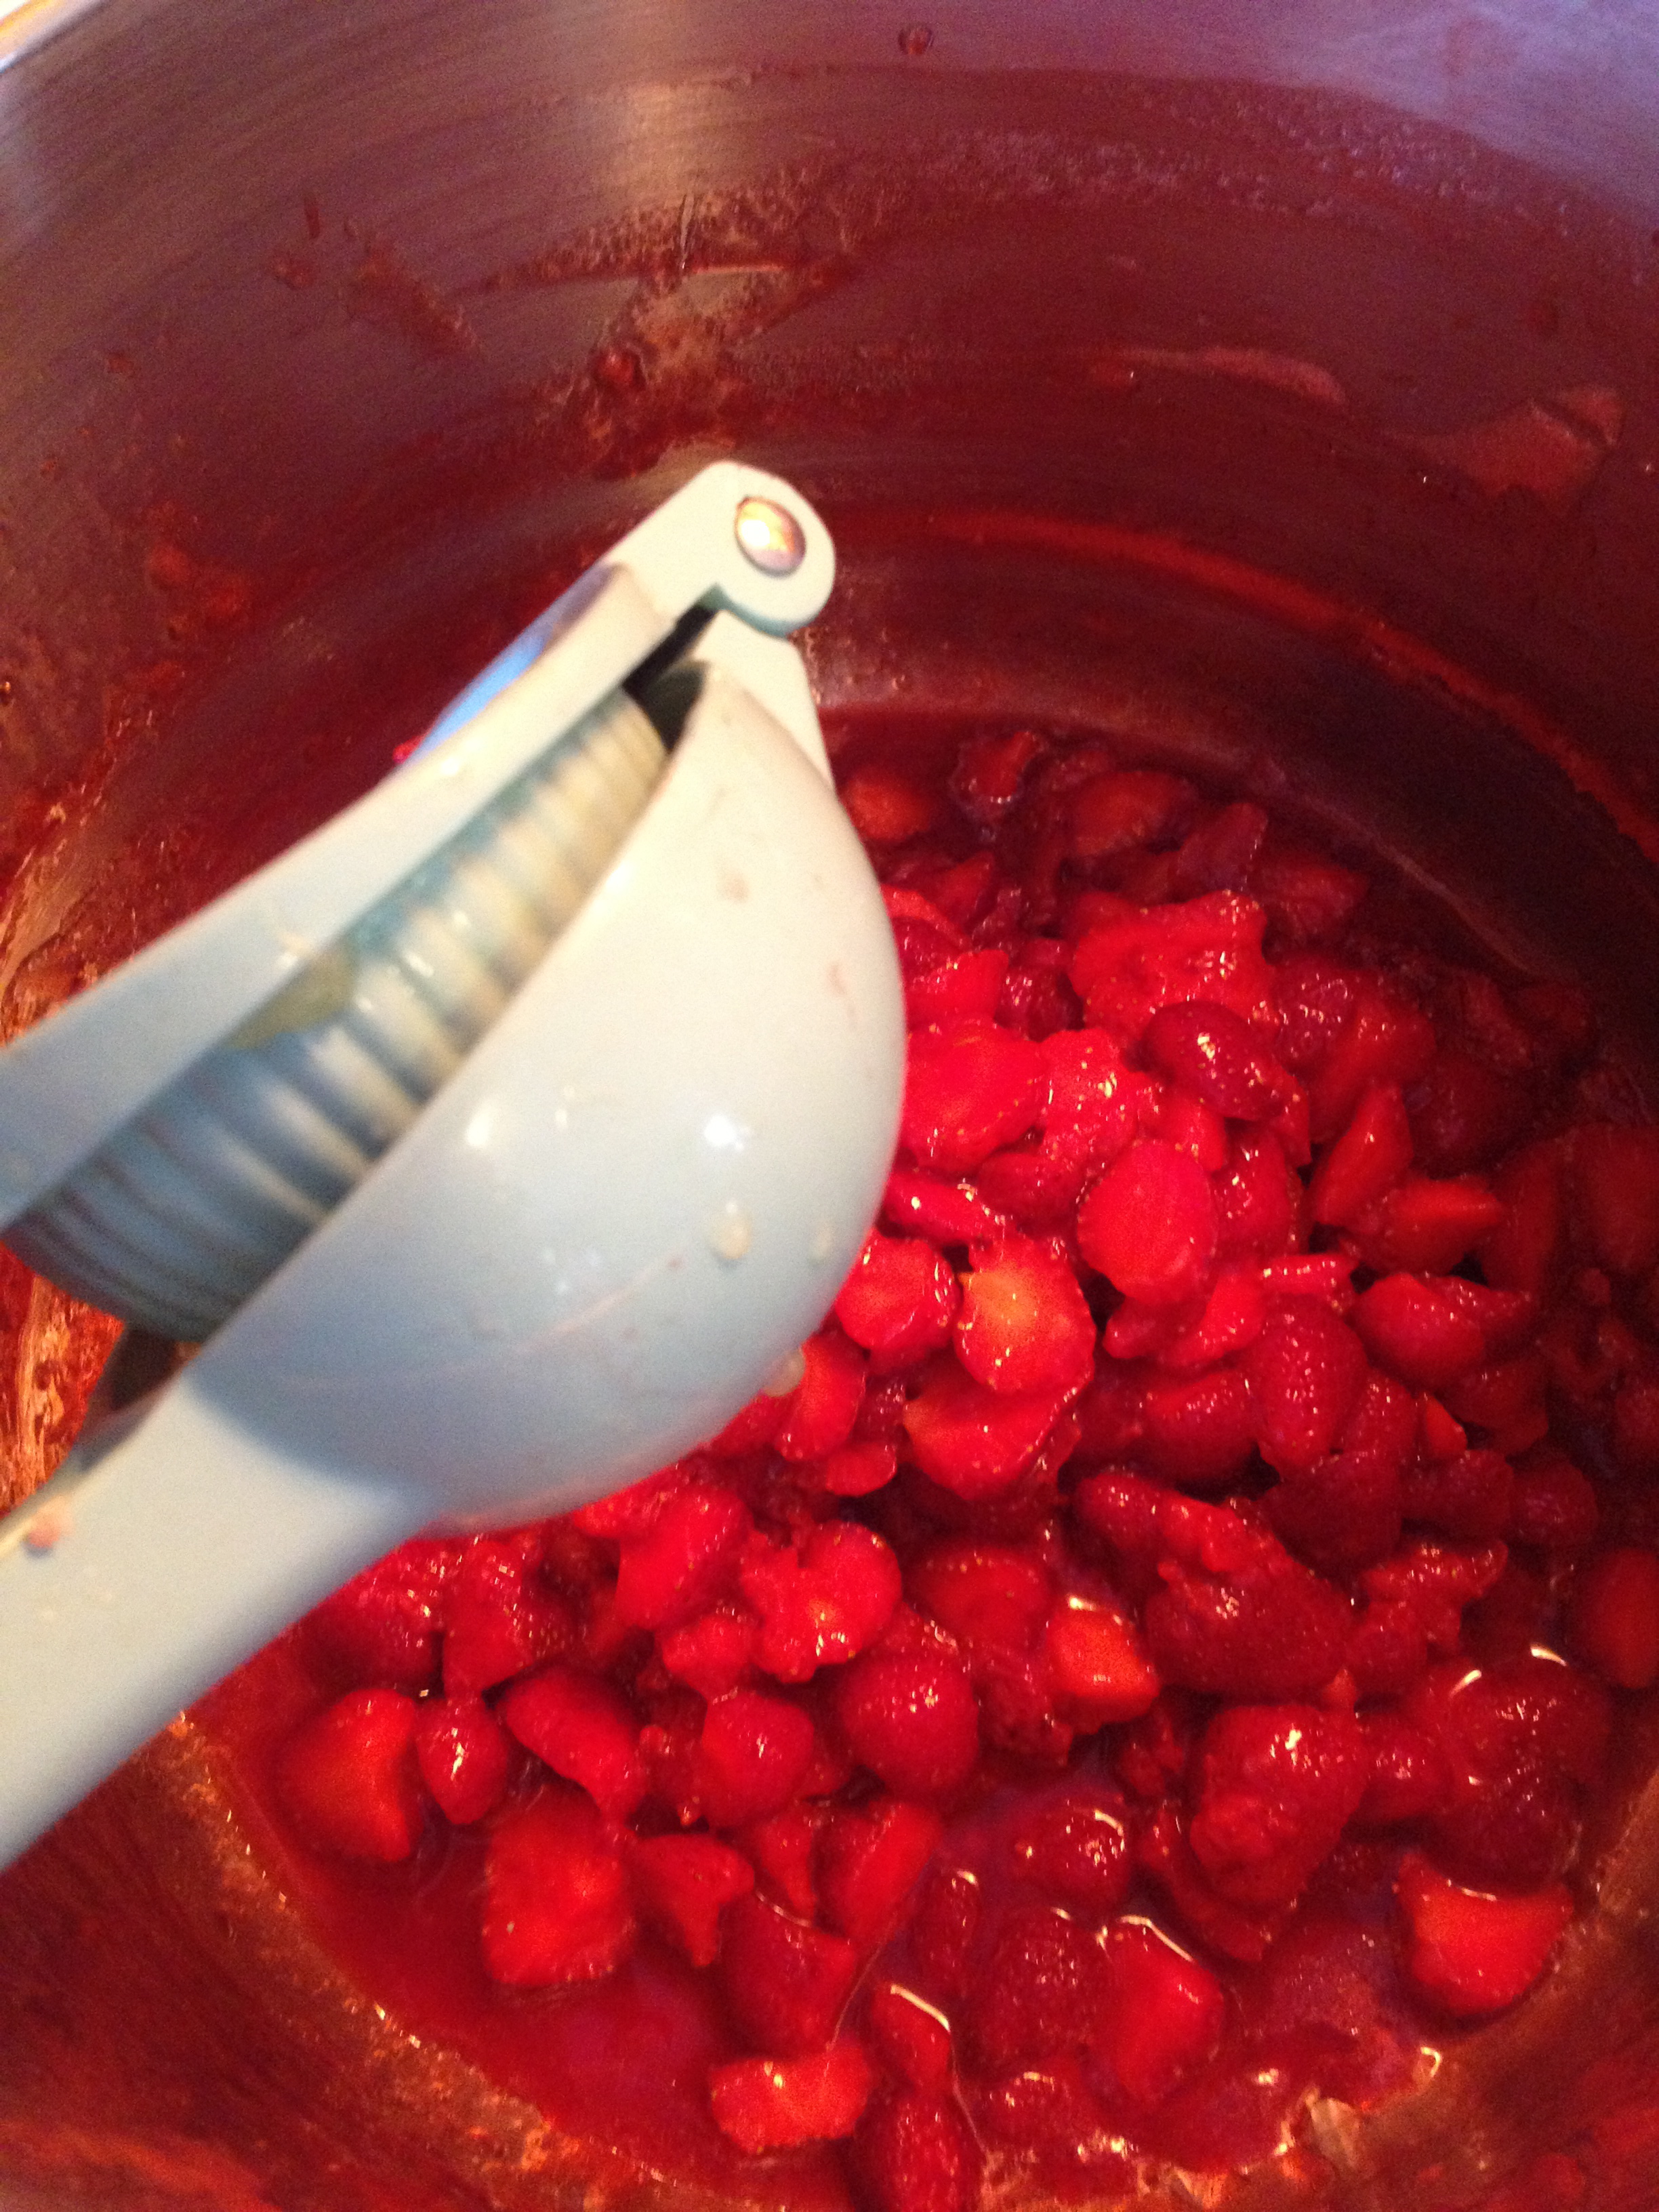
Making jam is so messy, I use the green mashed to smush them a little bit in the bowl, it is really meant to be a mint crusher for mojitos but works perfect for jam…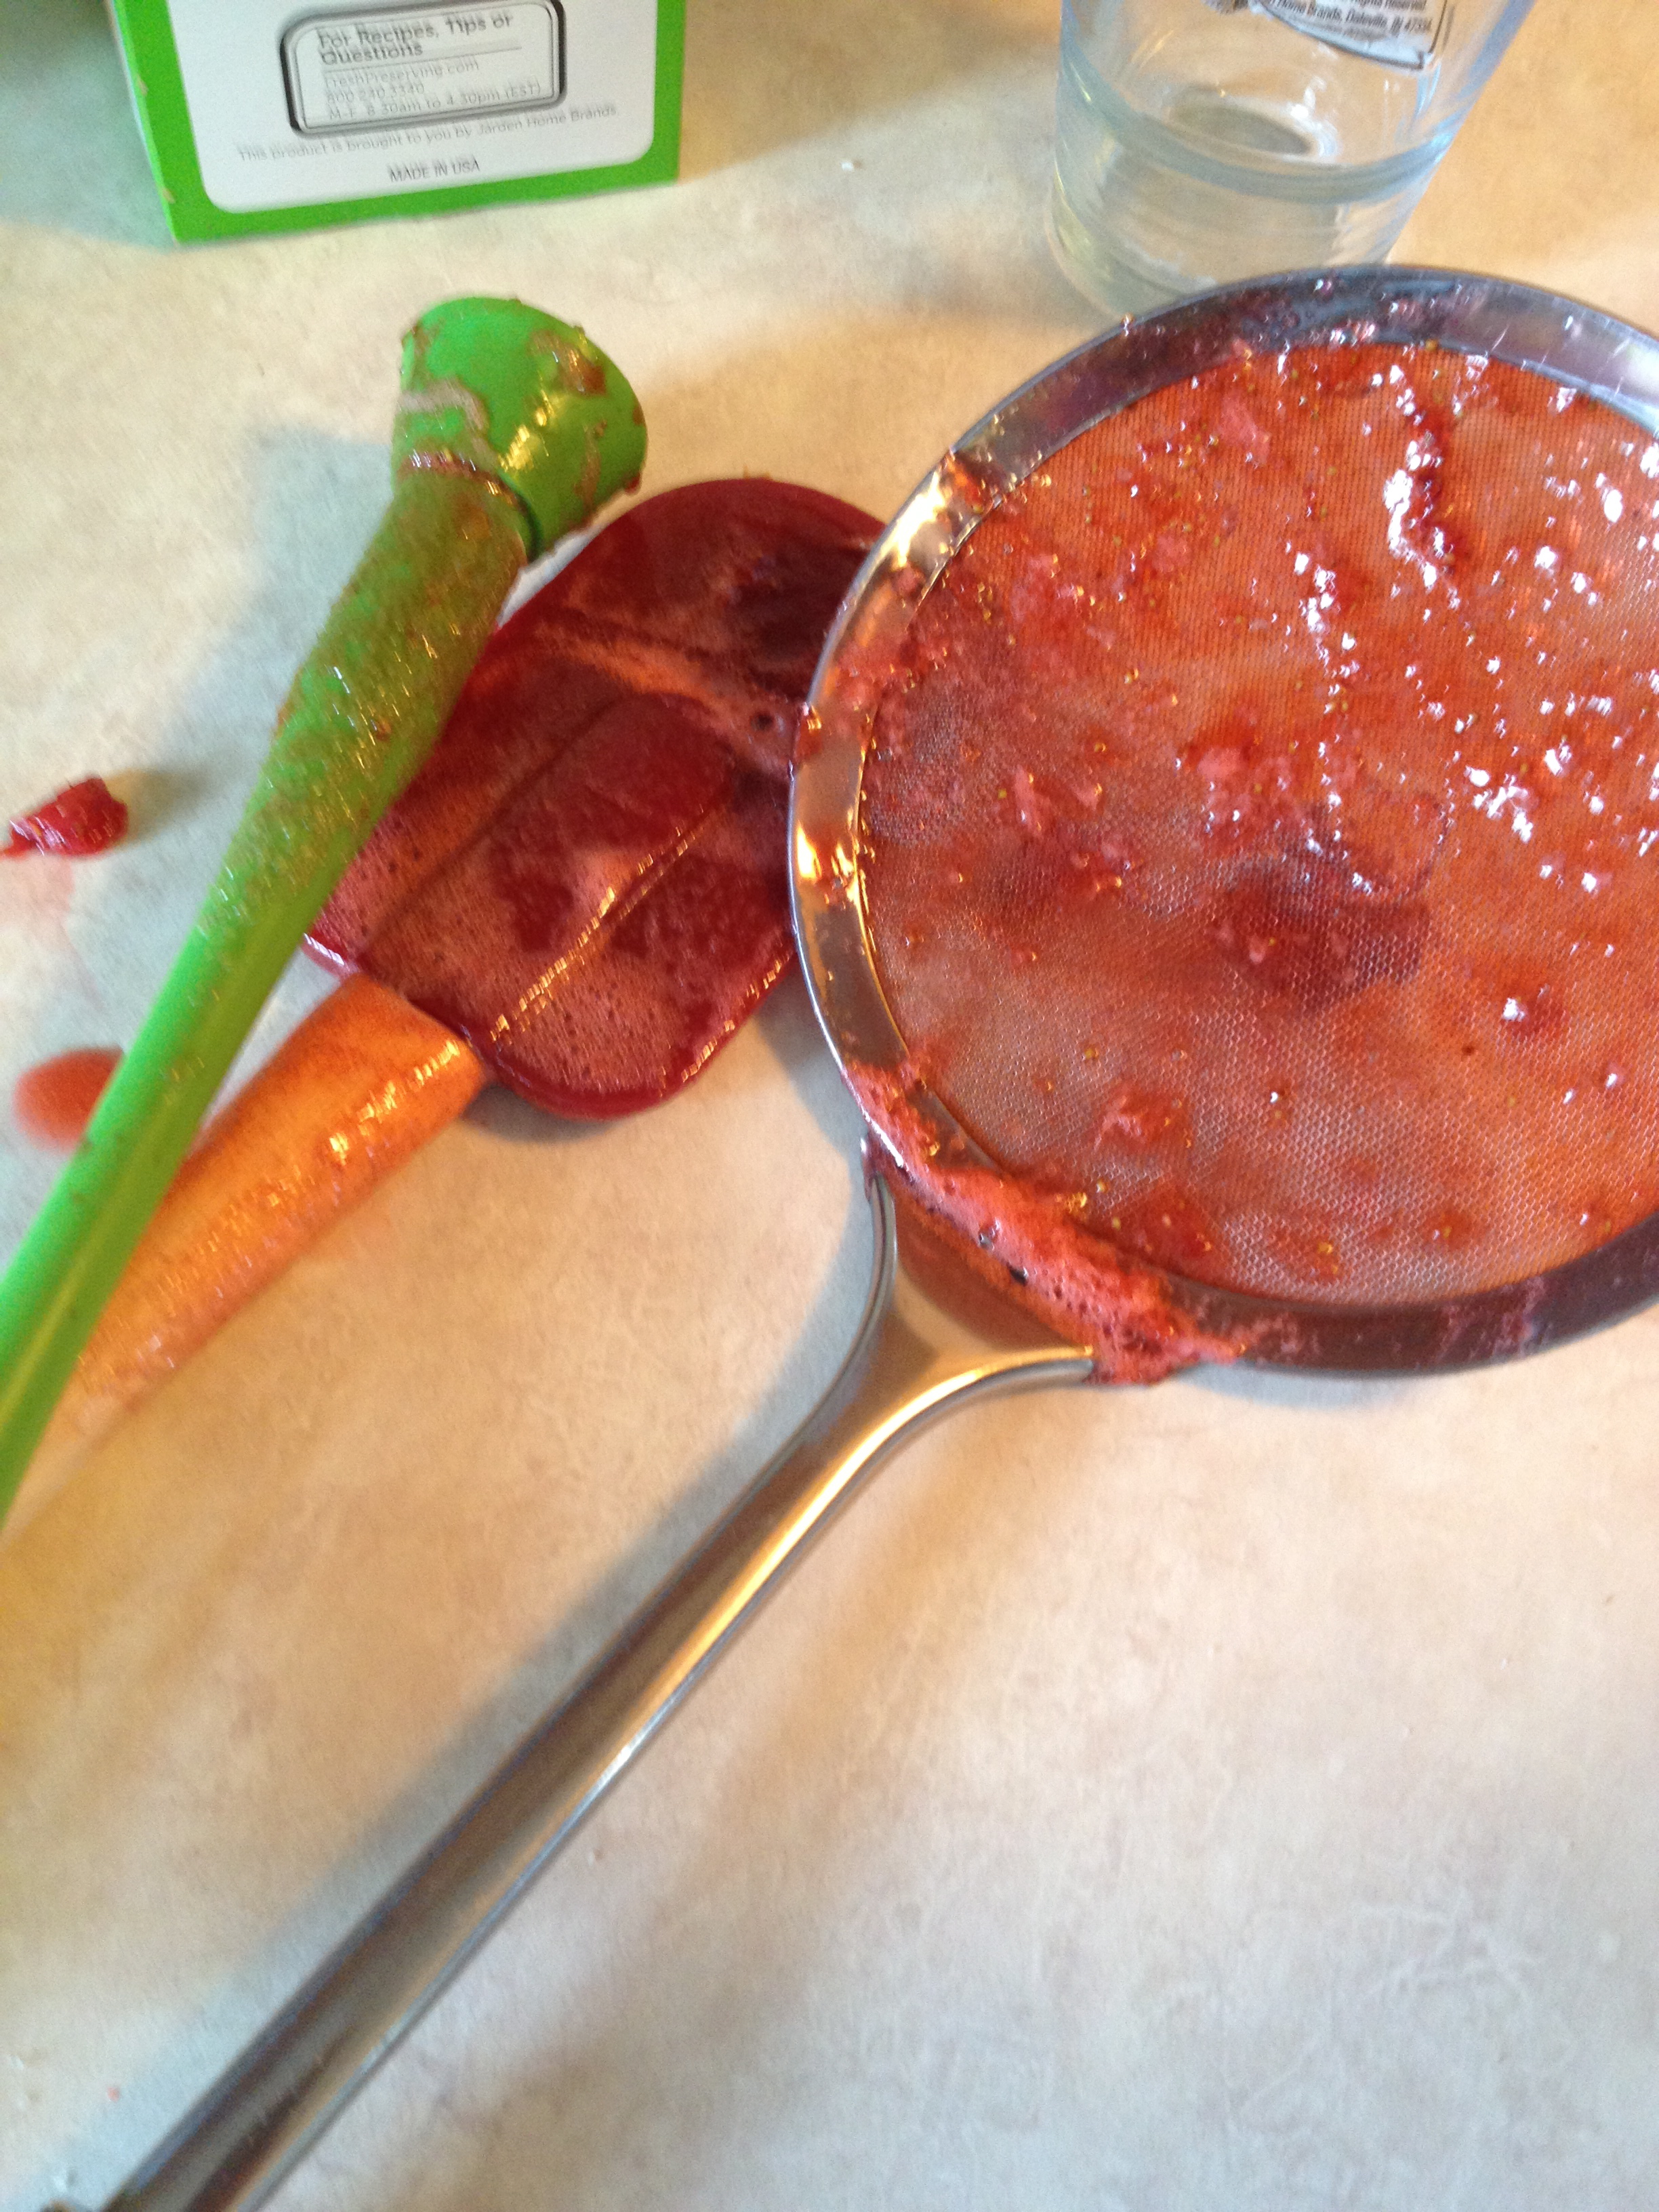
This could be an ad for Ball, but it is not, I just think they make the best canning supplies, I have always used their lids and rims, and I tried their liquid pectin for the first time in this batch and it worked wonderful, I kept it in the fridge and then sniped off the top before I started, becasue you do not want to be messing around with scissors when you have a pot of boiling jam trying to pour the pectin in…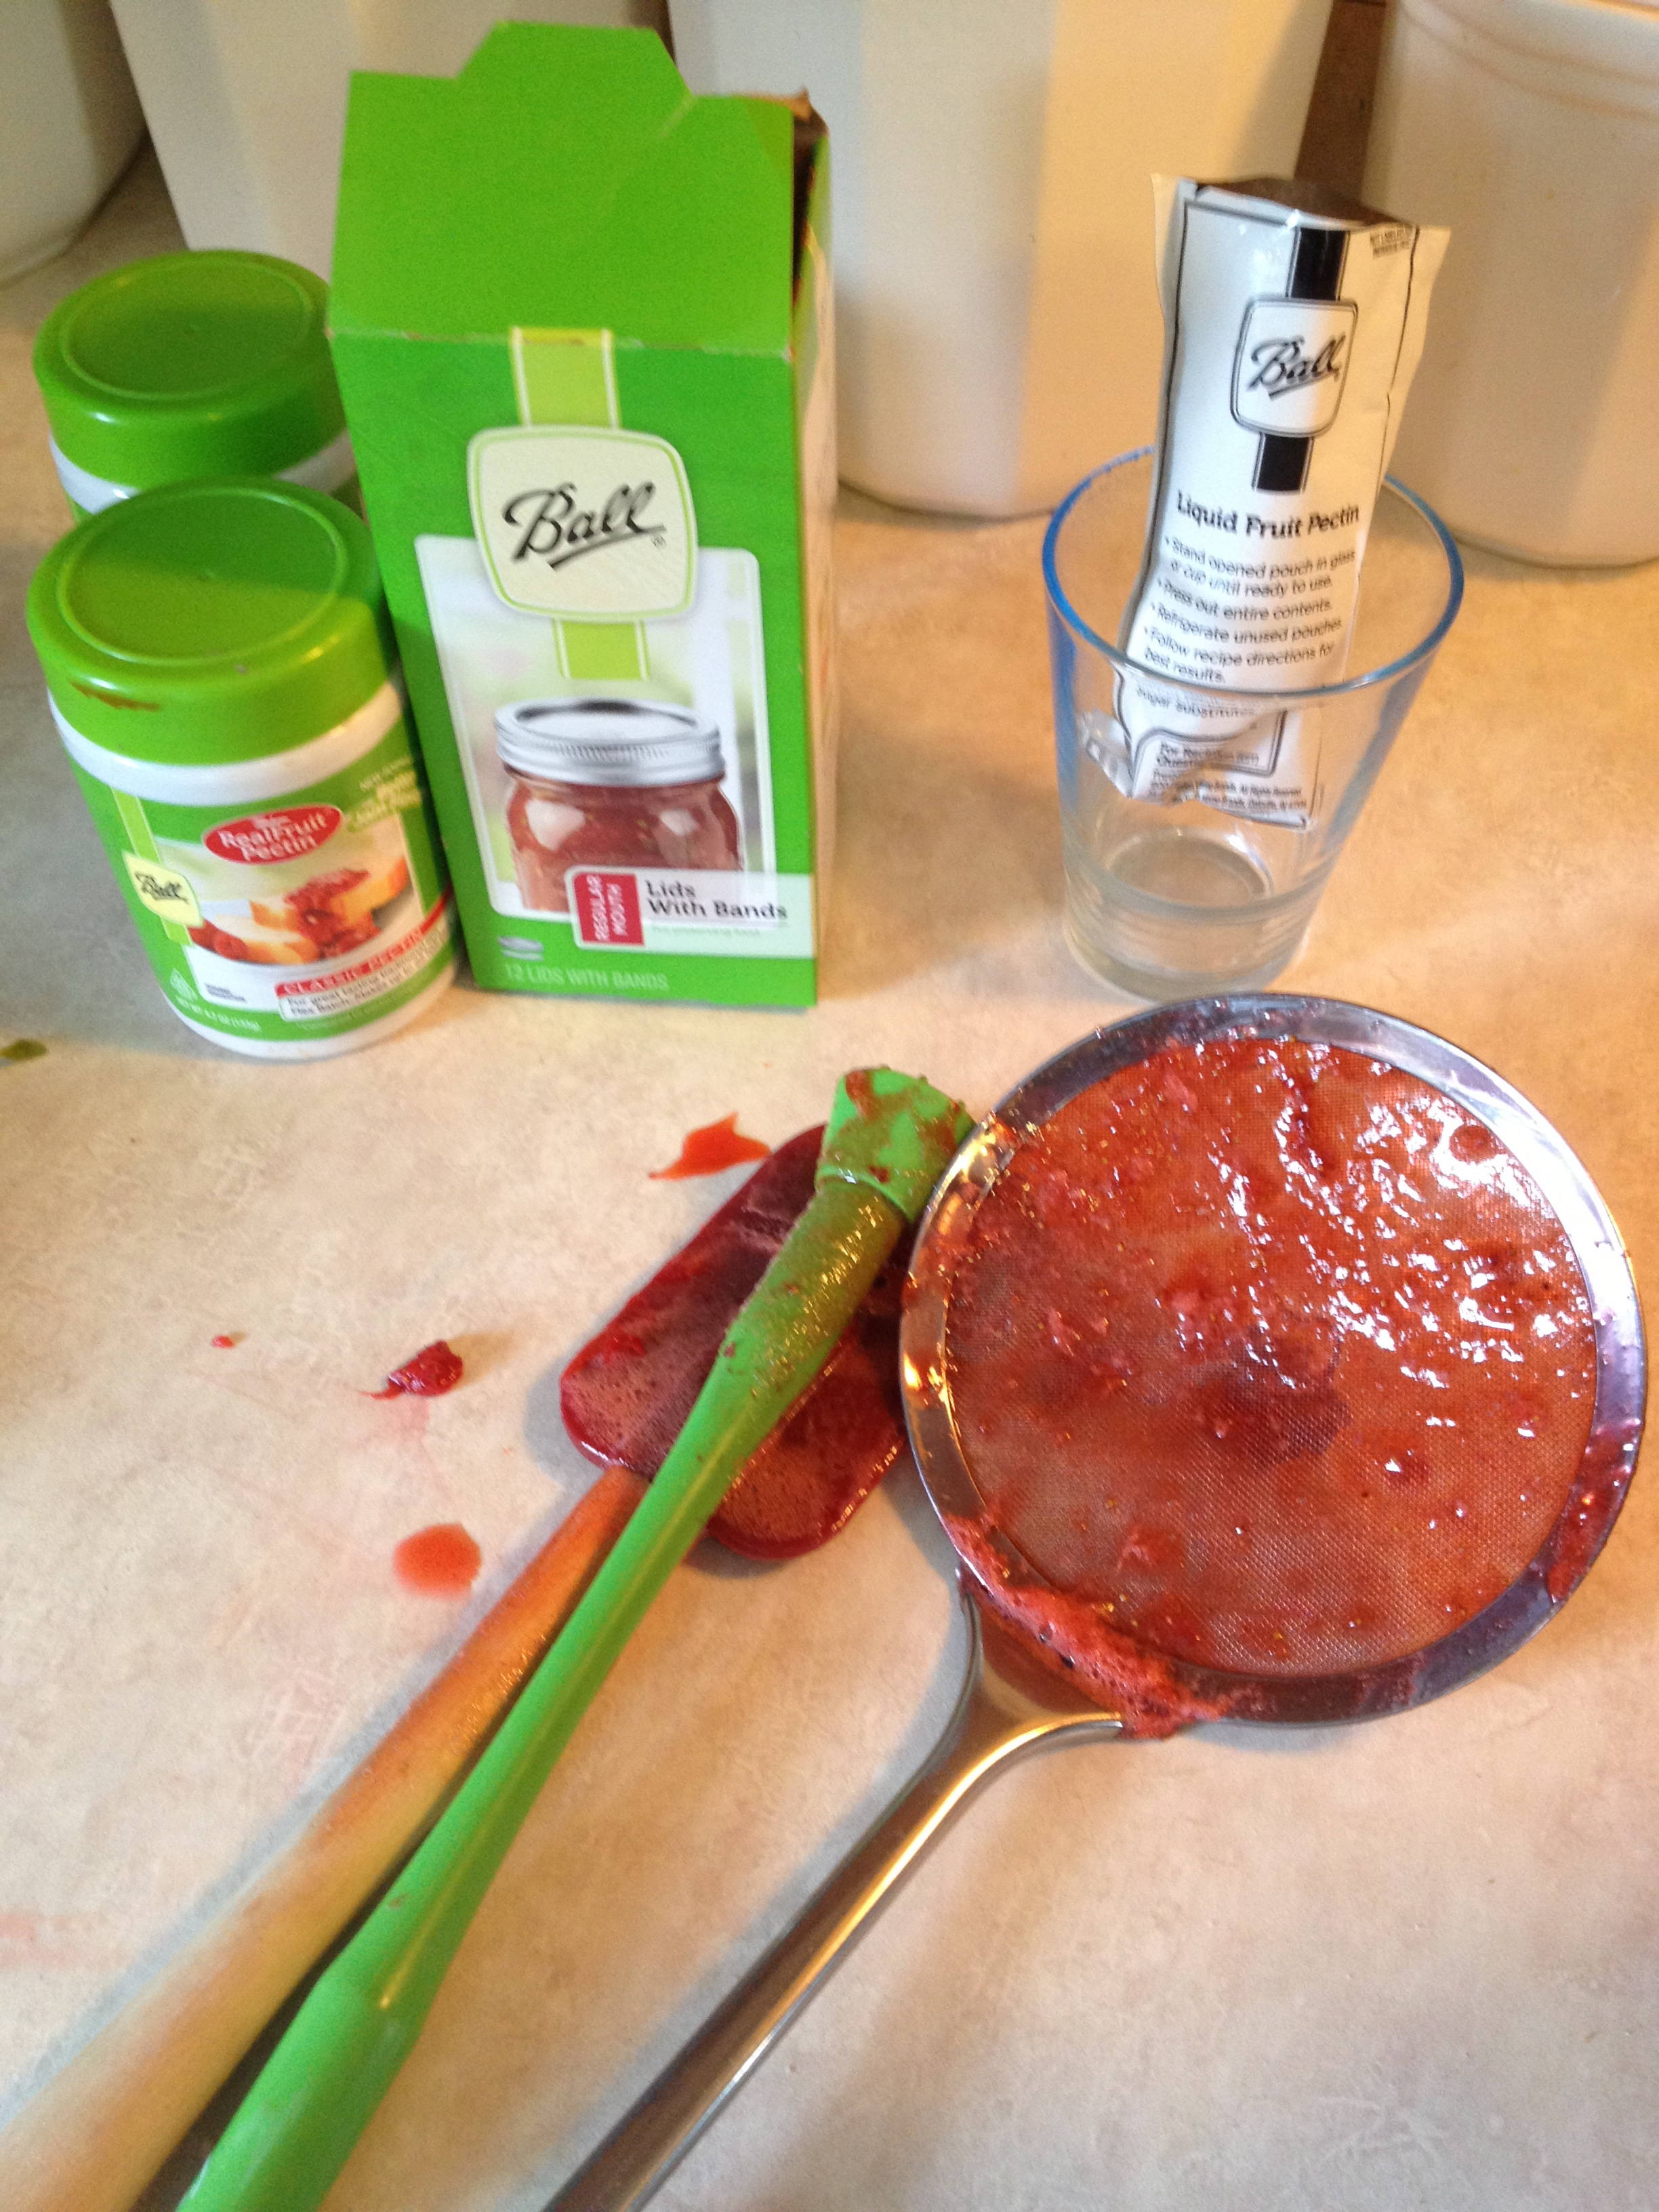 After adding the fruit and the lemon, stir in all of the sugar, then you turn that burner on and let it cook until the boil is so rolling that you cannot stir the bubbles down…
 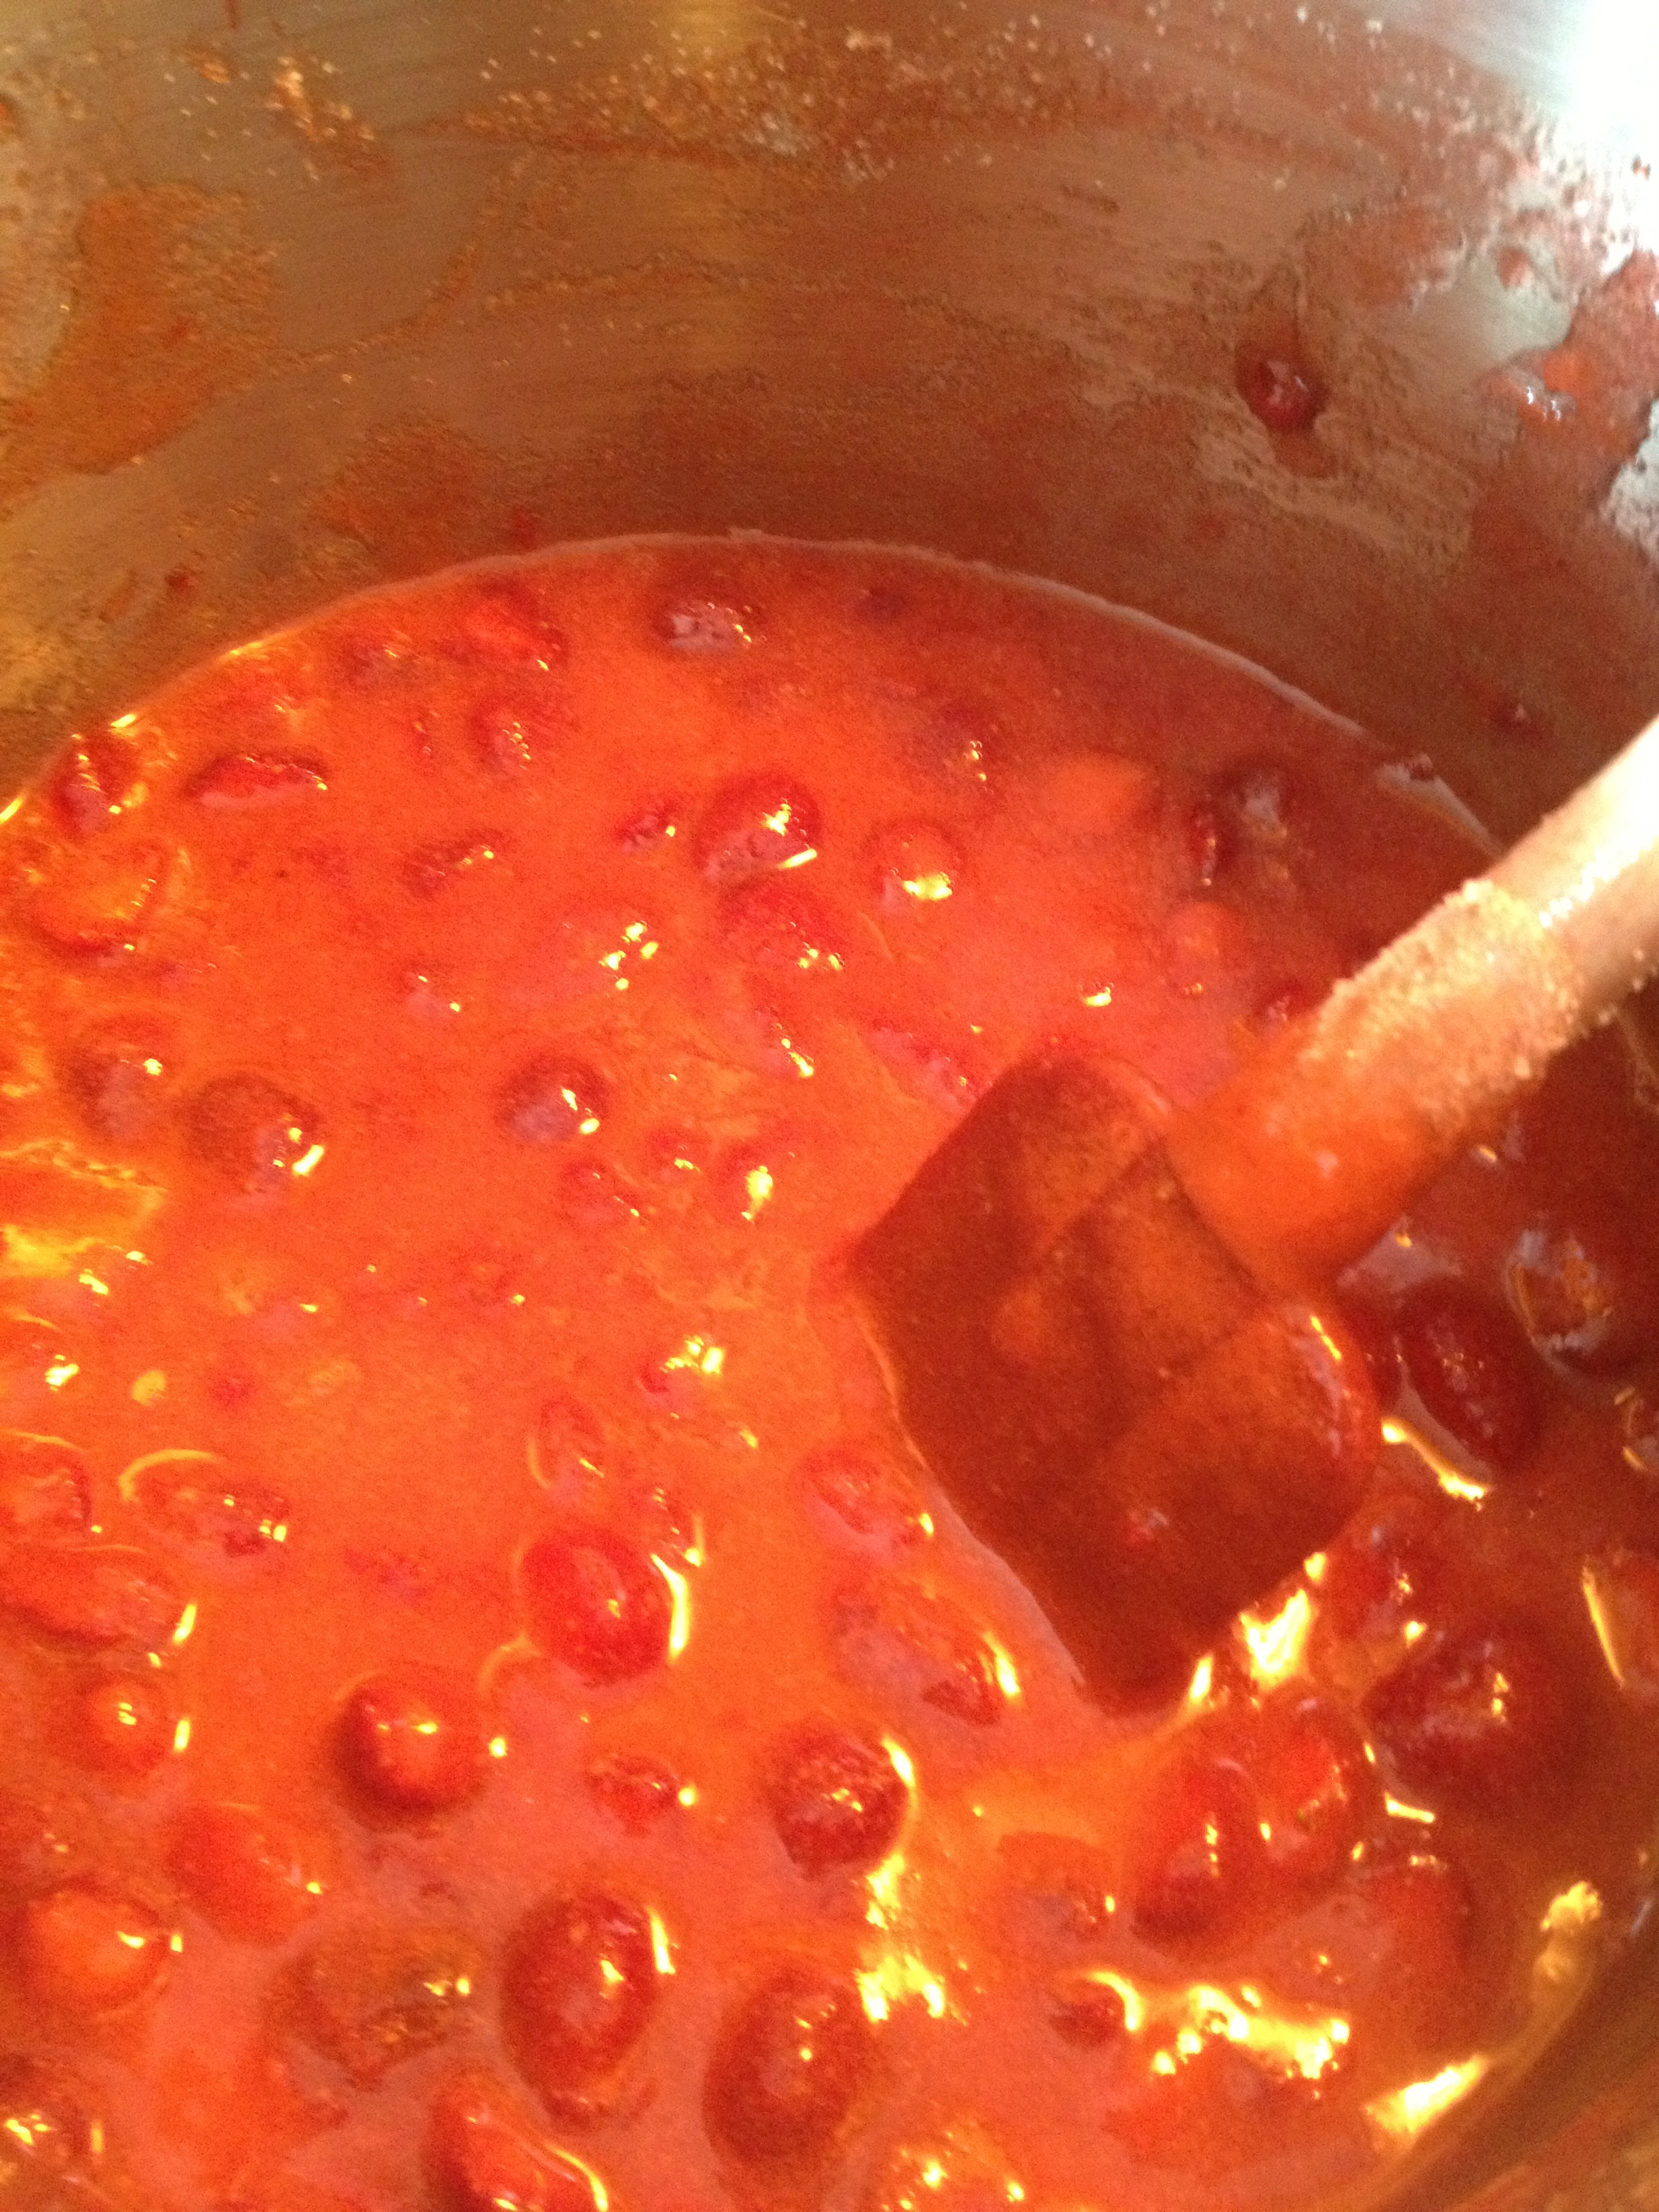 I did not can this jam as i wanted to make enough so that everyone received it as a bonus item with their veggies today, So I let it cool a wee bit and then ladled it into these little plastic containers and promptly put it into the fridge, becasue this jam is not can sealed you will need to keep it in the fridge until you eat it all up!
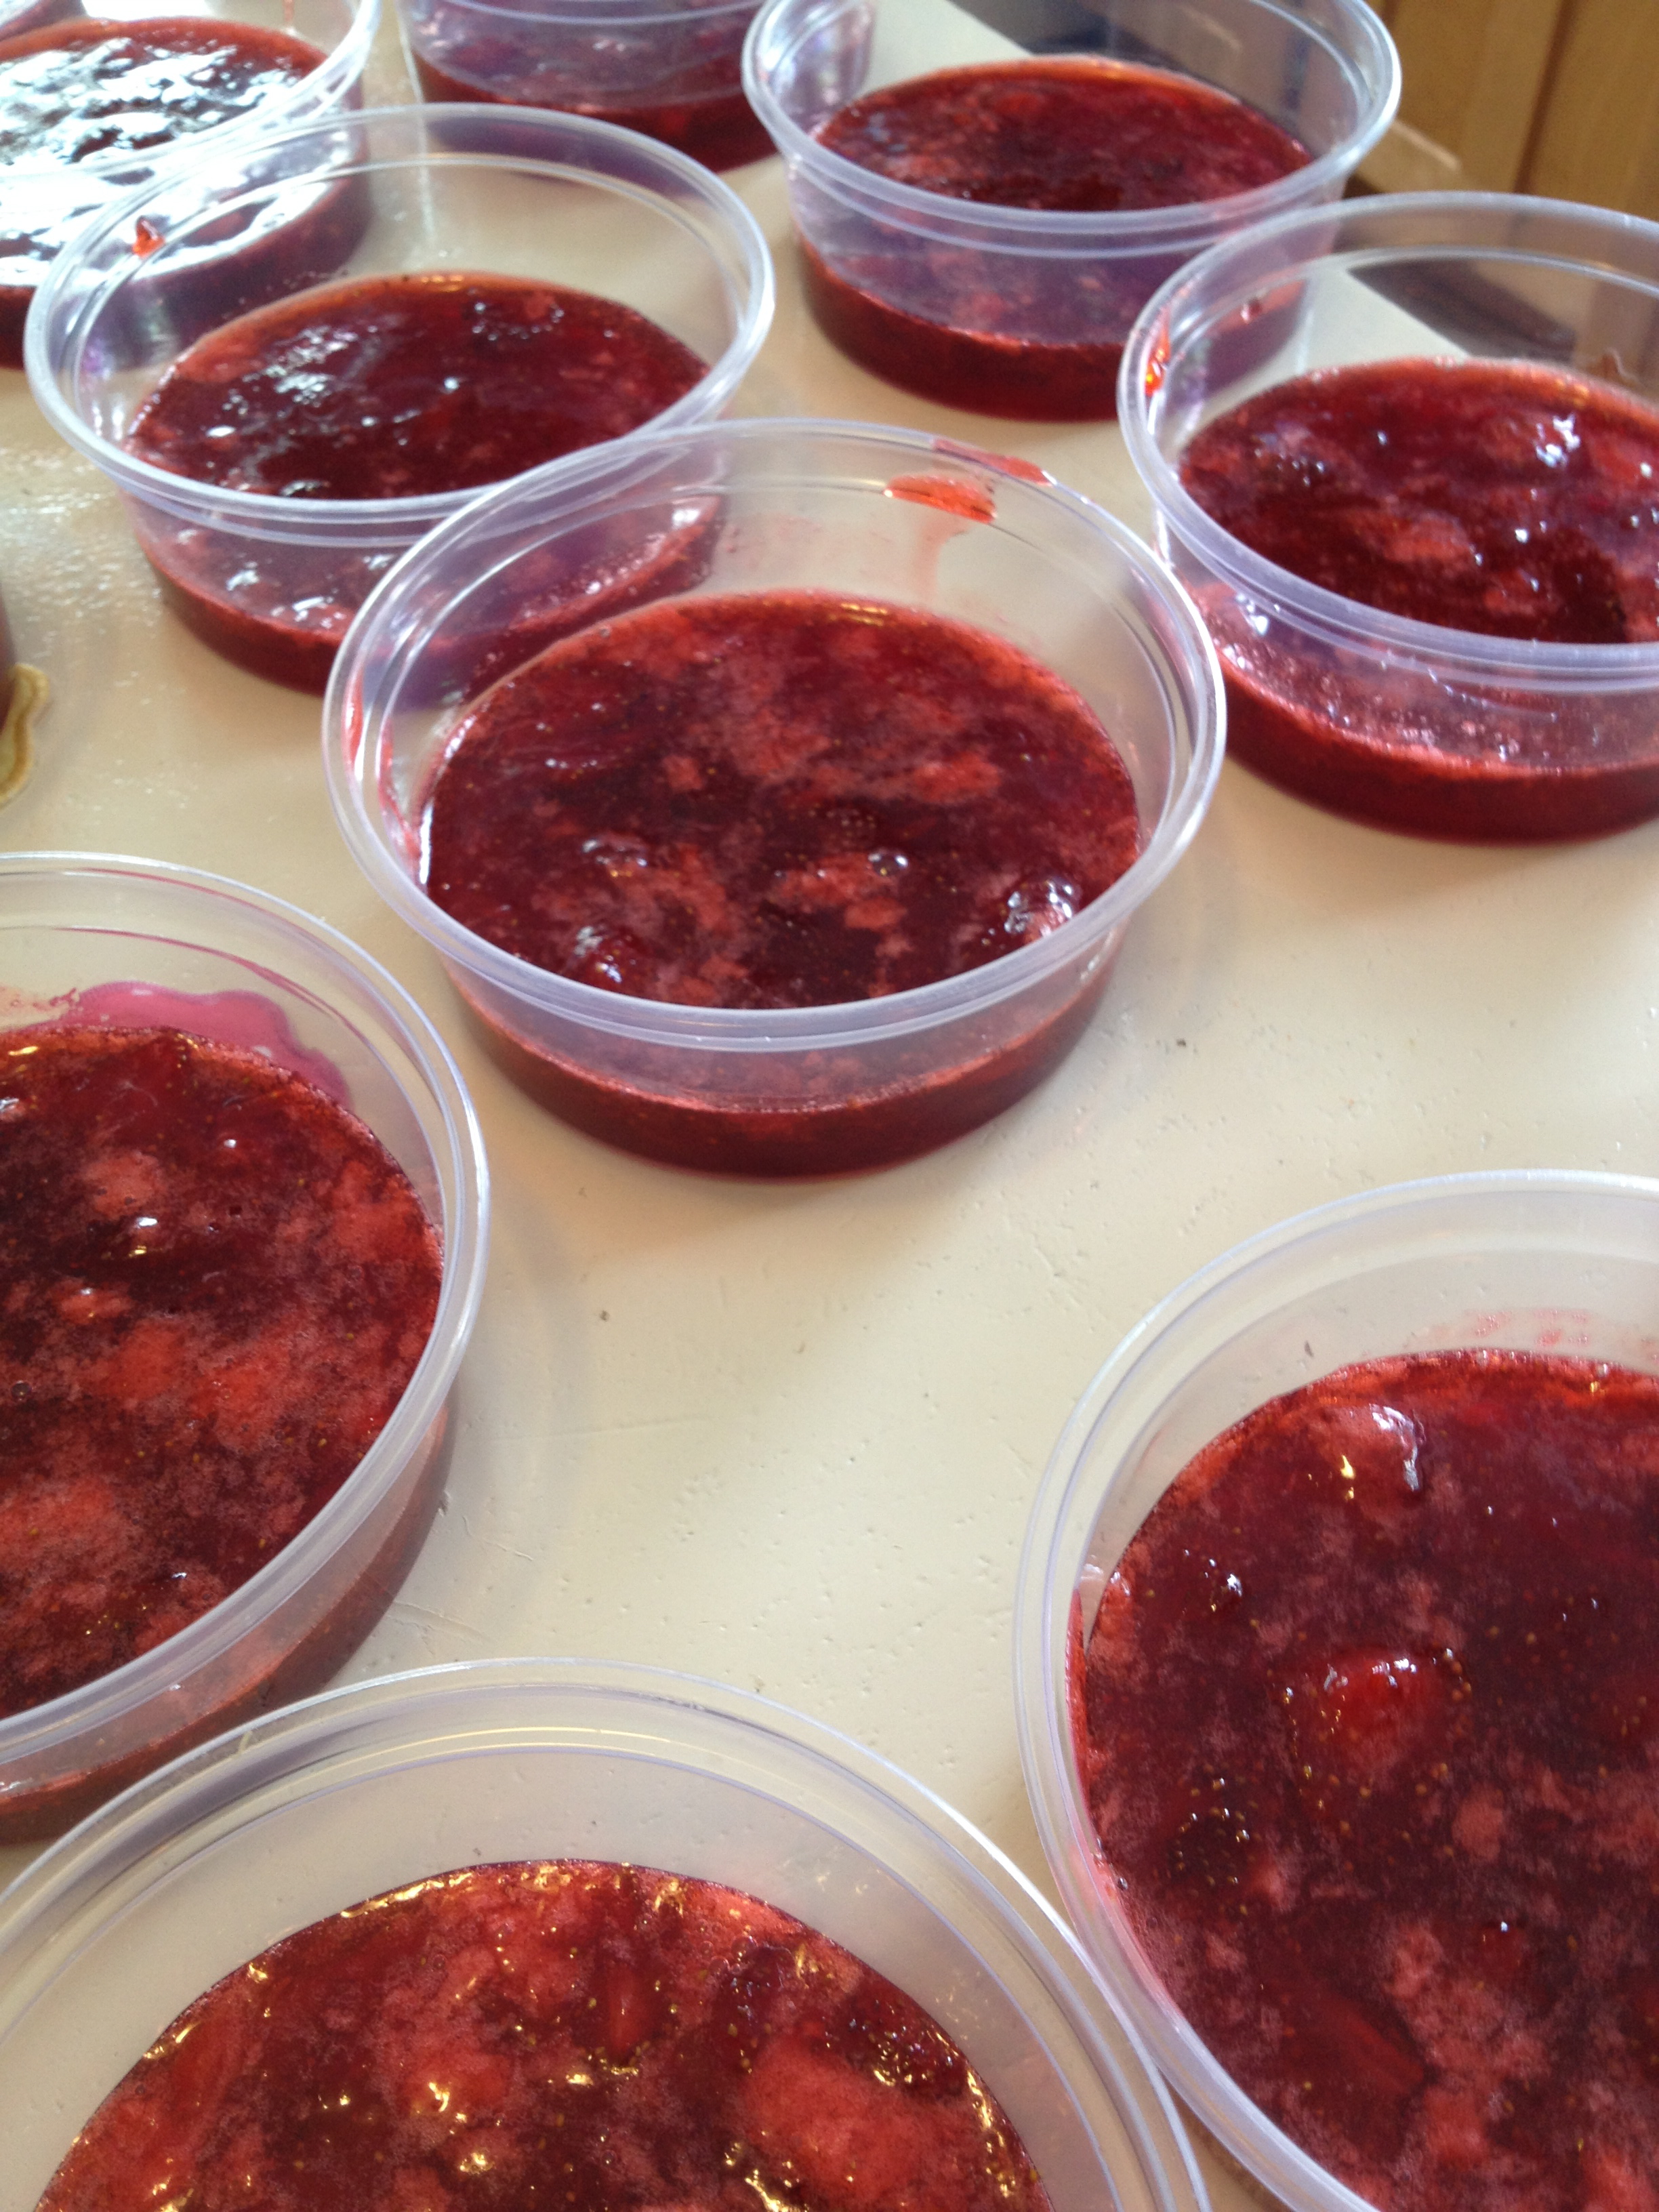
Resting in the fridge Jam for all our members 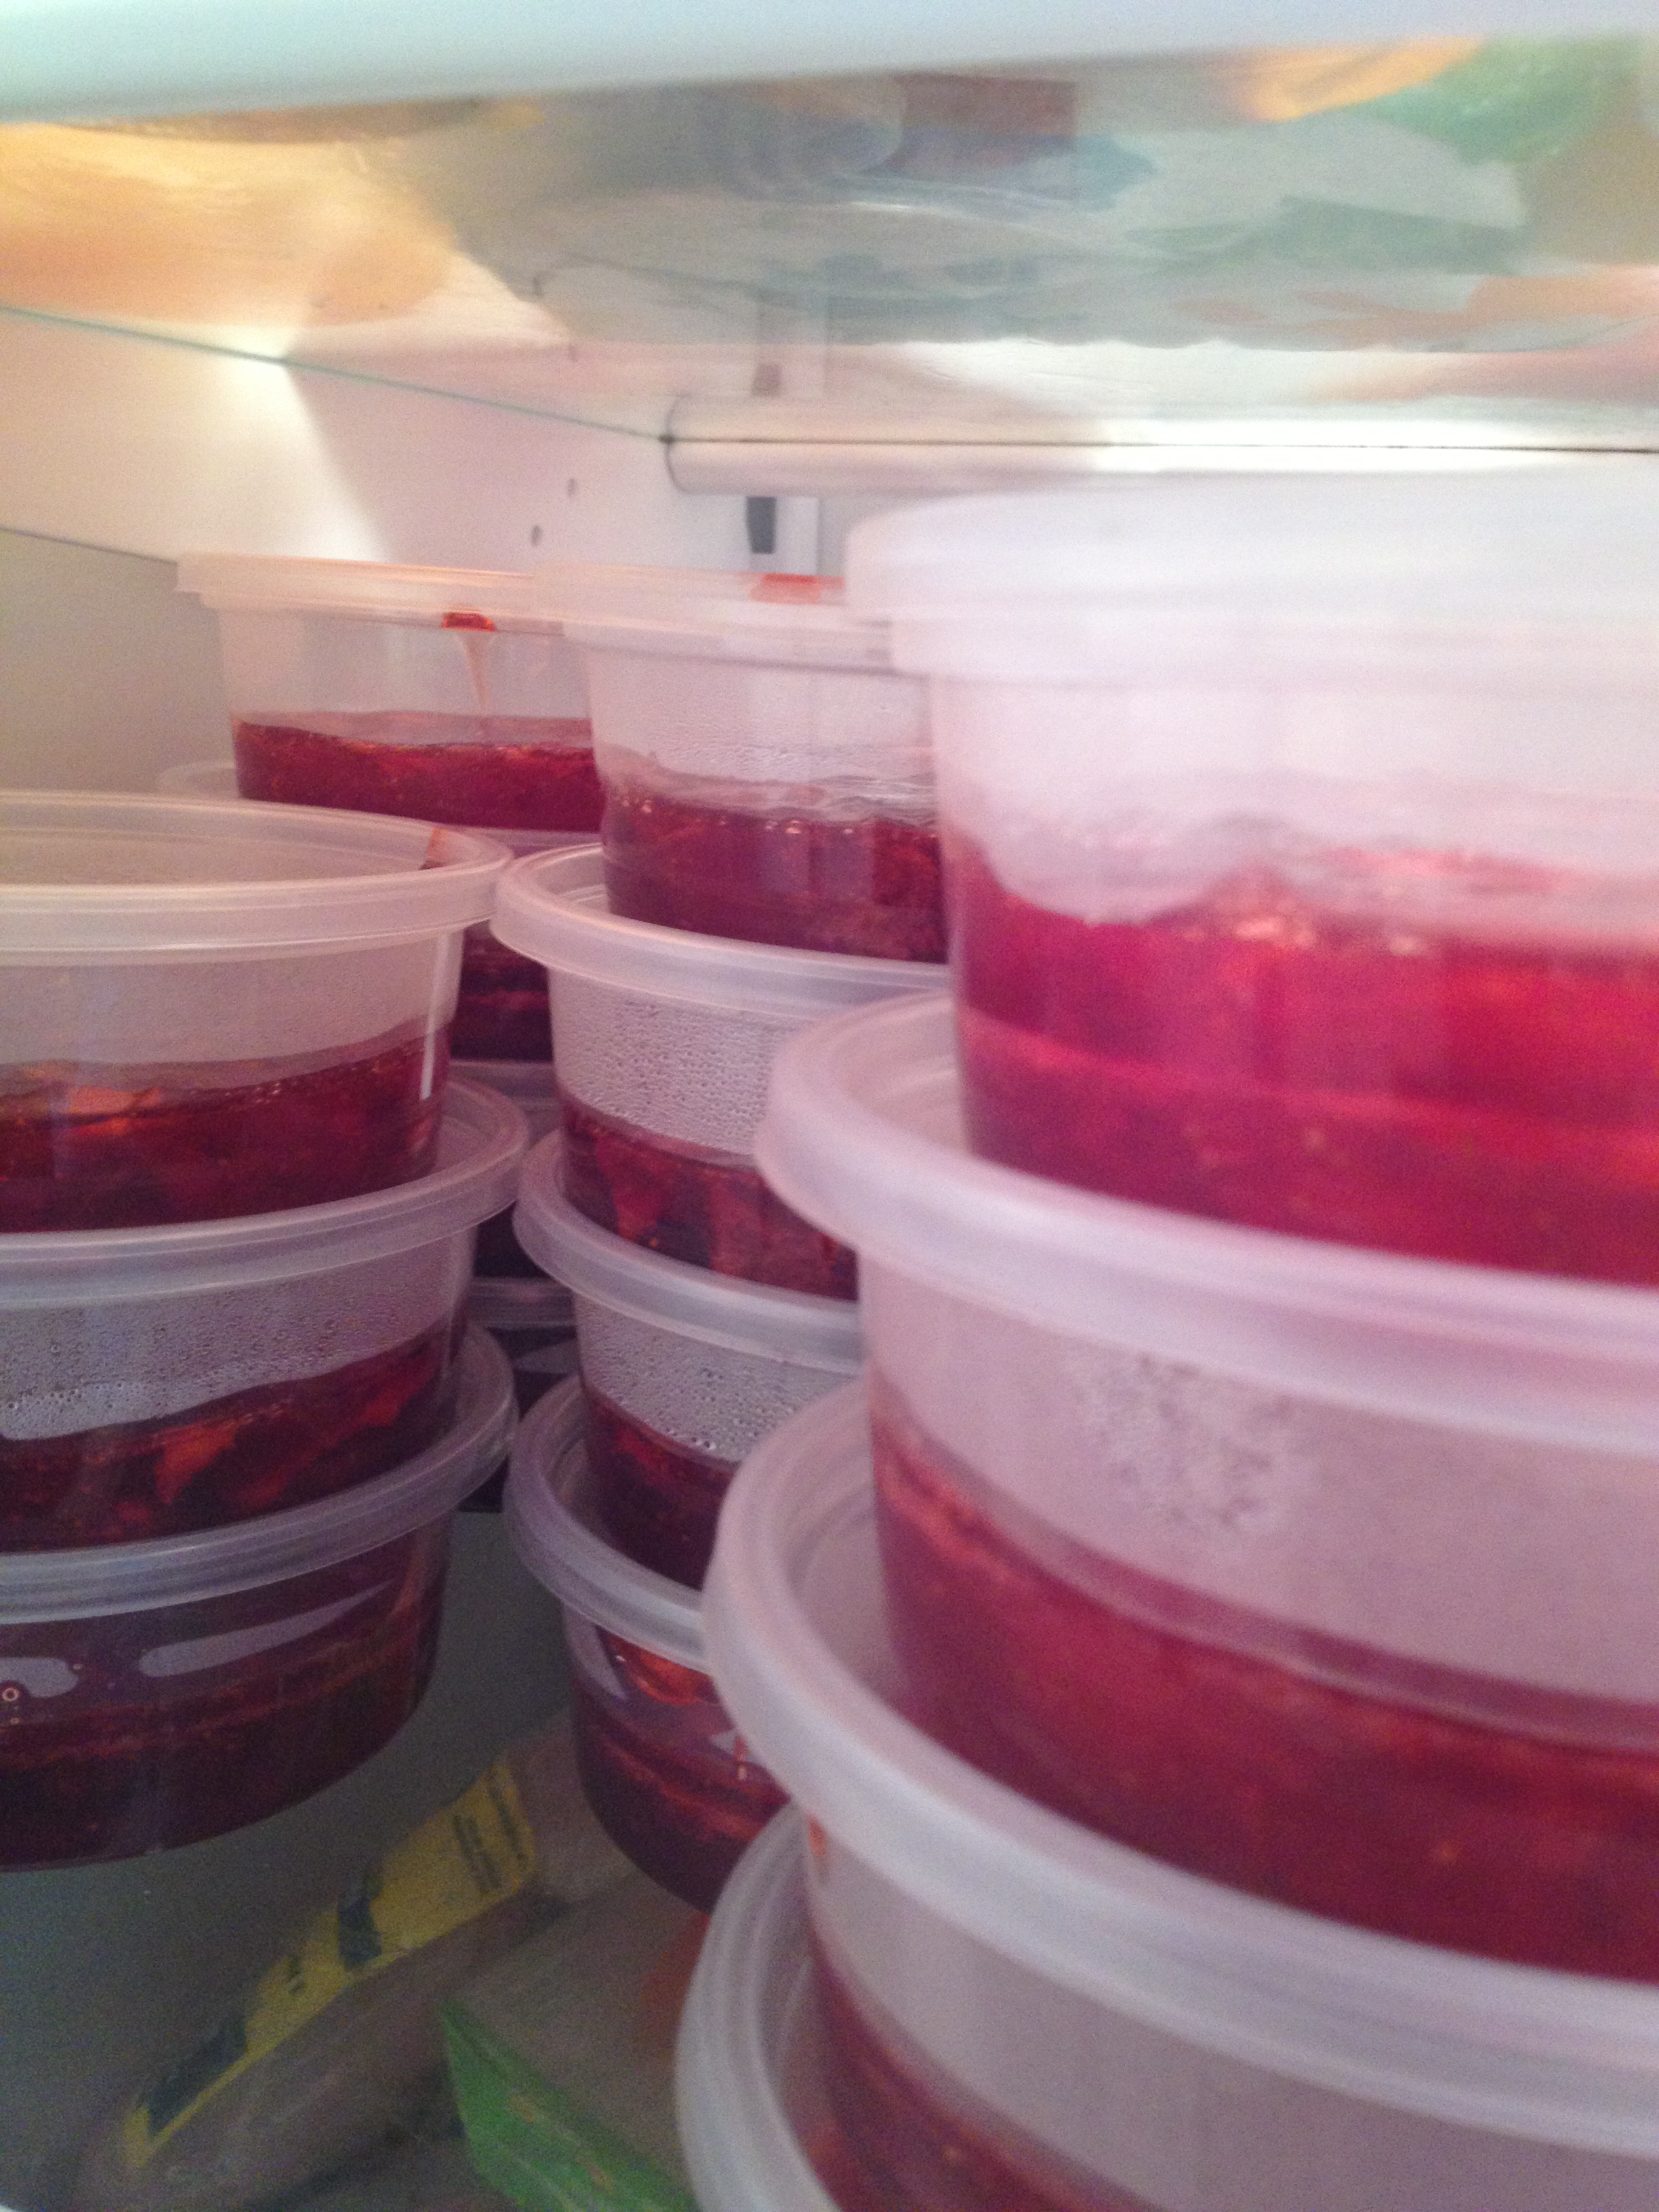
 Happy First Day of the CSA!!!
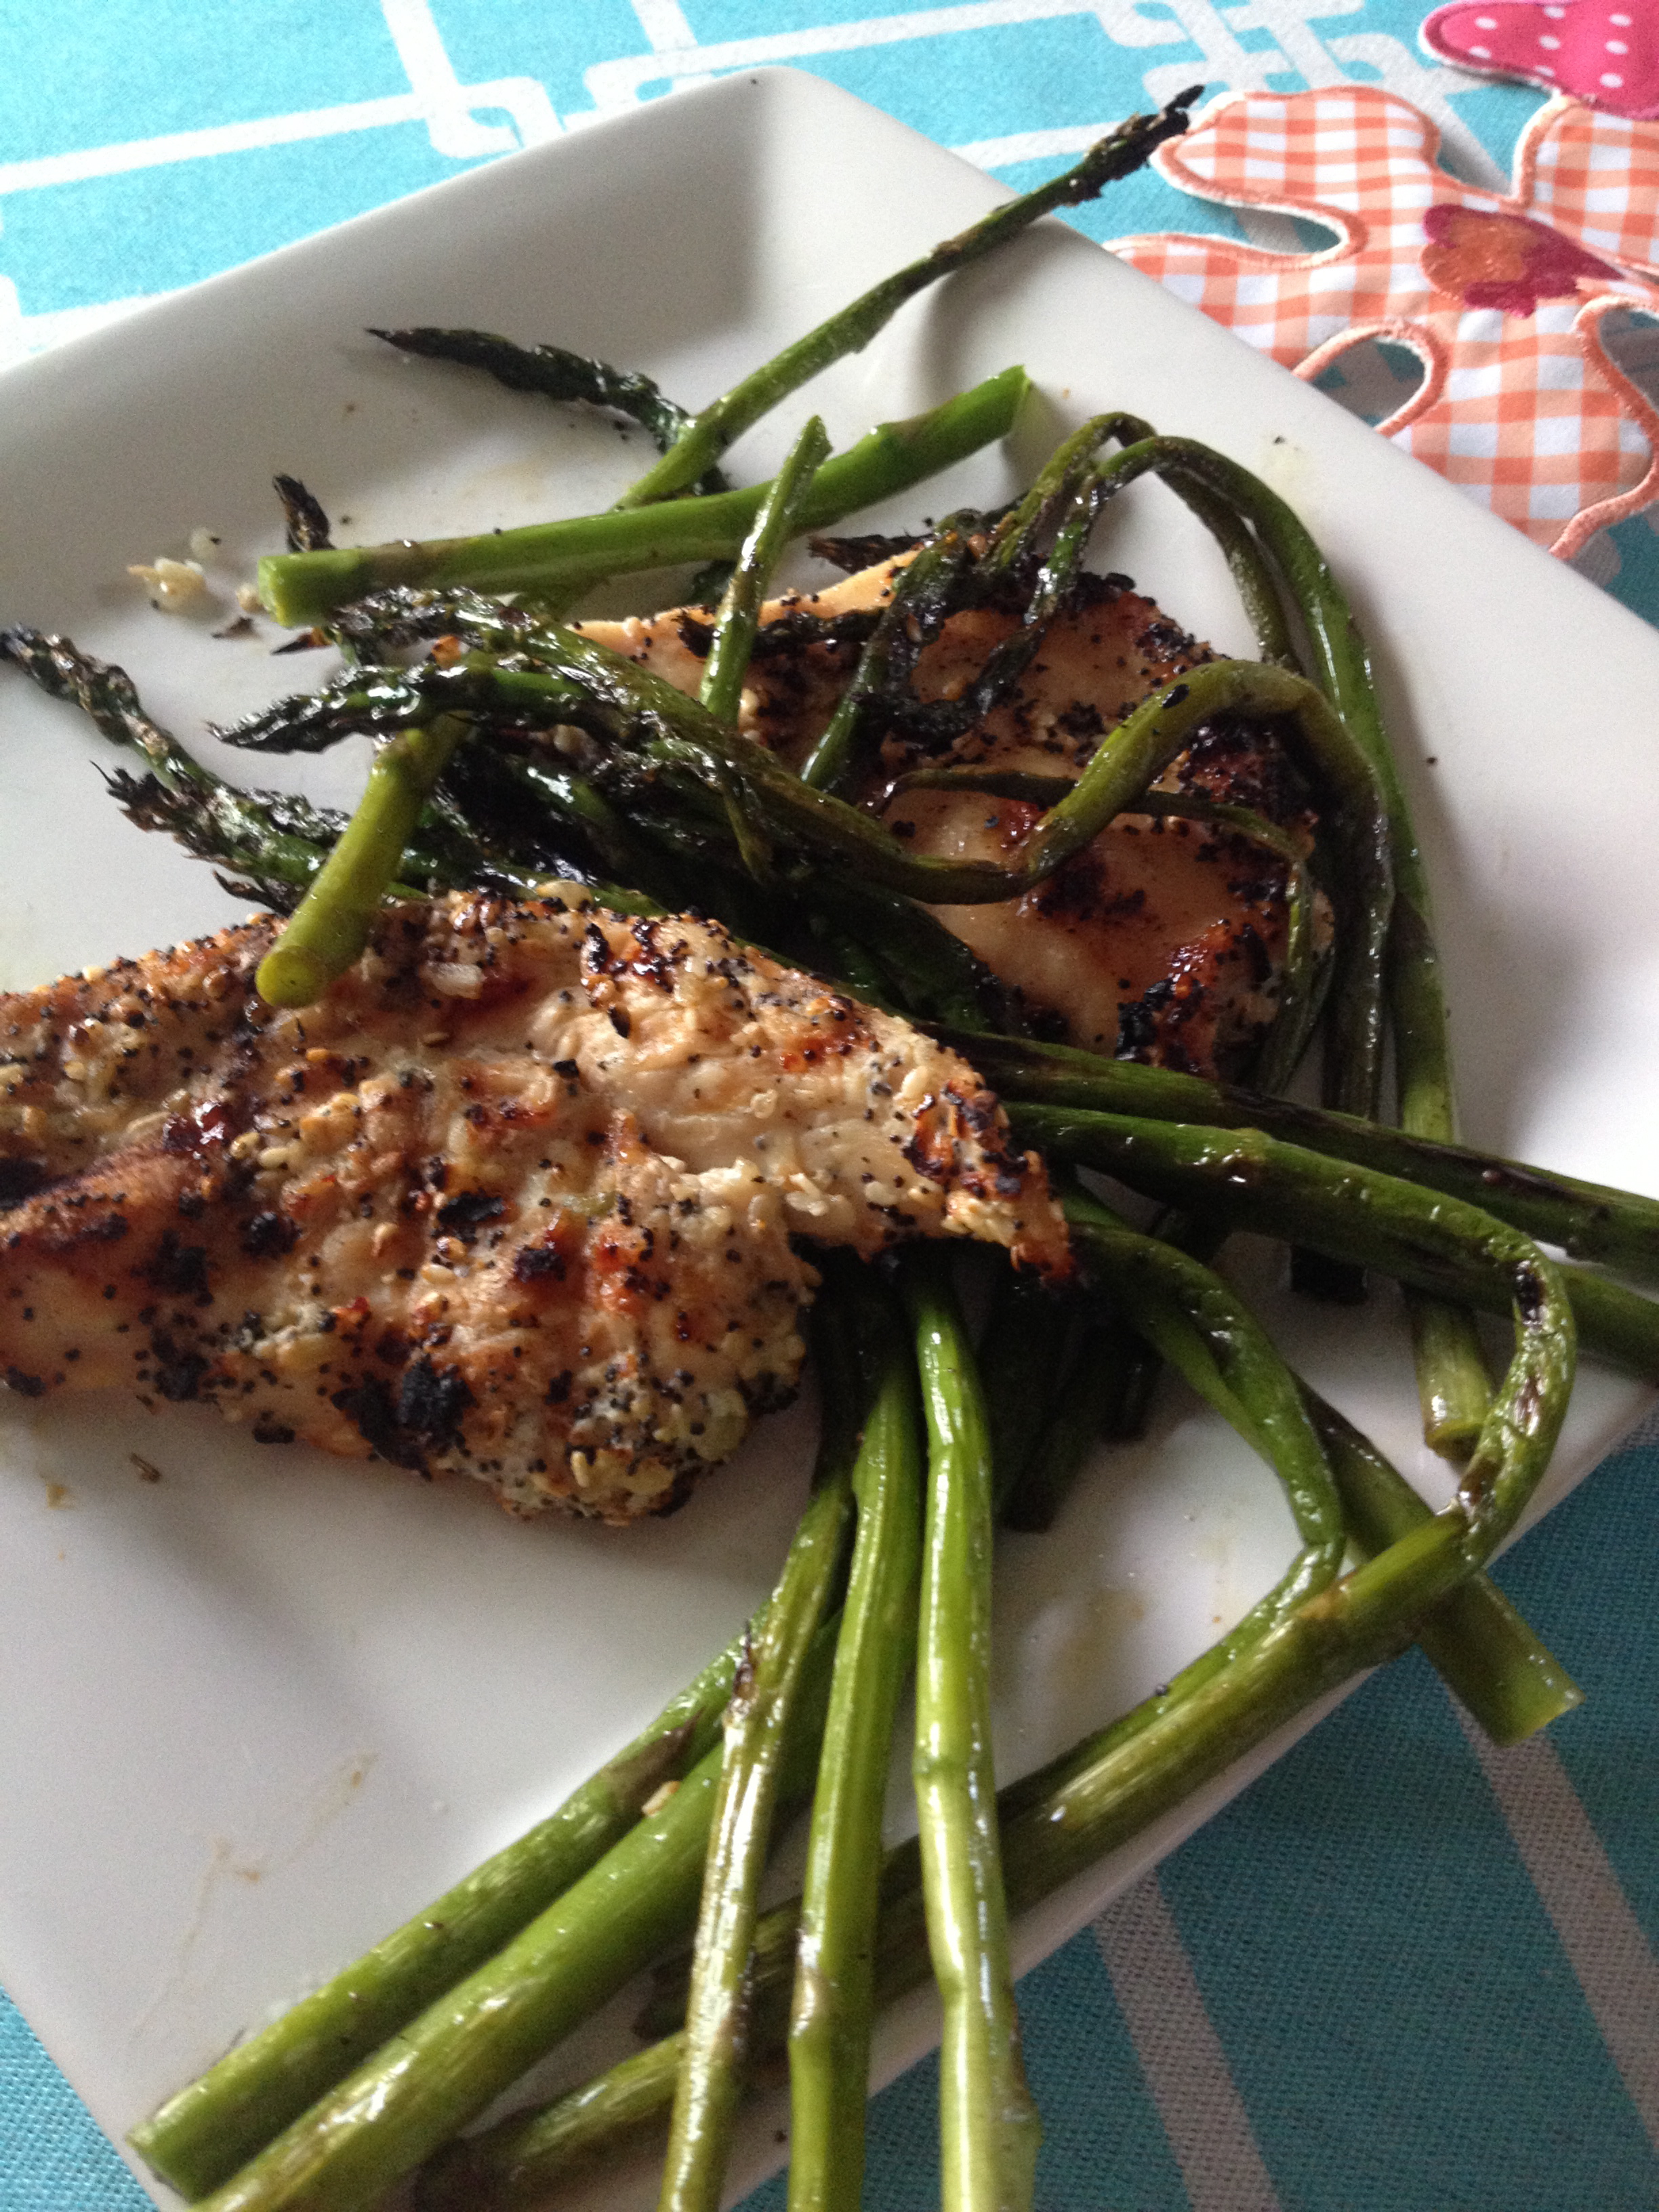
This post is a little past due, as fresh picked asparagus is all gone for the season, it comes so early and lasts so little, you have to eat it up while it’s here…
For this delicious treat I laid out tin fold,laid down my asparagus, took a whole lemon and squeezed the juice all over the asparagus, then a dash of olive oil, and a few shakes of salt and pepper, folded up the tin foil and put it on the grill for about ten minutes… My oh My it was delicious…
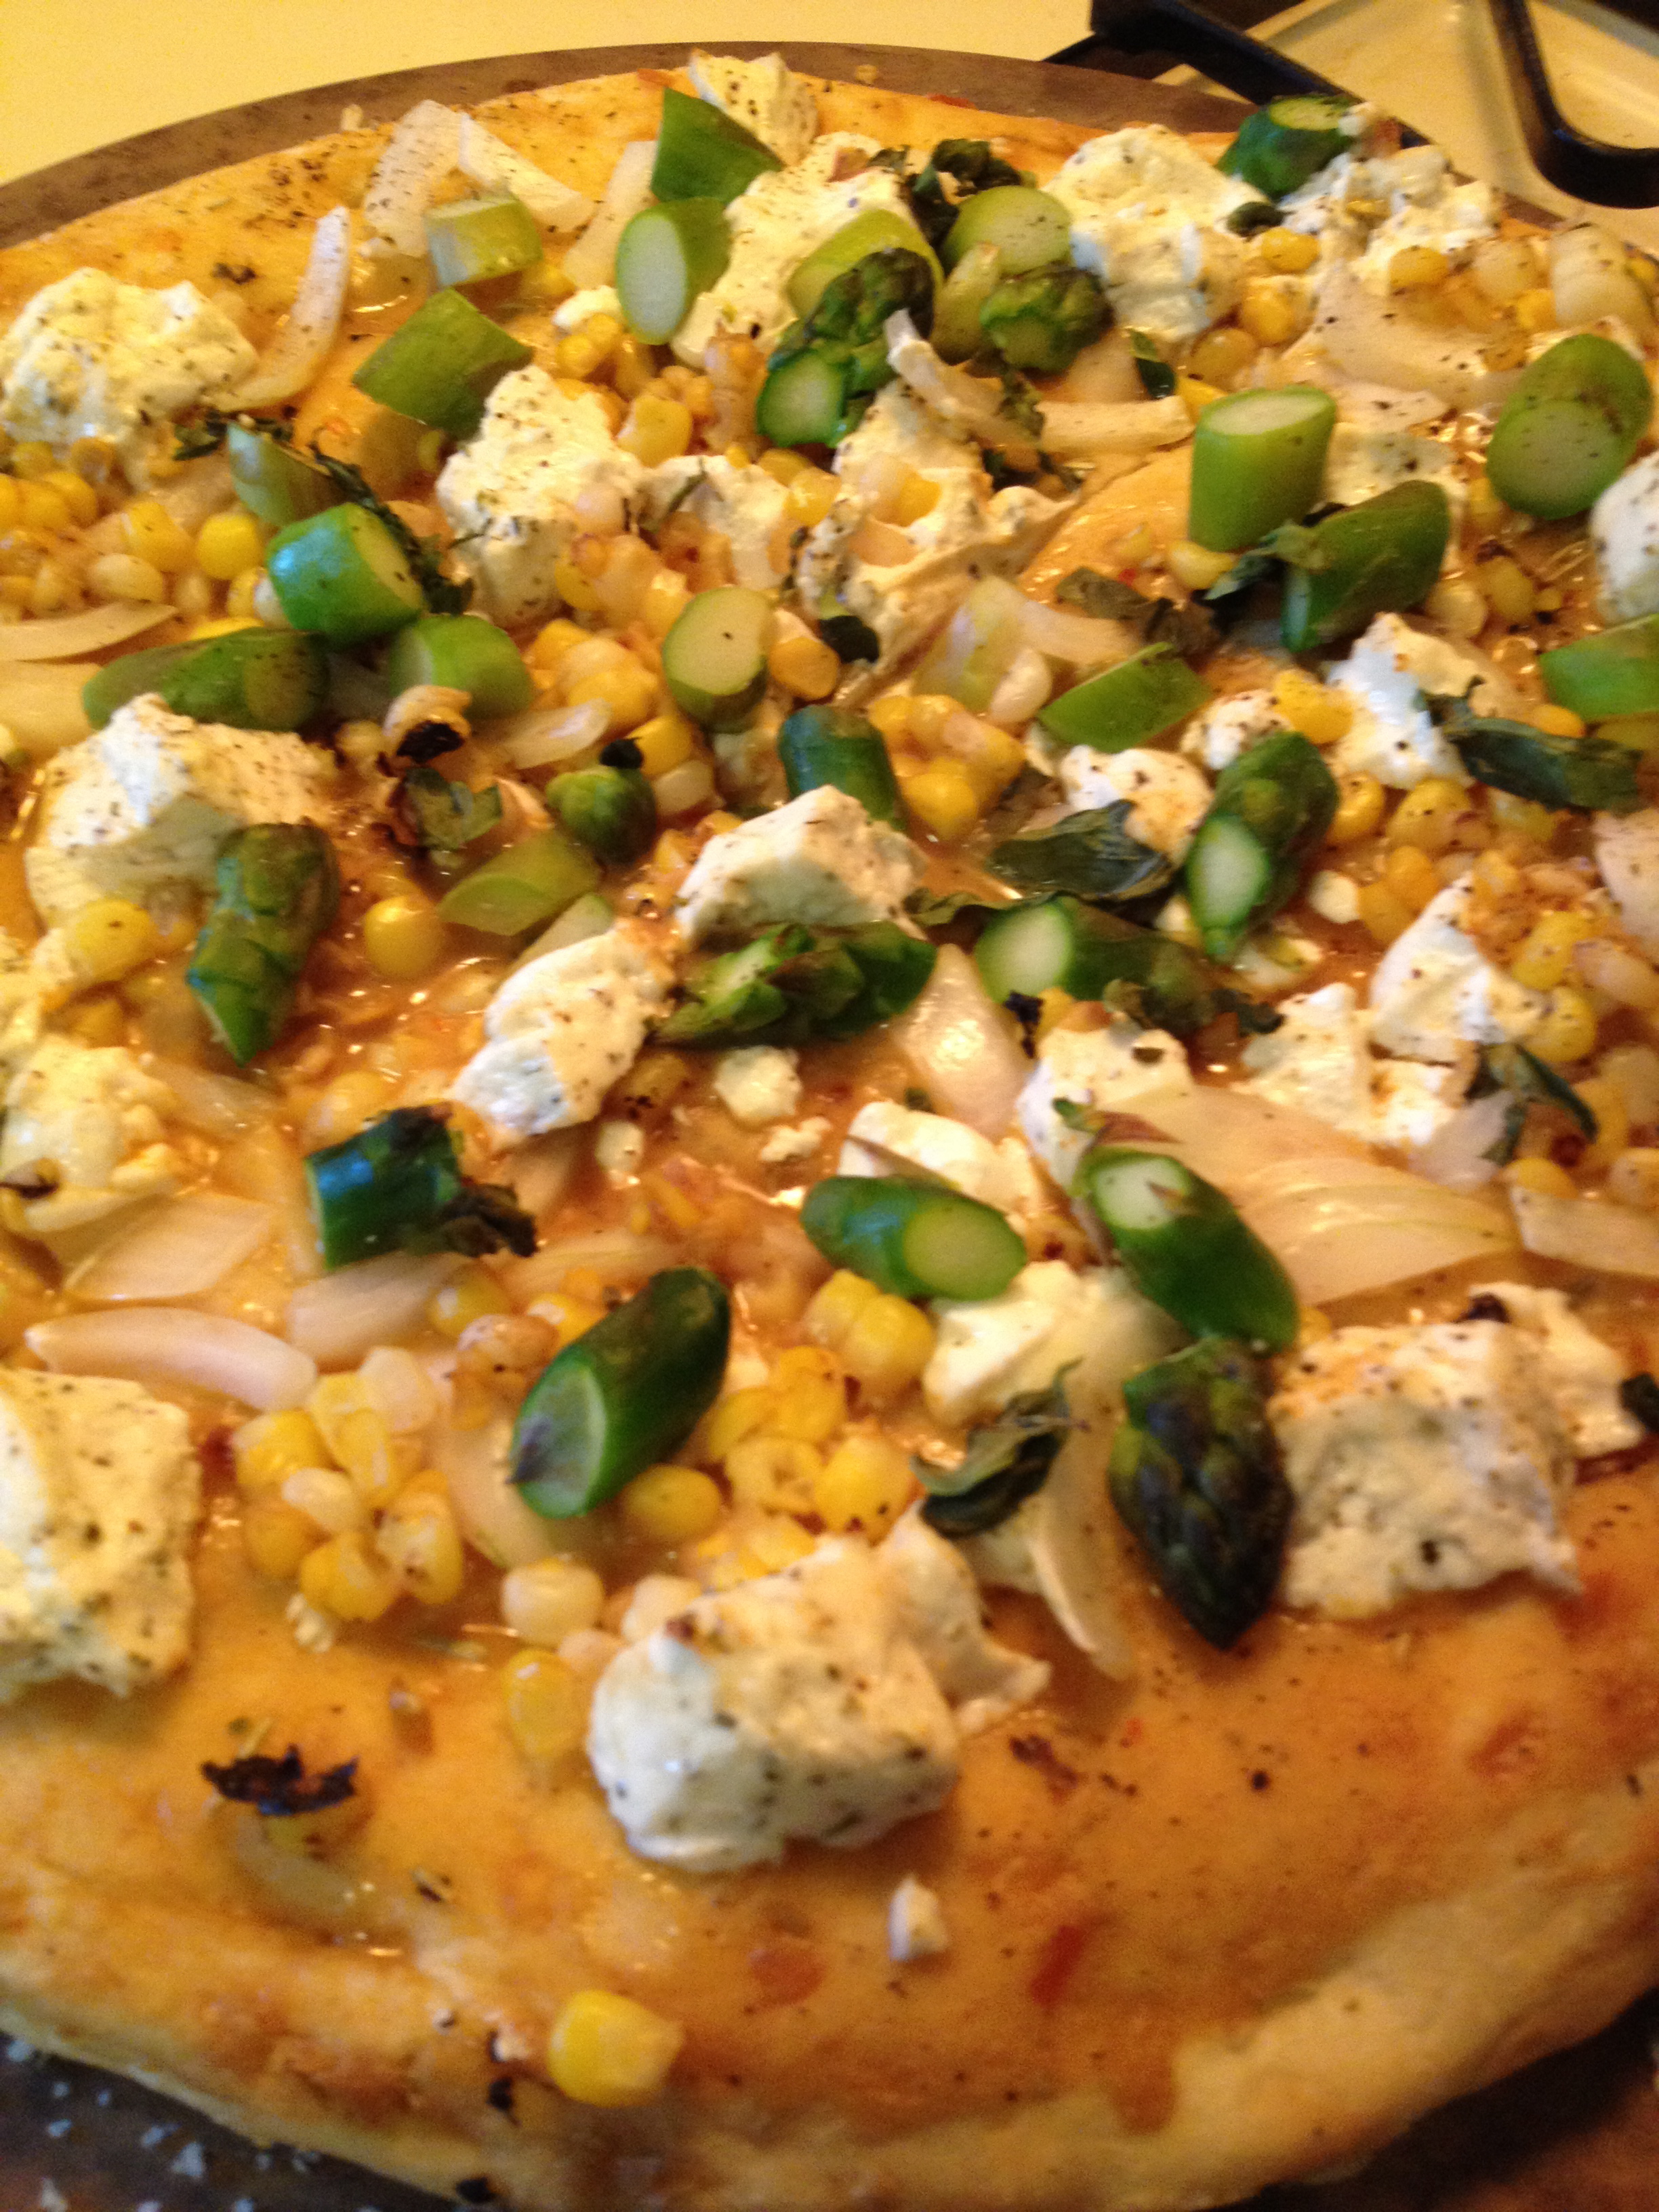
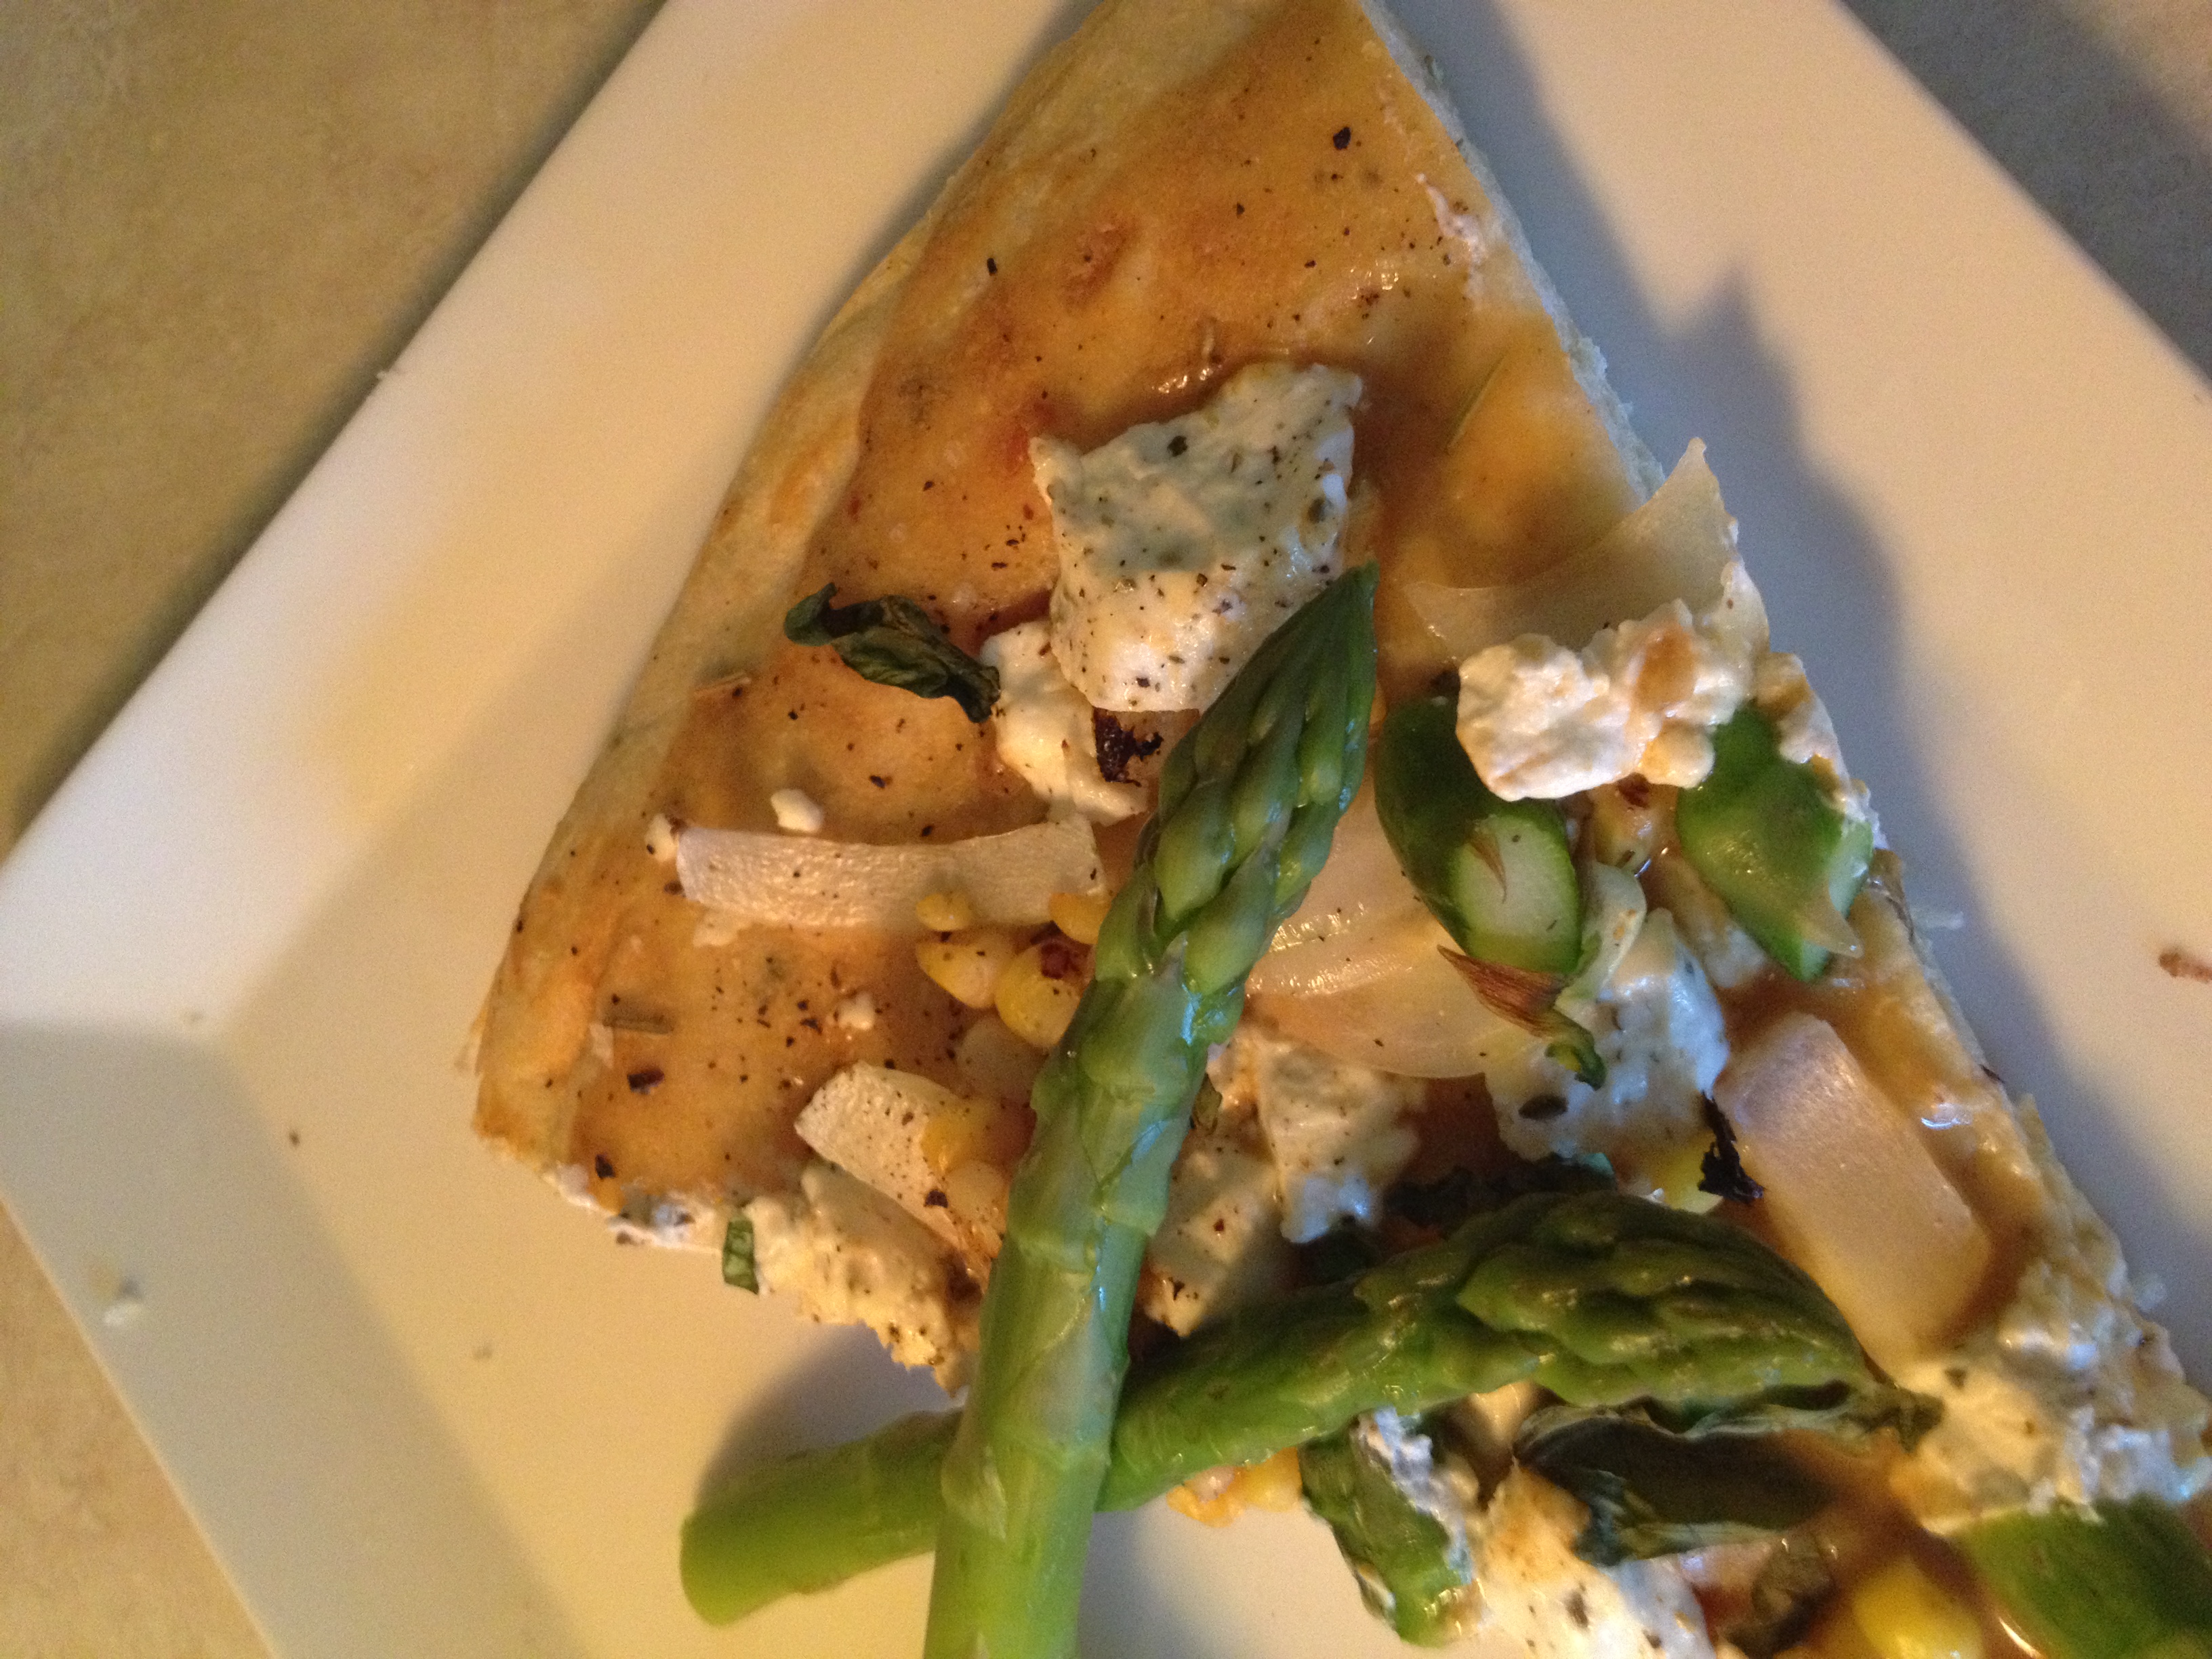
You will need:
– Wheat Pizza Crust
– Goat Cheese
– Corn off the cob
– Fresh Asparagus
– Wegman’s Thai Peanut Sauce
– Onions
– Salt pepper
First I put cornmeal on the pizza stone, and then stretched the dough over the stone
Next I used a pastry brush to cover the dough with the Thai Peanut sauce
Then I crumbled the goat cheese over the sauce, and layered the onions
I toasted the corn kernels in a sauce pan to give them extra flavor, they were frozen corn from last season
Last and the best part fresh asparagus on top
Popped it in the oven for 20 minutes at 400 degrees